
Encaustic painting is like acrylics or oils, but instead of a polymer or oil as the medium it's hot wax. Pure beeswax that has been filtered and blended with damar resin to enhance the wax by adding a translucency to it and raise the melting point of the wax. You can use beeswax without Damar Resin, it just won't be as durable as the beeswax with the resin. If you aren't sure you even want to invest in all the materials, because it can be expensive, you can just buy a small block of beeswax (often times you can find them at the farmer's markets from the honey sellers) and use a blow dryer to see if it's something that inspires you. When I first started adding wax to my finished pieces I did just that, using yellow (unfiltered) beeswax, melting it down on the stove in an old pot, painting it on with a brush, then using a blow dryer to fuse it to the piece. If you find that you do love it you can then invest in a hot plate, heat gun, refined beeswax, pigments...etc.
For all the encaustic lessons I work on paper, since it goes with the workshop, but typically Encaustic Artists prefer to work on wood, as it makes a great surface to add layer after layer of wax. I keep my layers pretty thin, so the paper works wonderfully. The downside of working on paper is that most likely the finished piece will need to be framed behind glass, covering the beautiful layers of wax. You can always glue the paper to a wood substrate beforehand, or just work on wood. You can also work on other substrates, like canvas, bisque-fired ceramic, and drywall. Like all mediums you can experiment to see what you love the most.
Here are pretty much all the tools/supplies that you will need for working in encaustics:
OR Encaustic Medium (the wax and resin already combined)
Bristle Brushes like these or these or these
Woody Crayons or Artist Crayons (used in small amounts)
A rubber mallet to break up the Resin
Metal tins (found at your local thrift store for A LOT less than online) OR used/cleaned out cat food cans.
Stick, chopsticks, toothpicks, metal potter's rib, other random tools
Gloves, Pot Holders, A Respirator, Burn Cream, Aloe Gel, Paper Towels
Wax + Resin
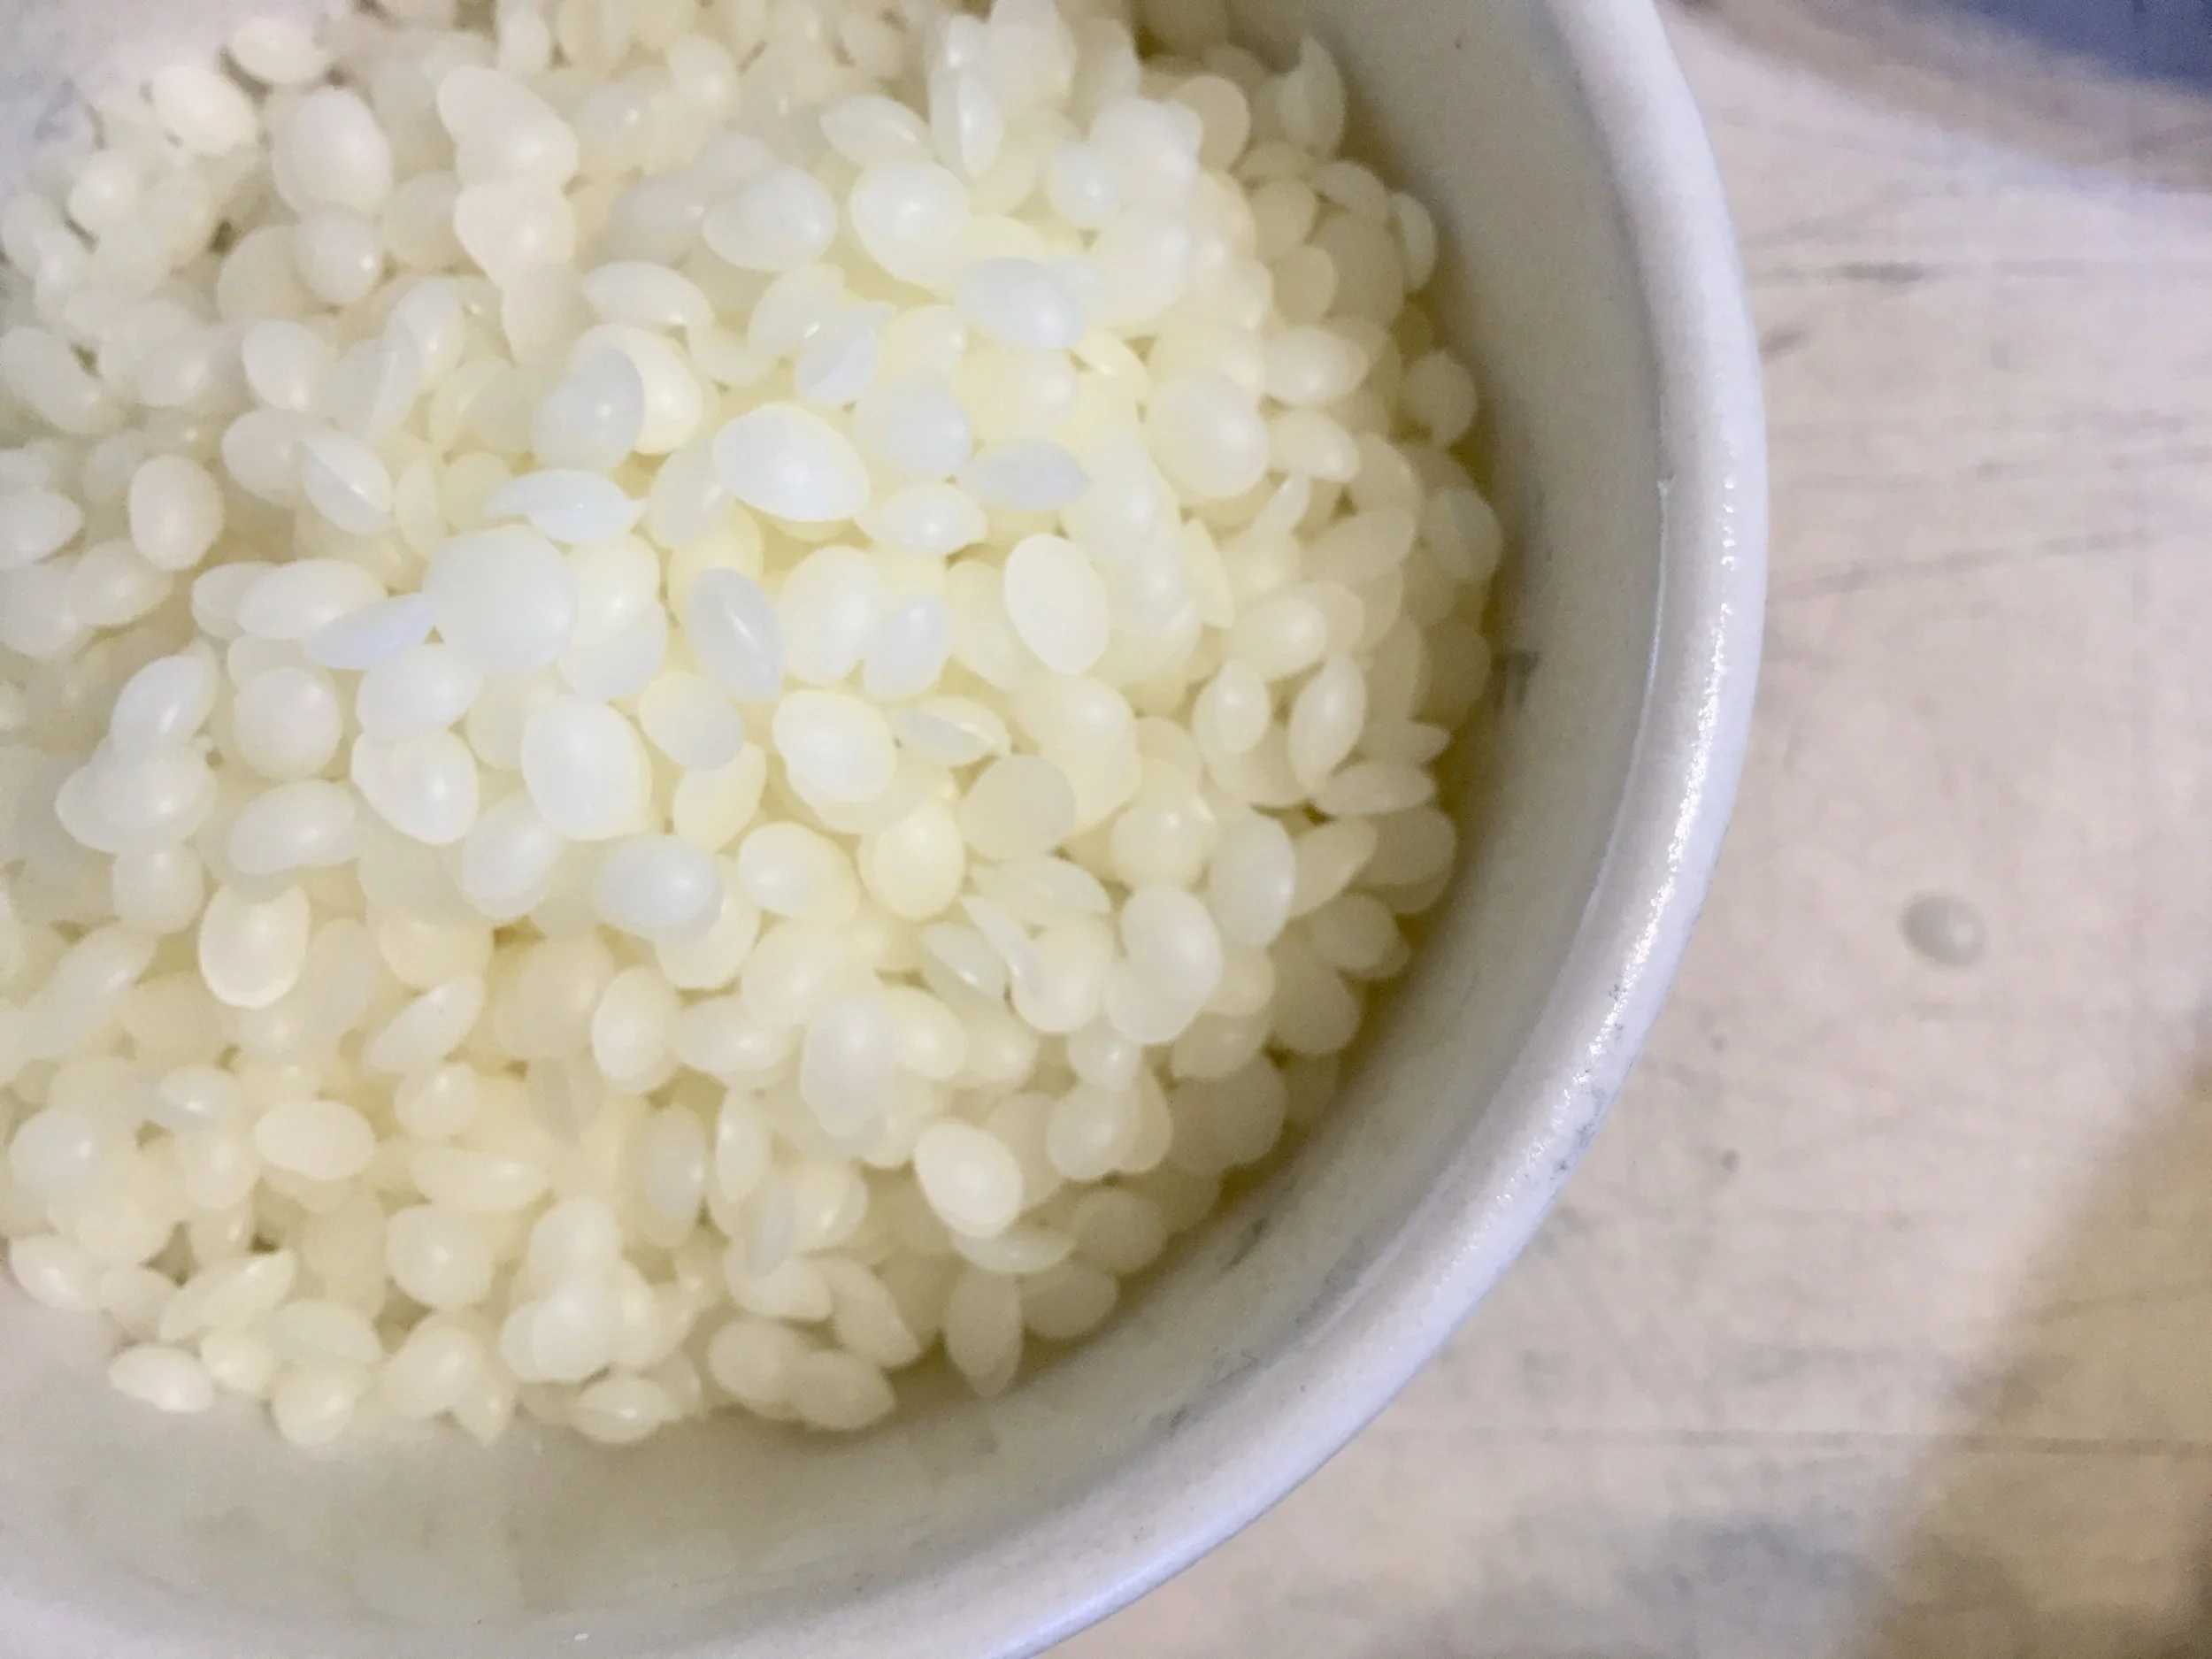
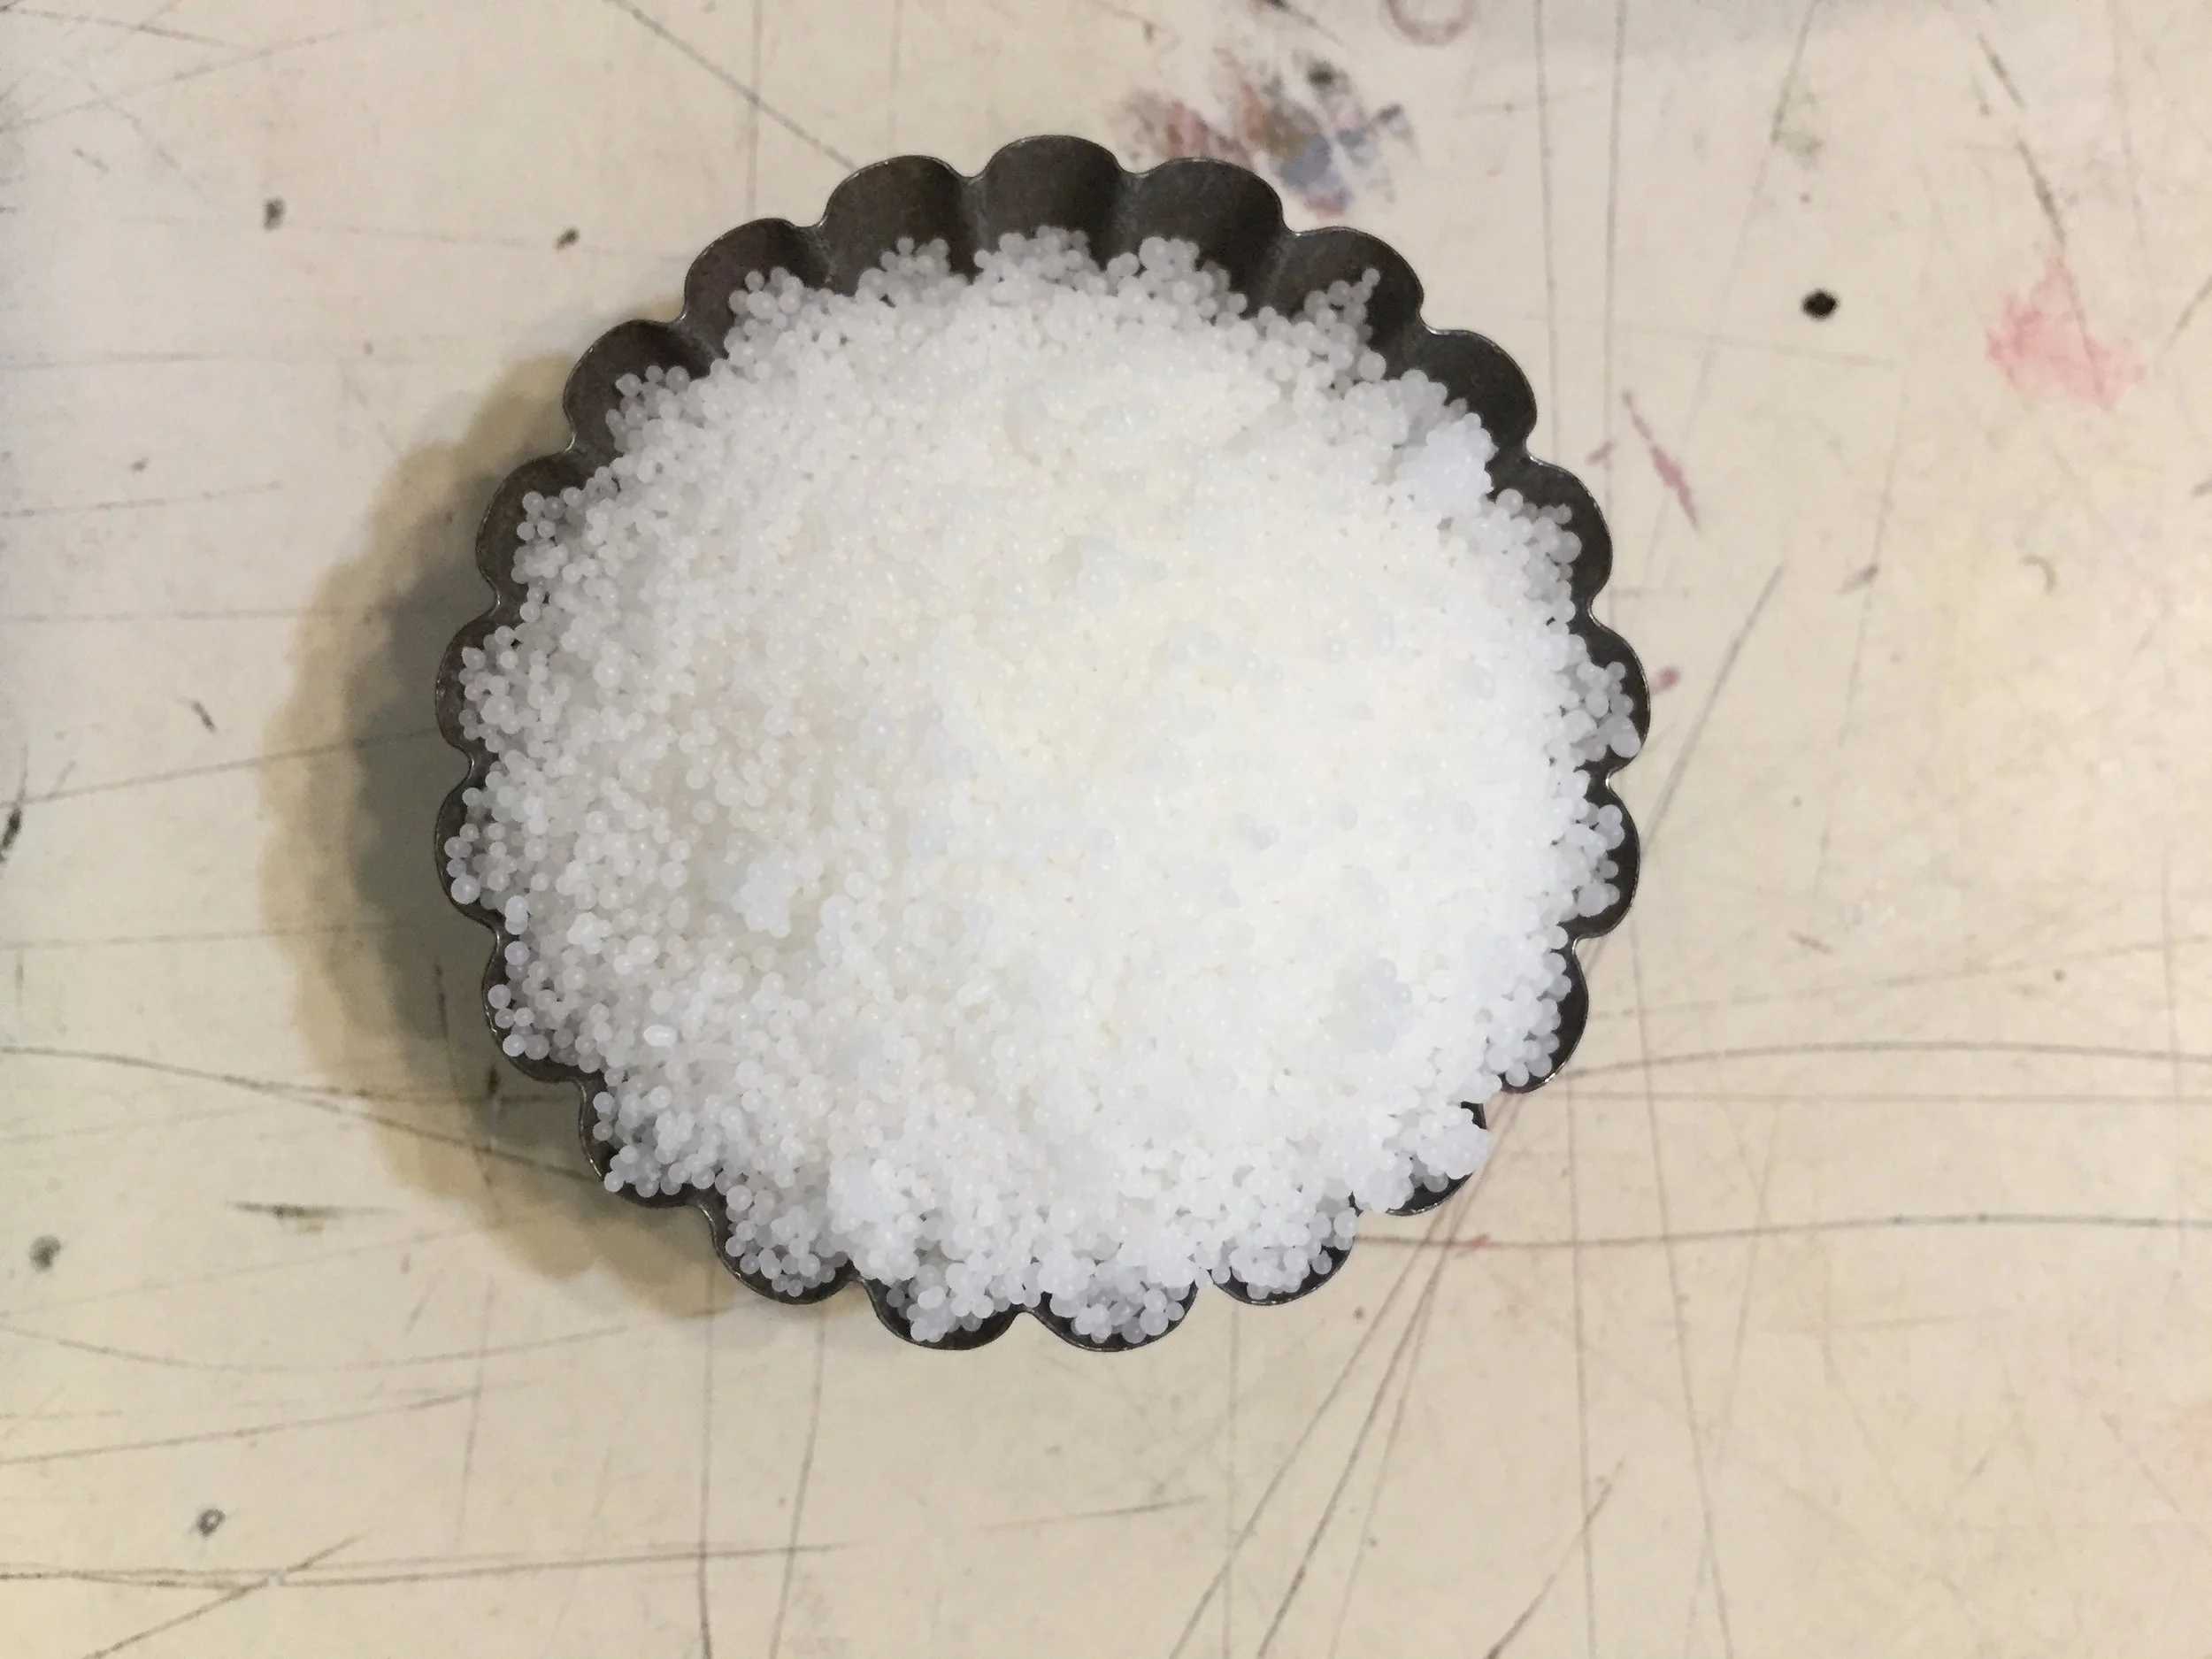
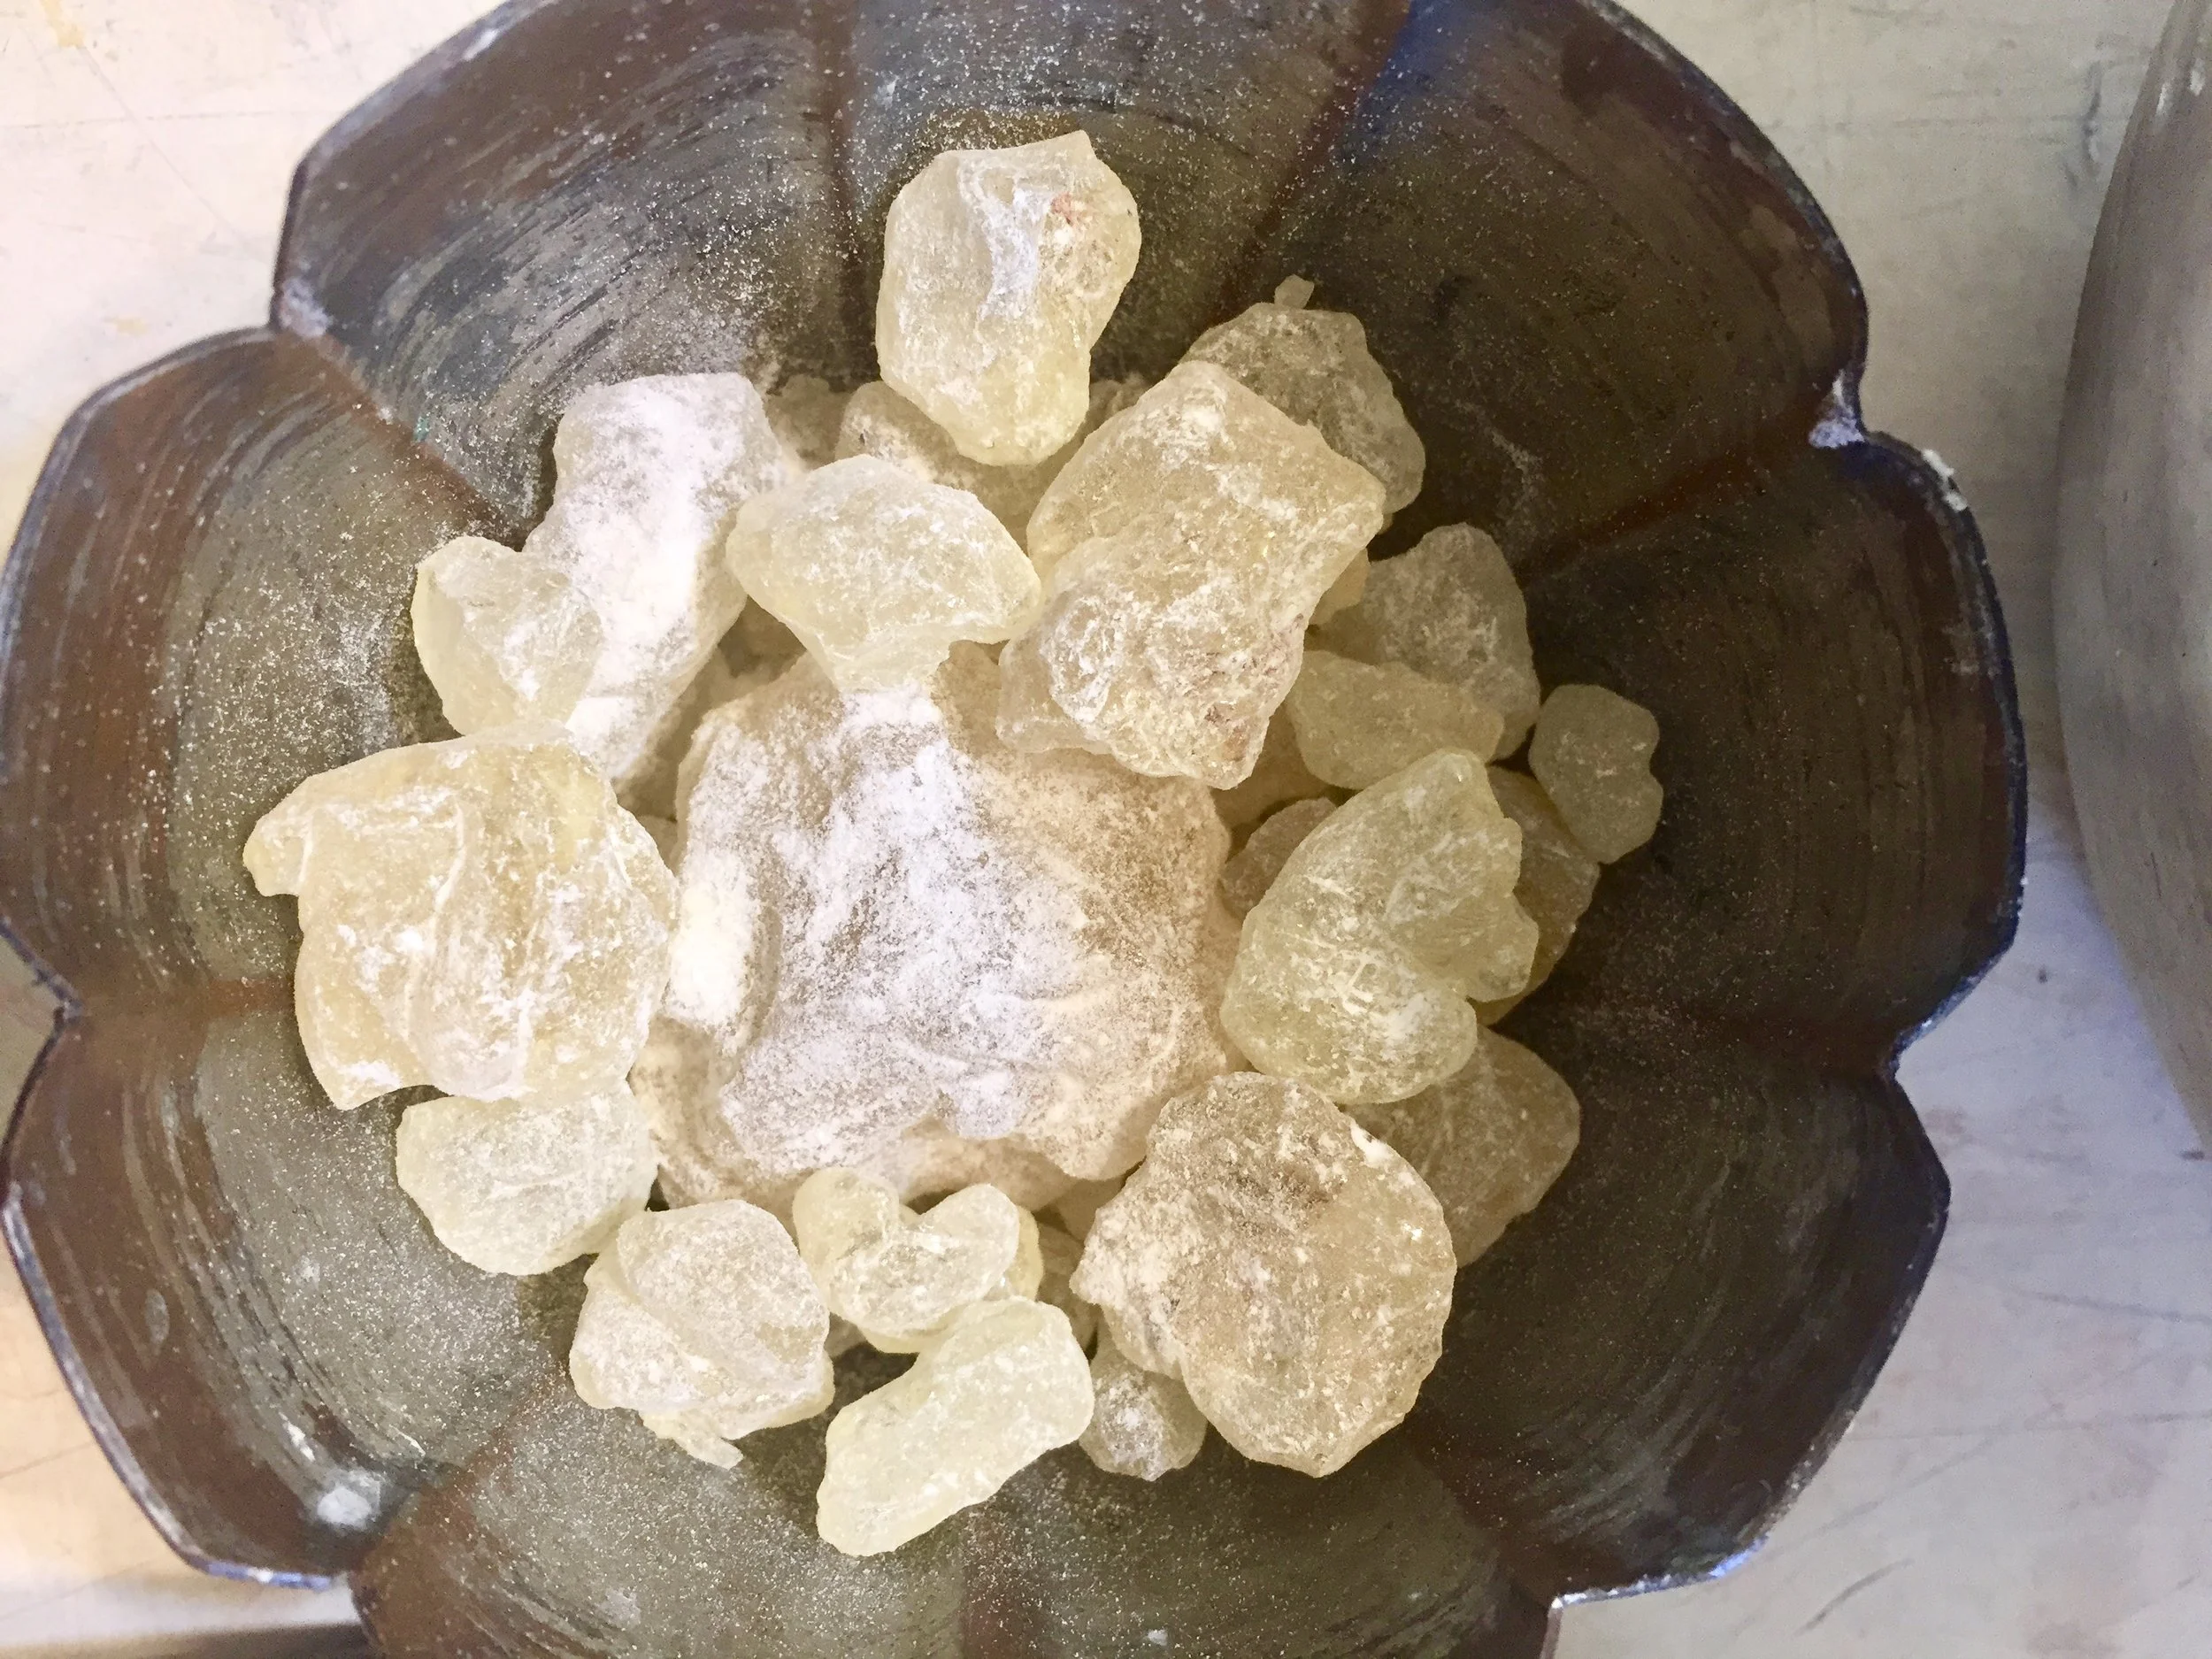
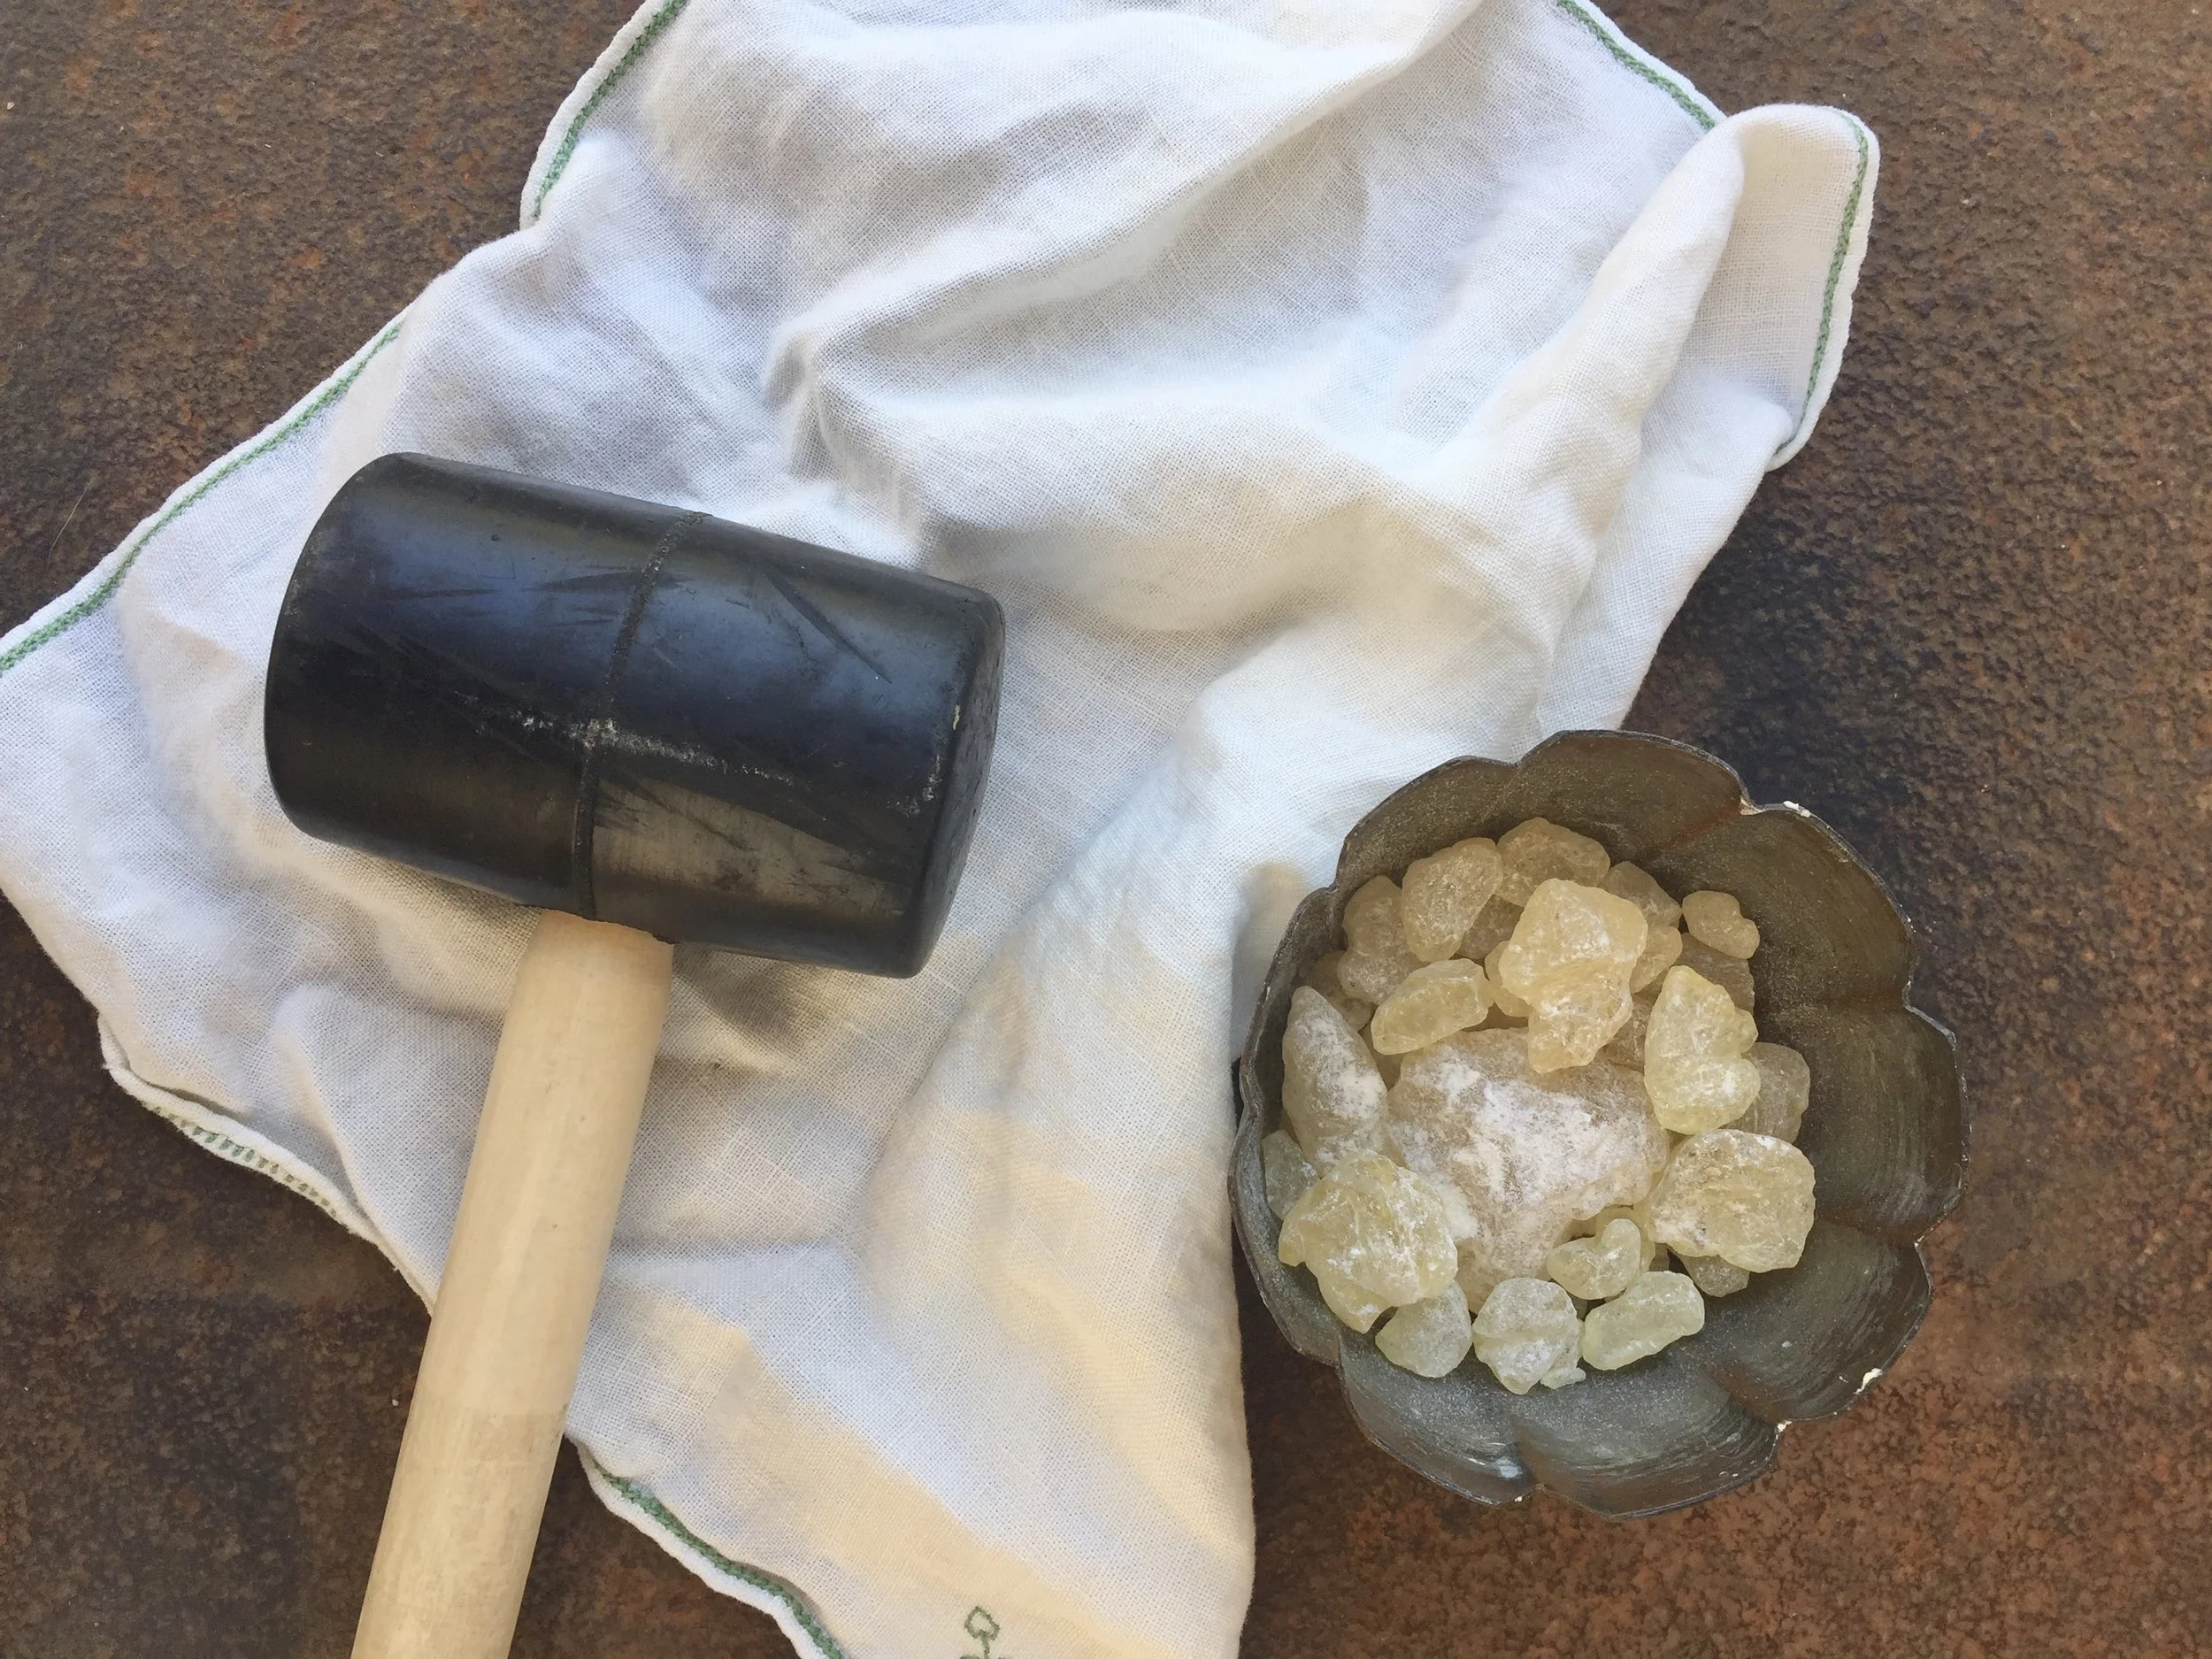
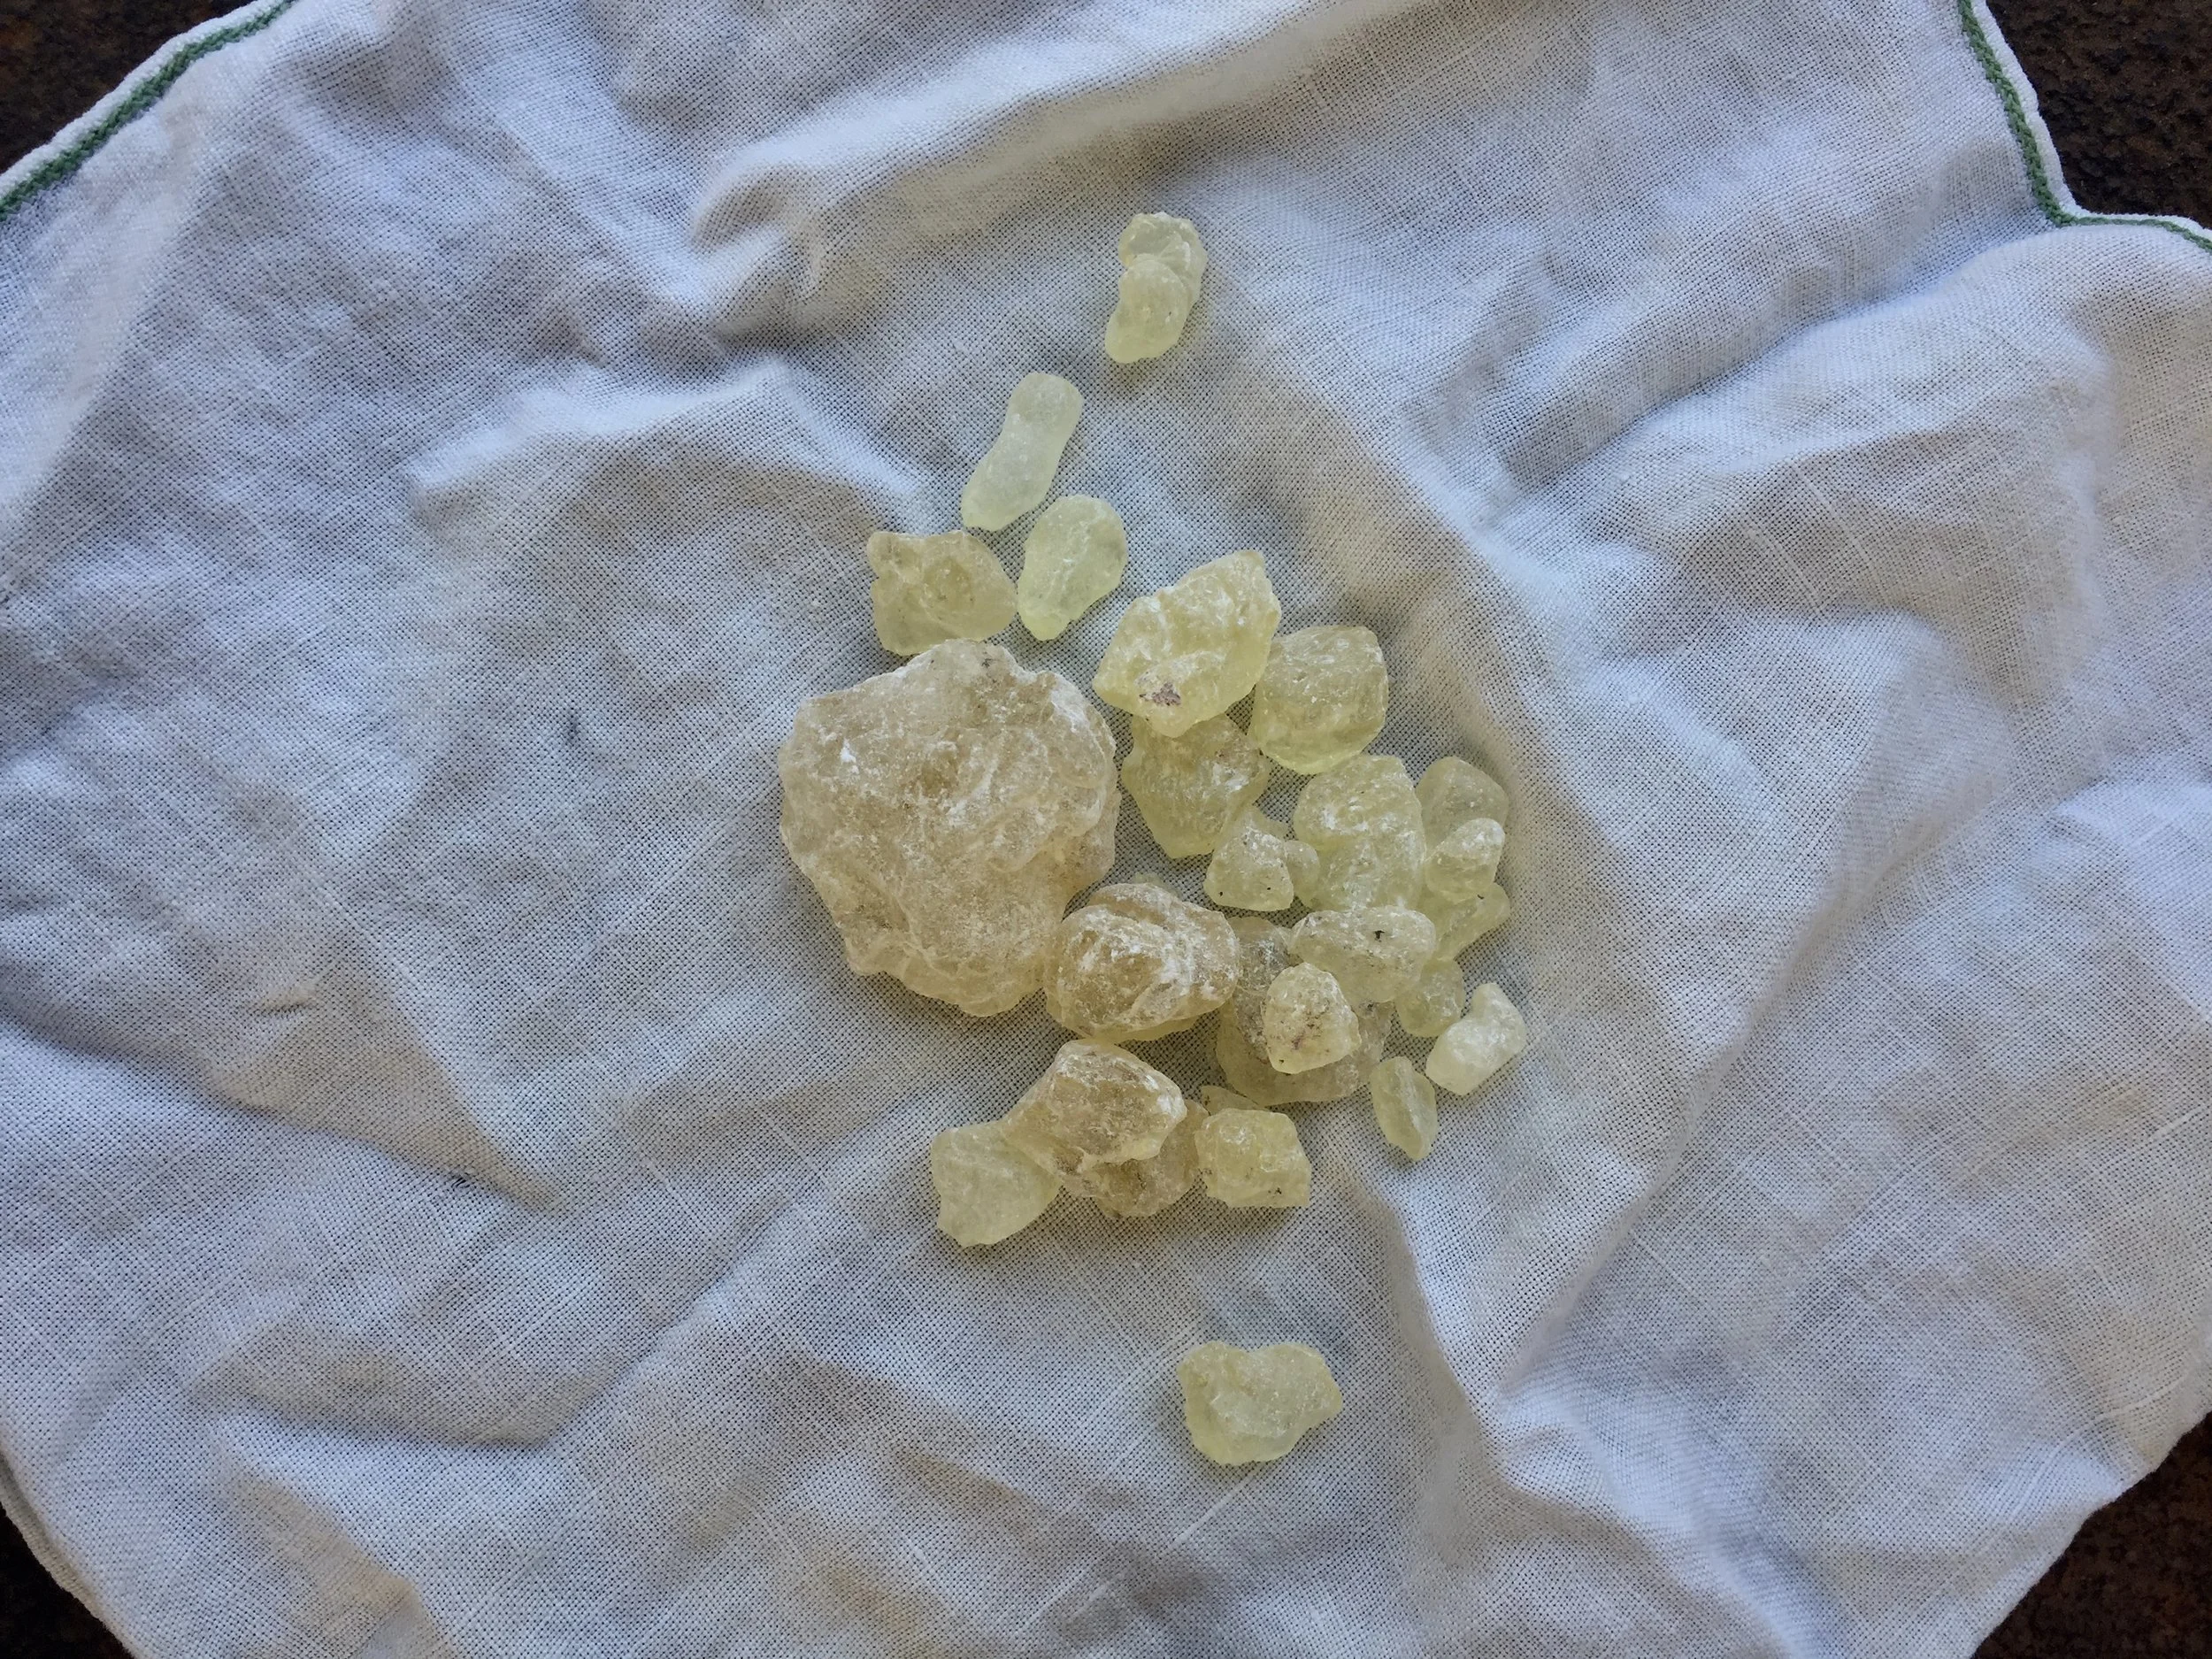
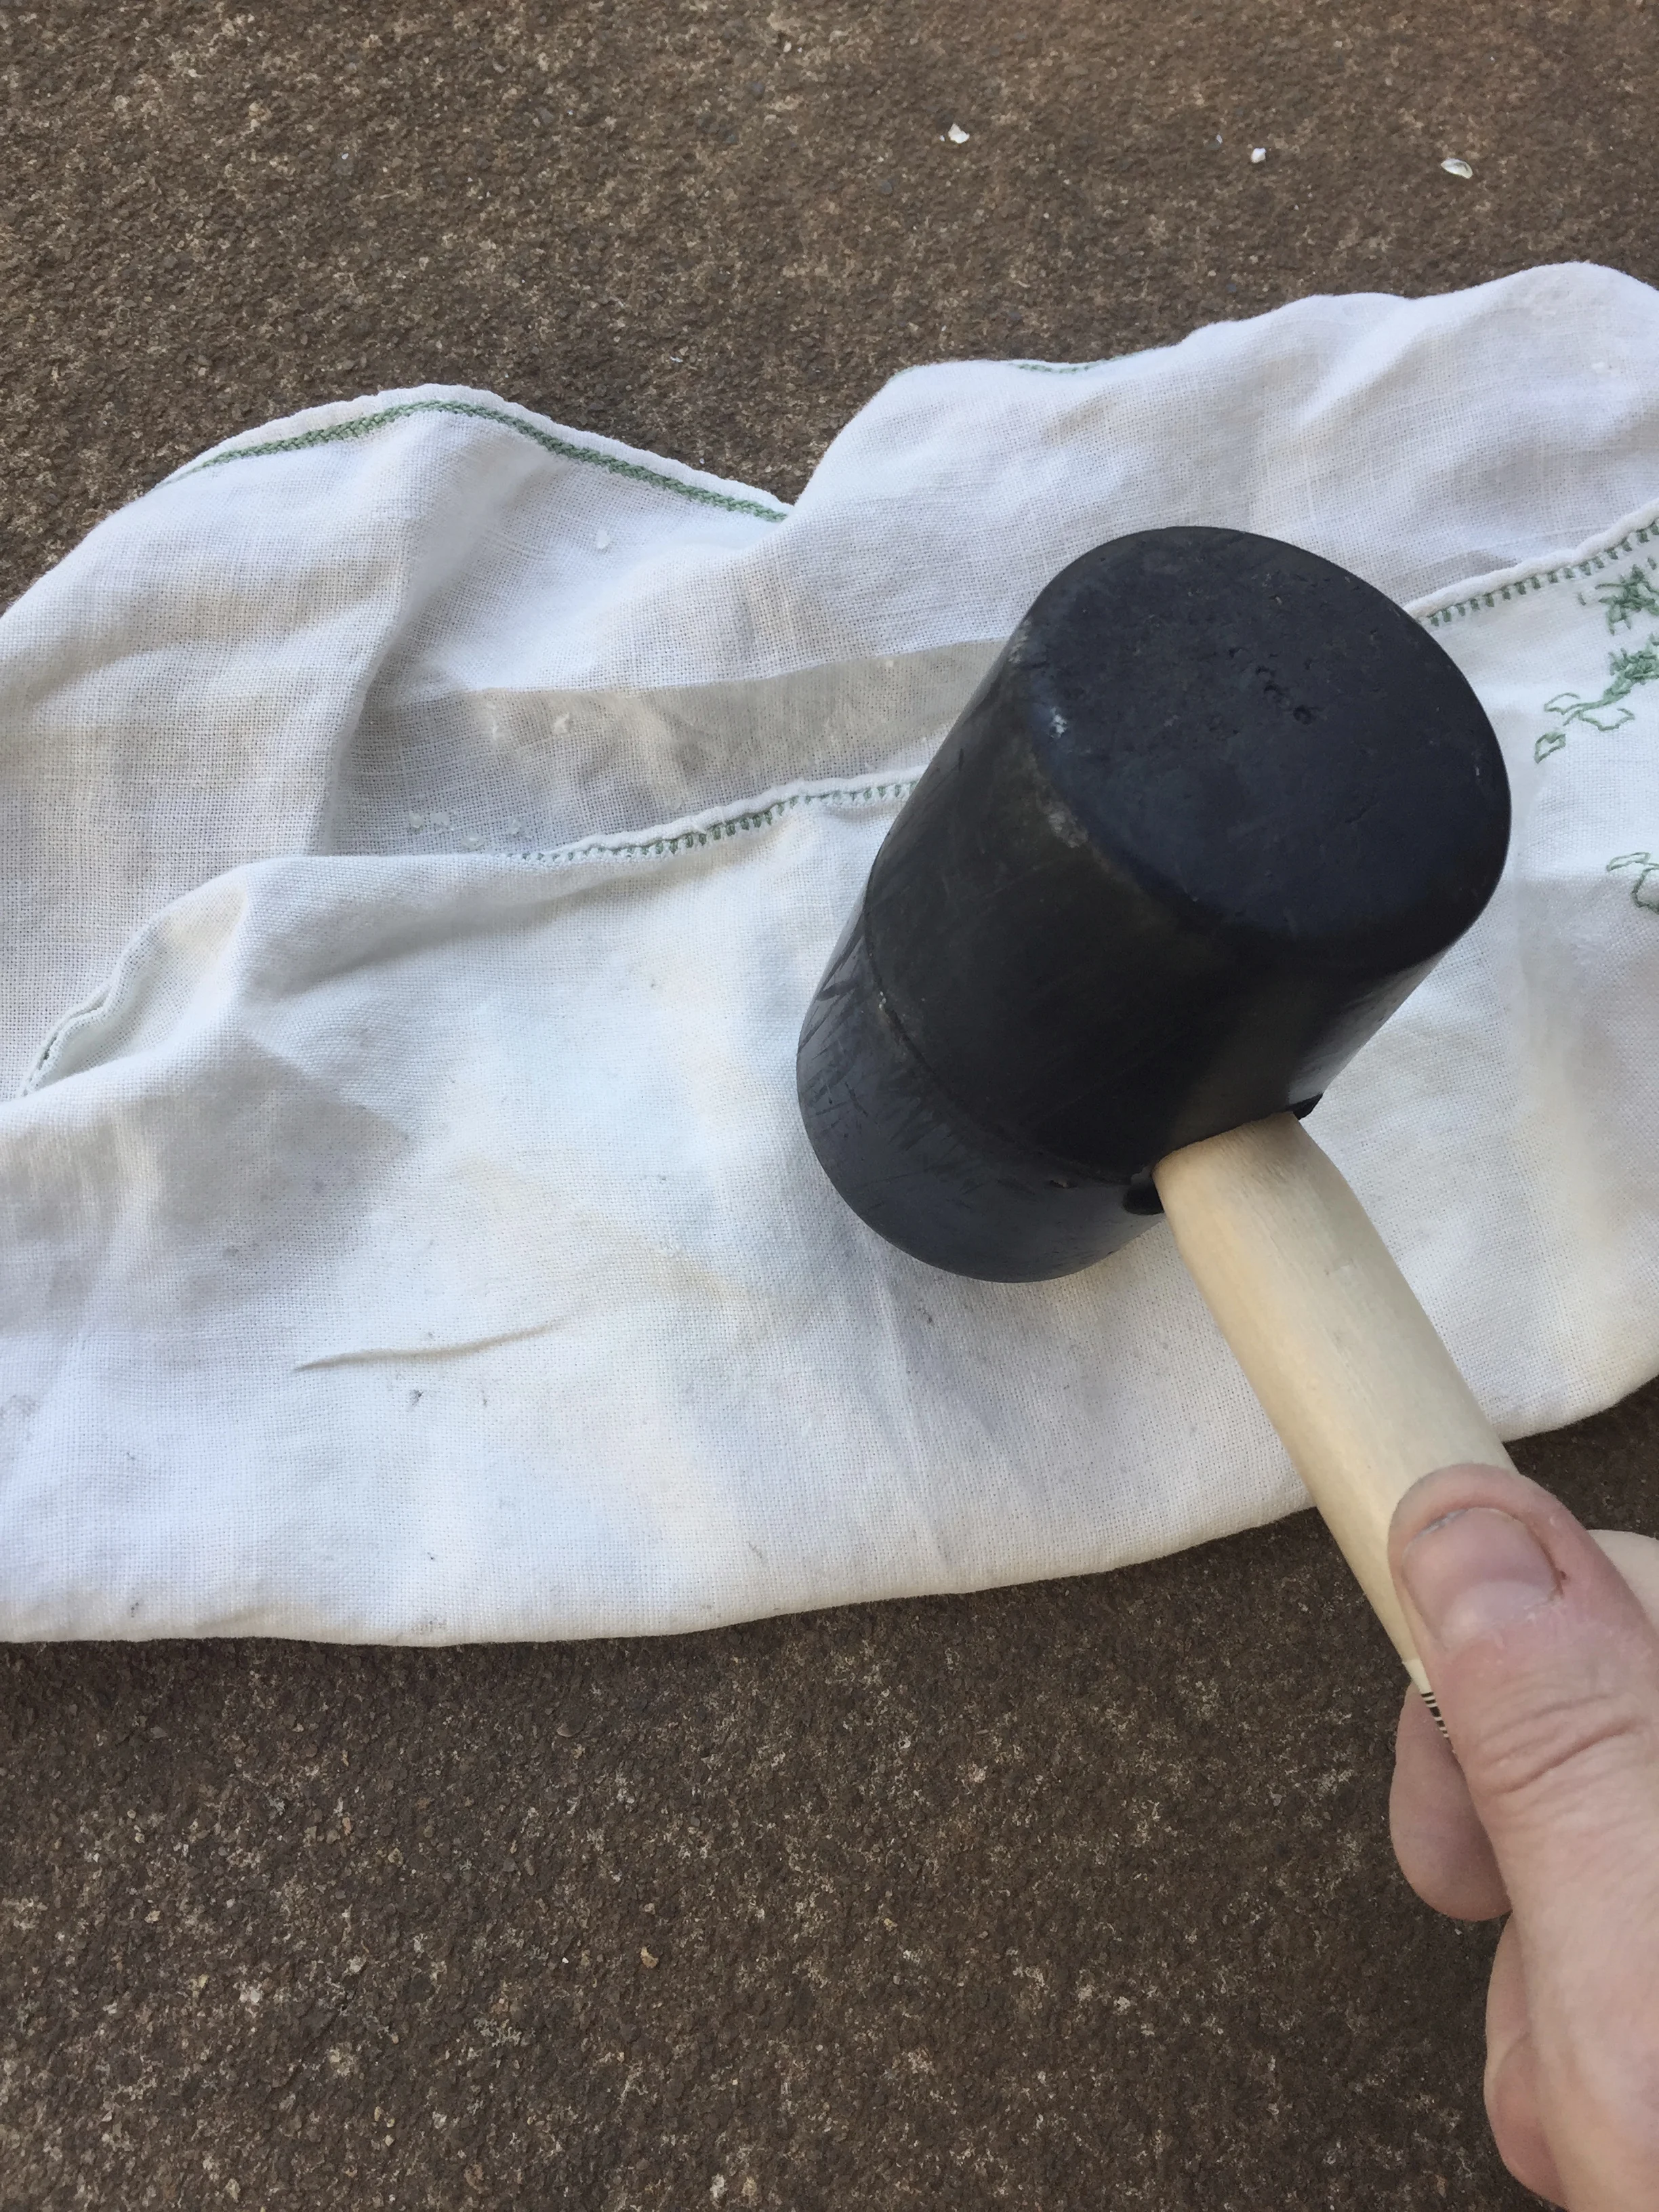
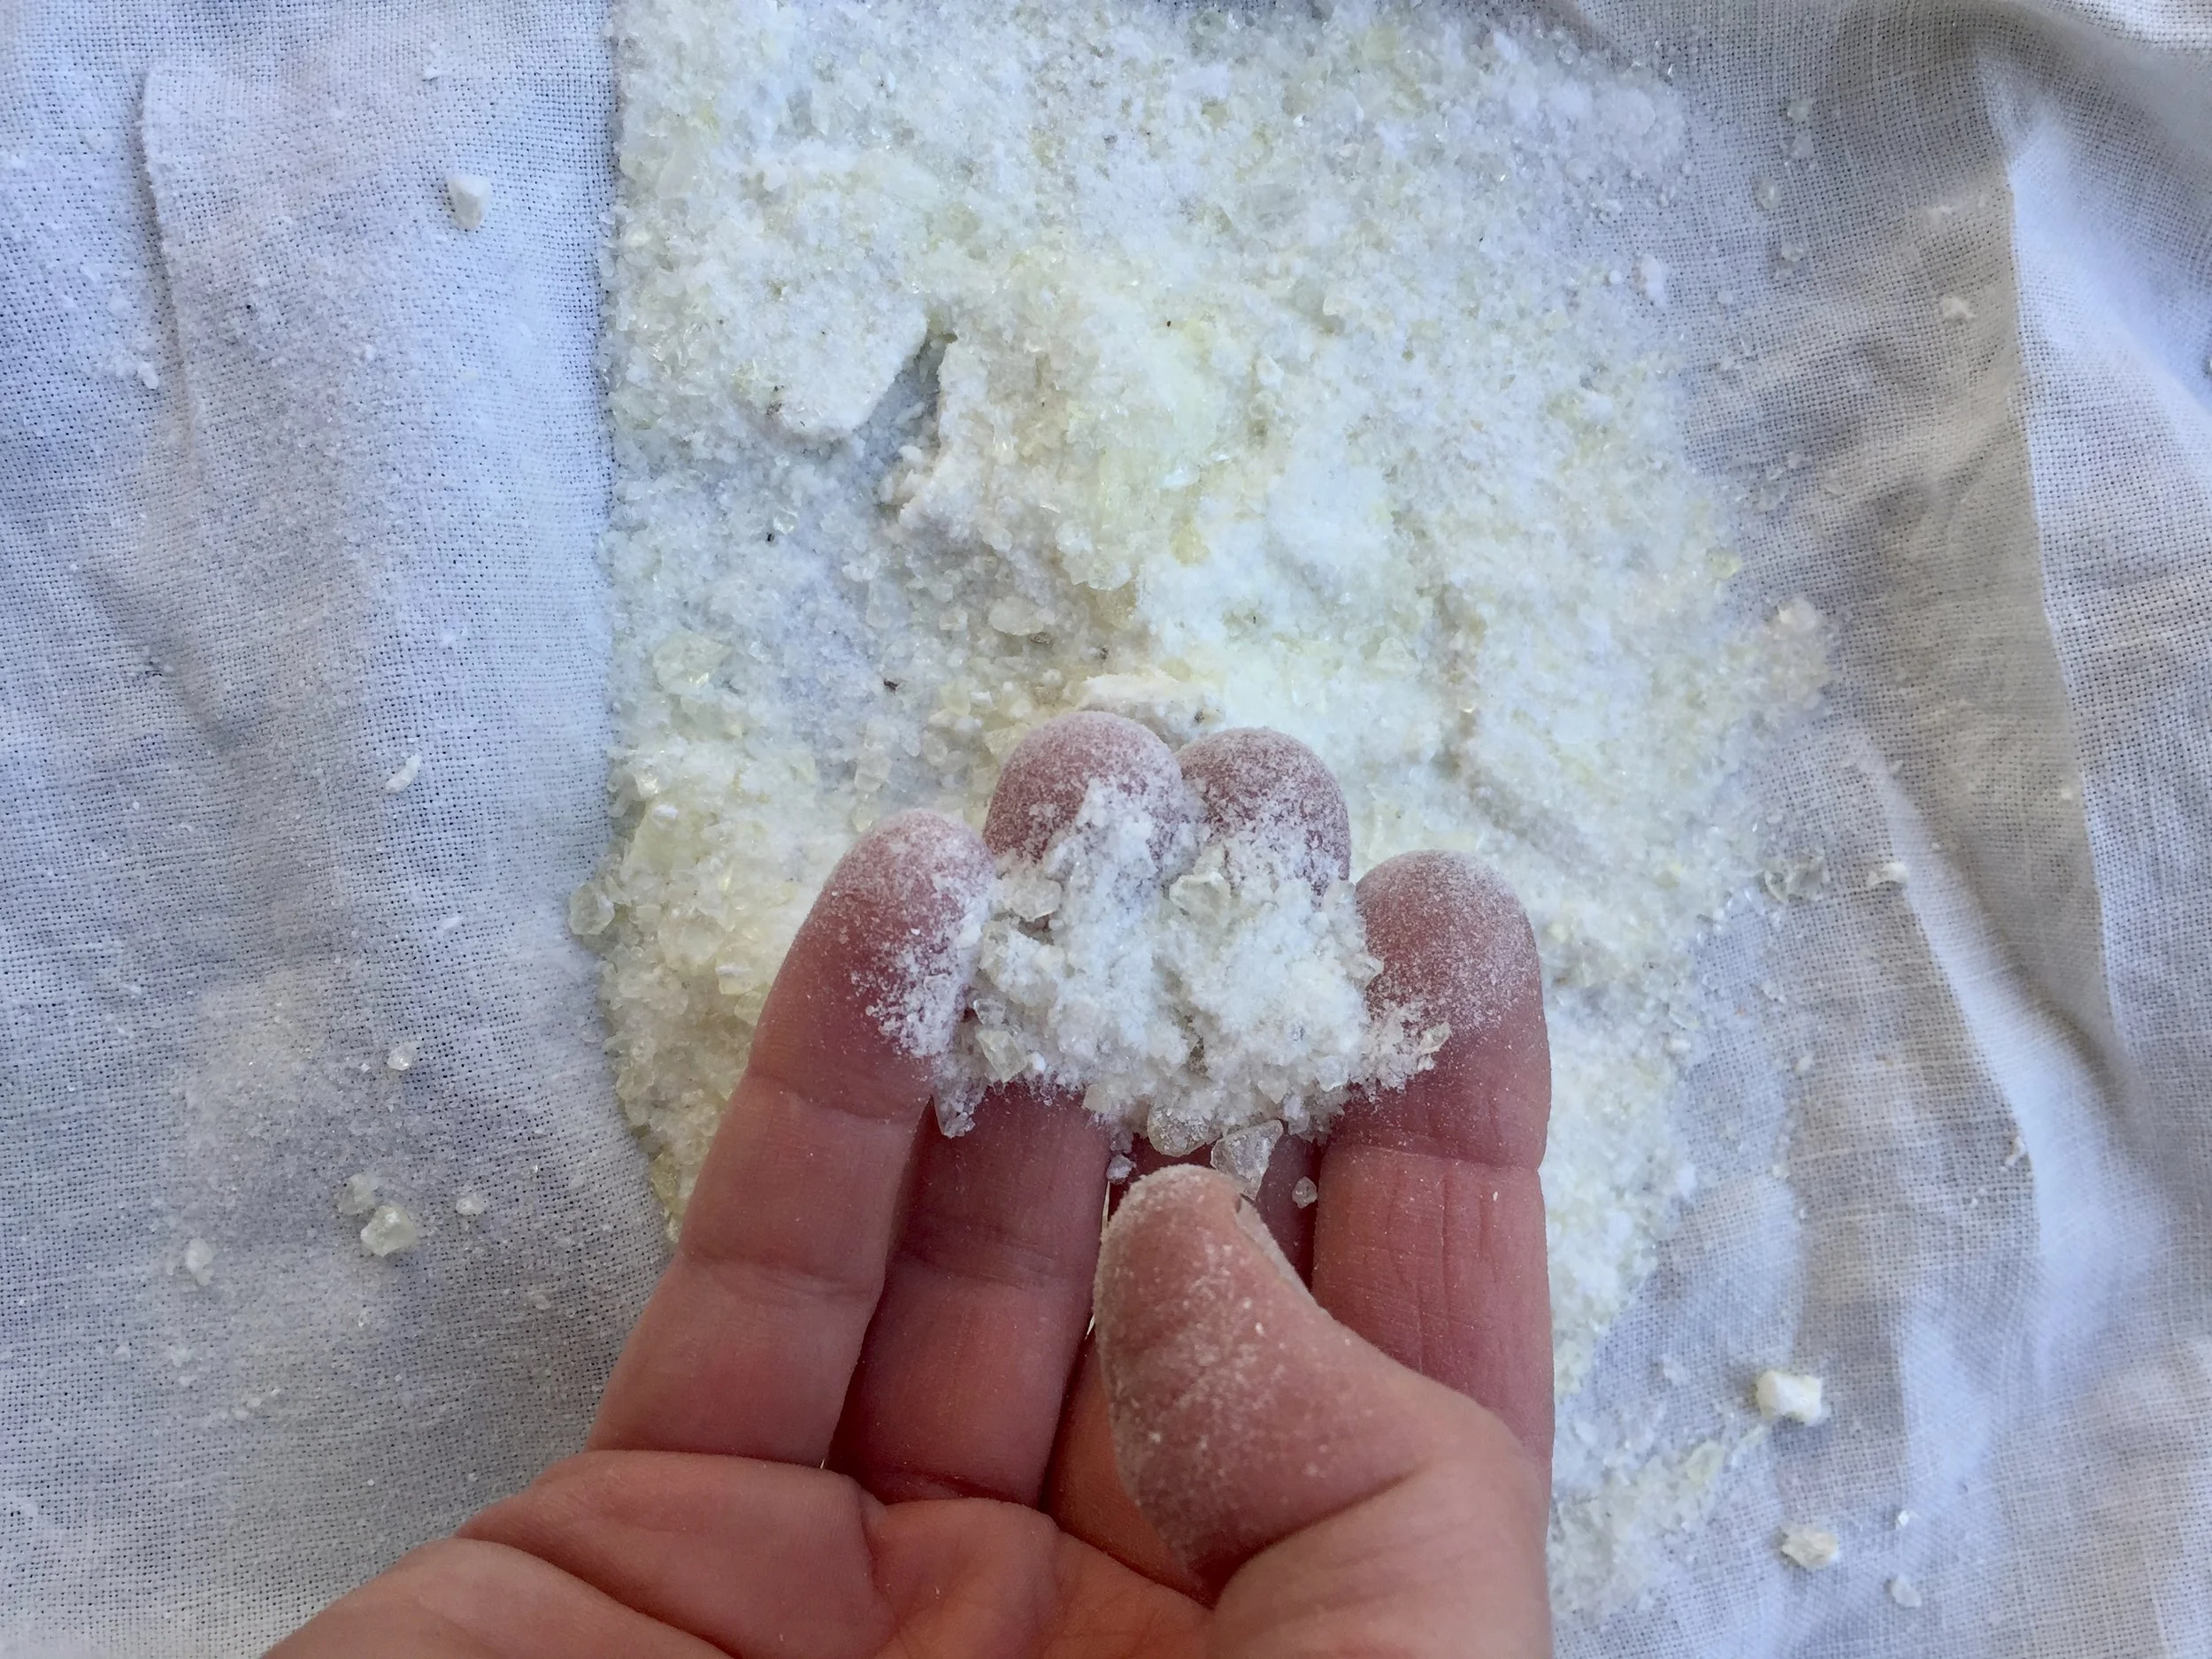
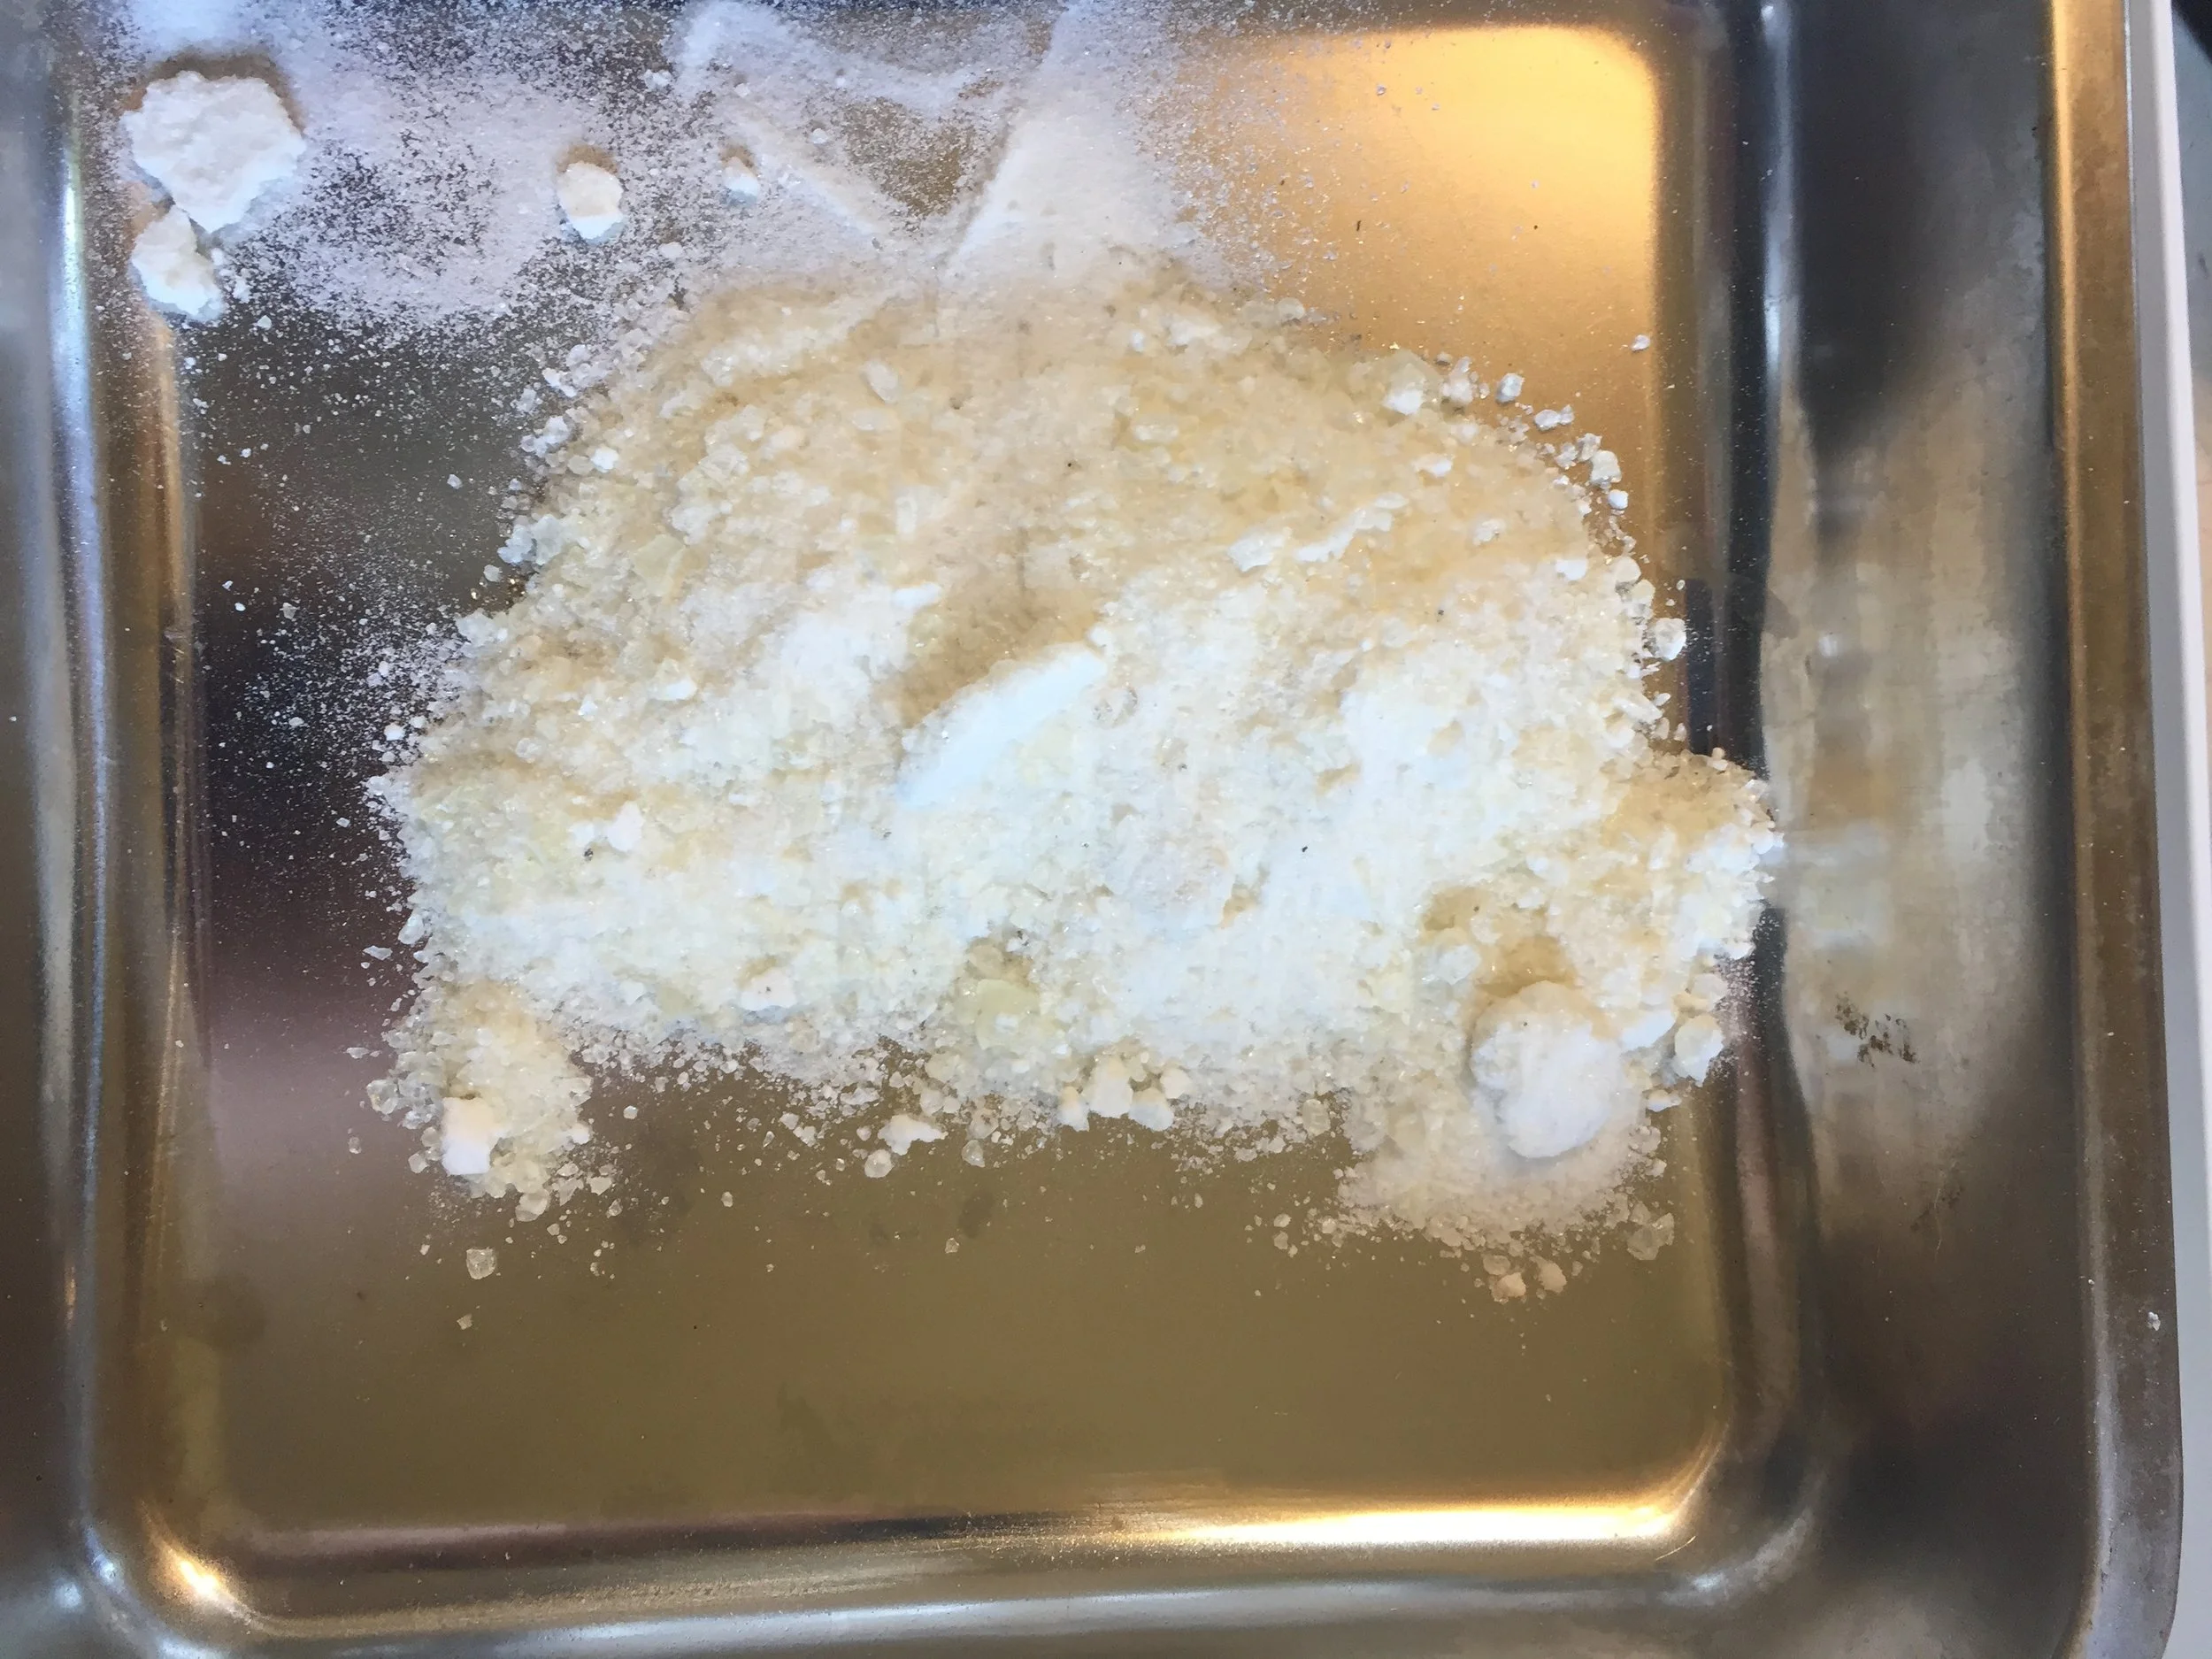

Mixing Damar Resin and Beeswax
Above, I have encaustic medium already mixed with the resin (the first picture, the larger pellets) that I will just need to melt down to use. I also have Damar resin that I need to break down by using a mallet (this helps the resin melt faster than if I just tossed in some big chunks) that I will mix with pure refined beeswax.
What is Damar Resin? It's a natural sap taken from the Dipterocarpaceae Trees in East Asia. The sap is collected and air dried. It is often used in art supplies, incense, and different foods.
I used about 1:8 - 1 part Resin 8 parts Wax. You can change this ratio to 1: 10 or 1:5 or whatever works for you, depending on how hard you want your wax to be once it's dried. If you don't want to think about it at all just buy the already mixed encaustic wax. It's prefect for those that don't want the mess and hassle of the resin. If you want to make your own paints and really get into encaustics it will be more affordable in the long run to make your own encaustic paints.
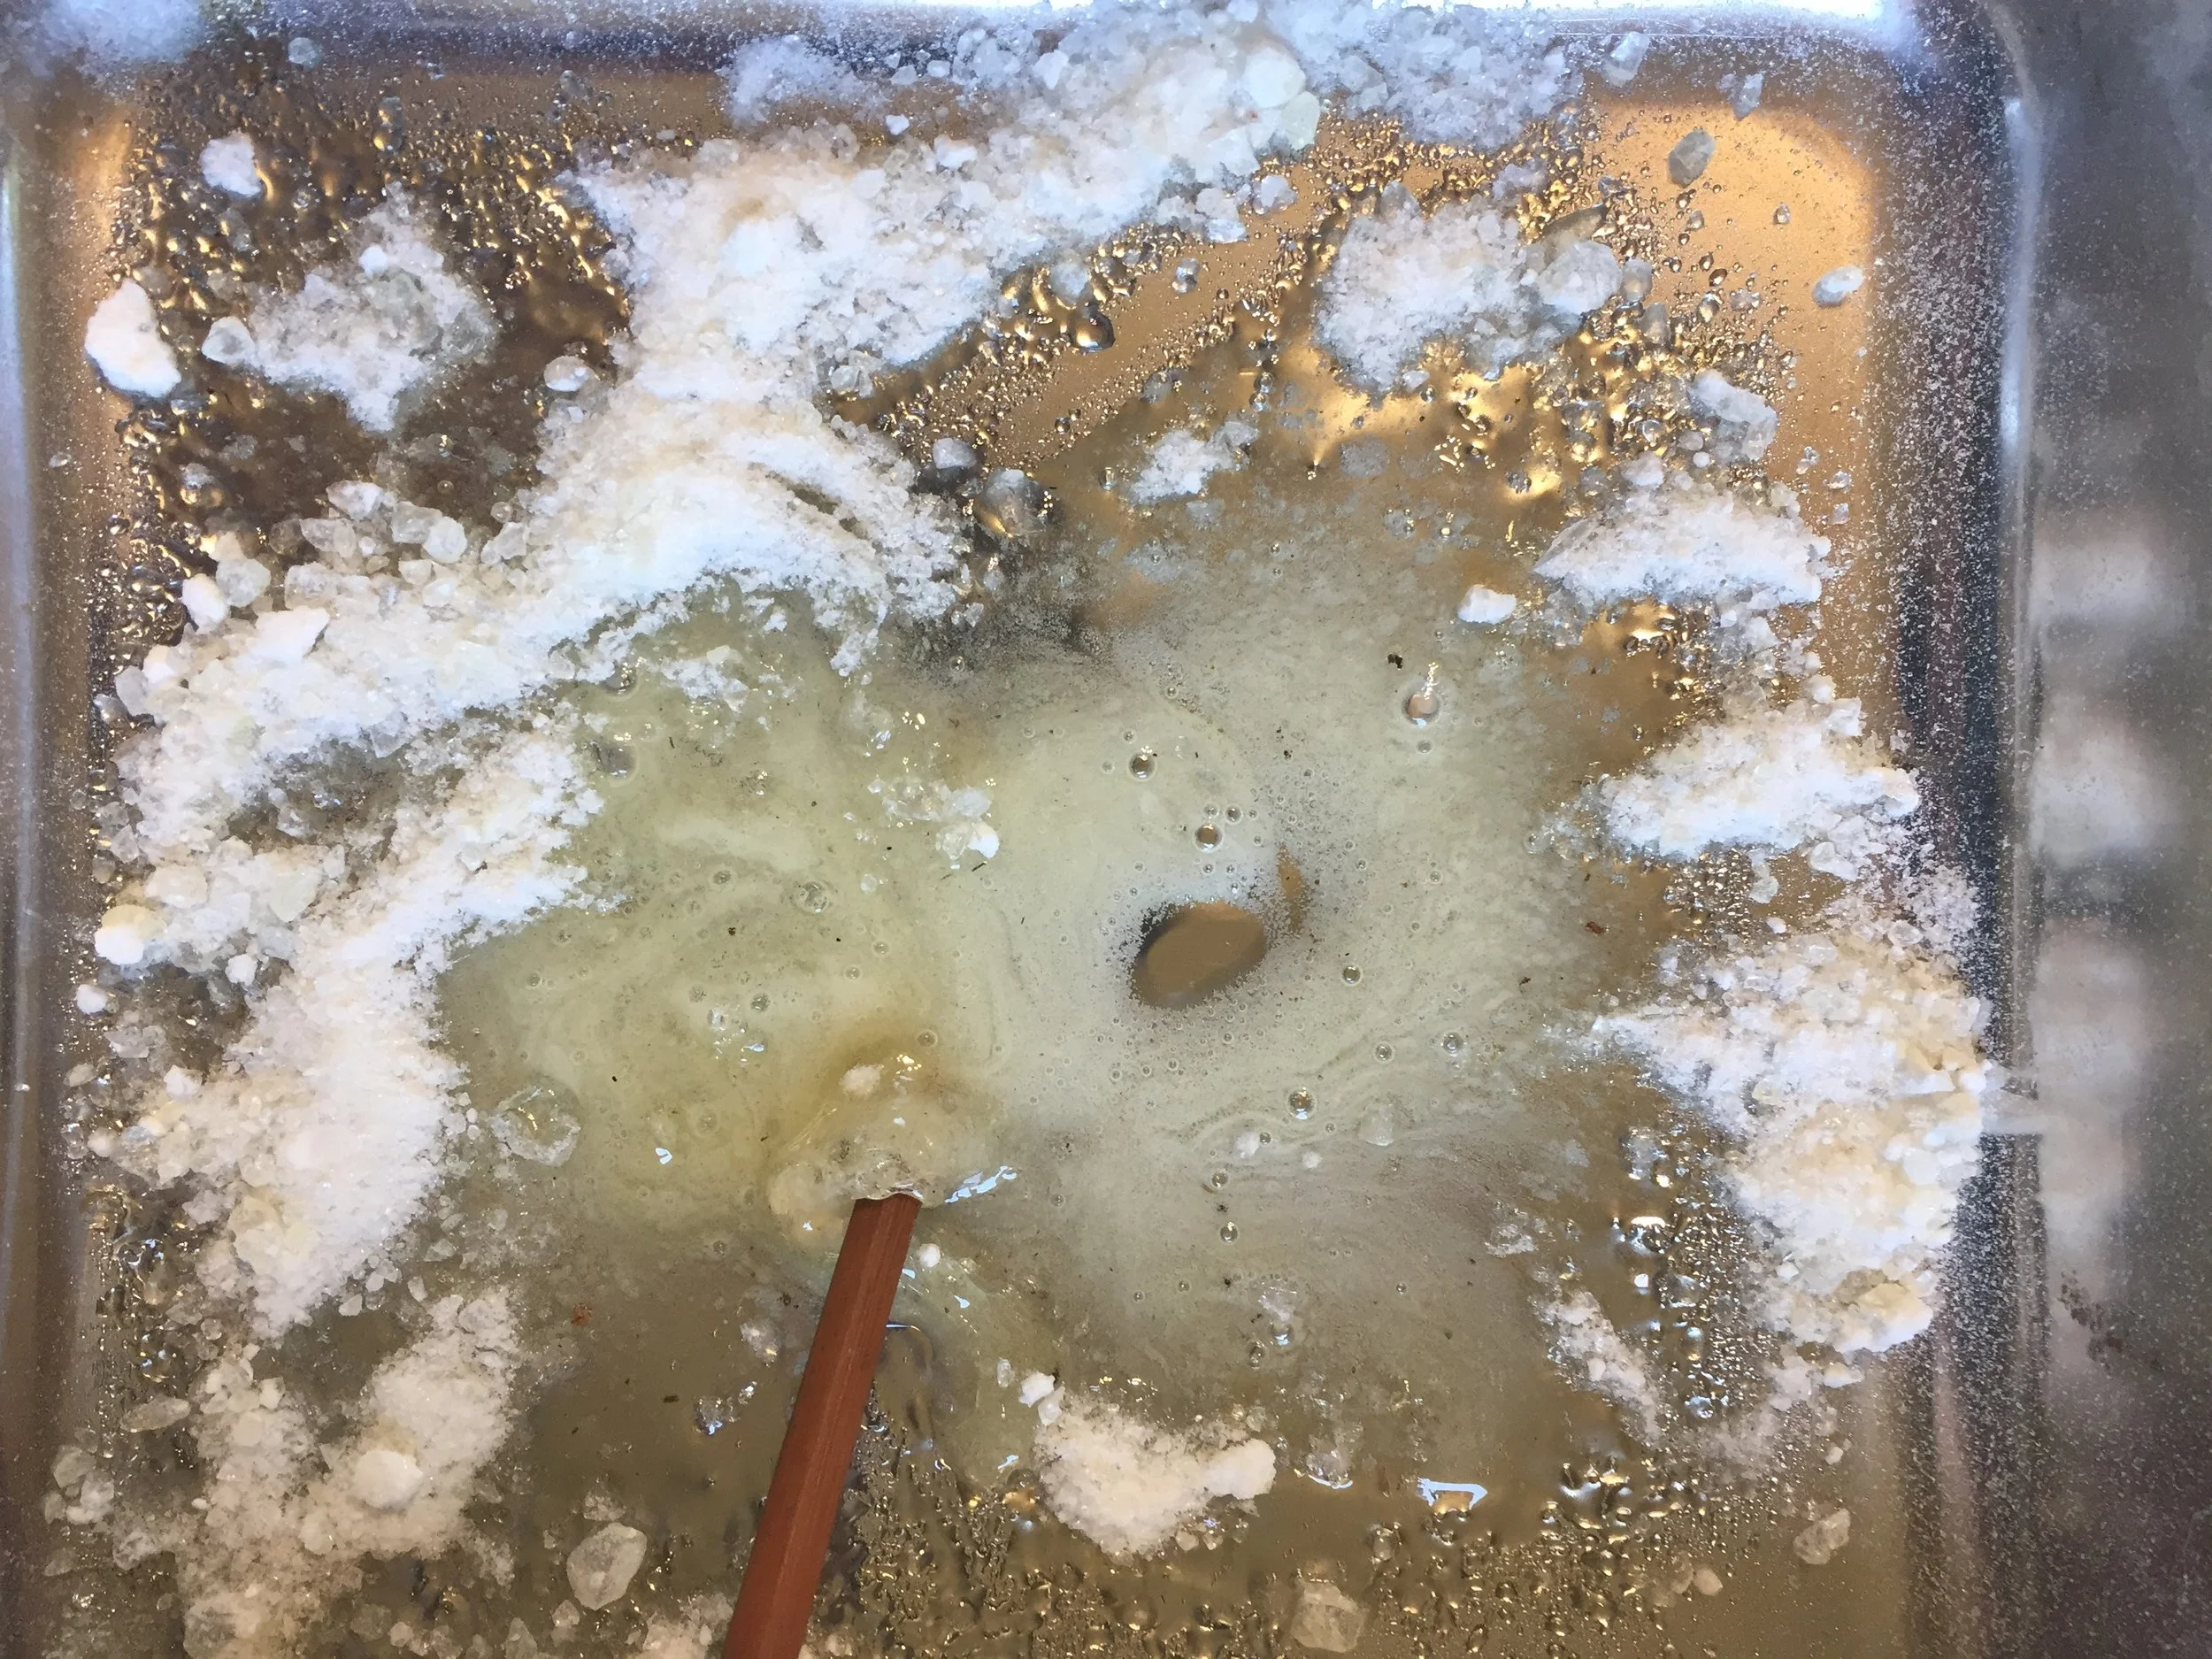
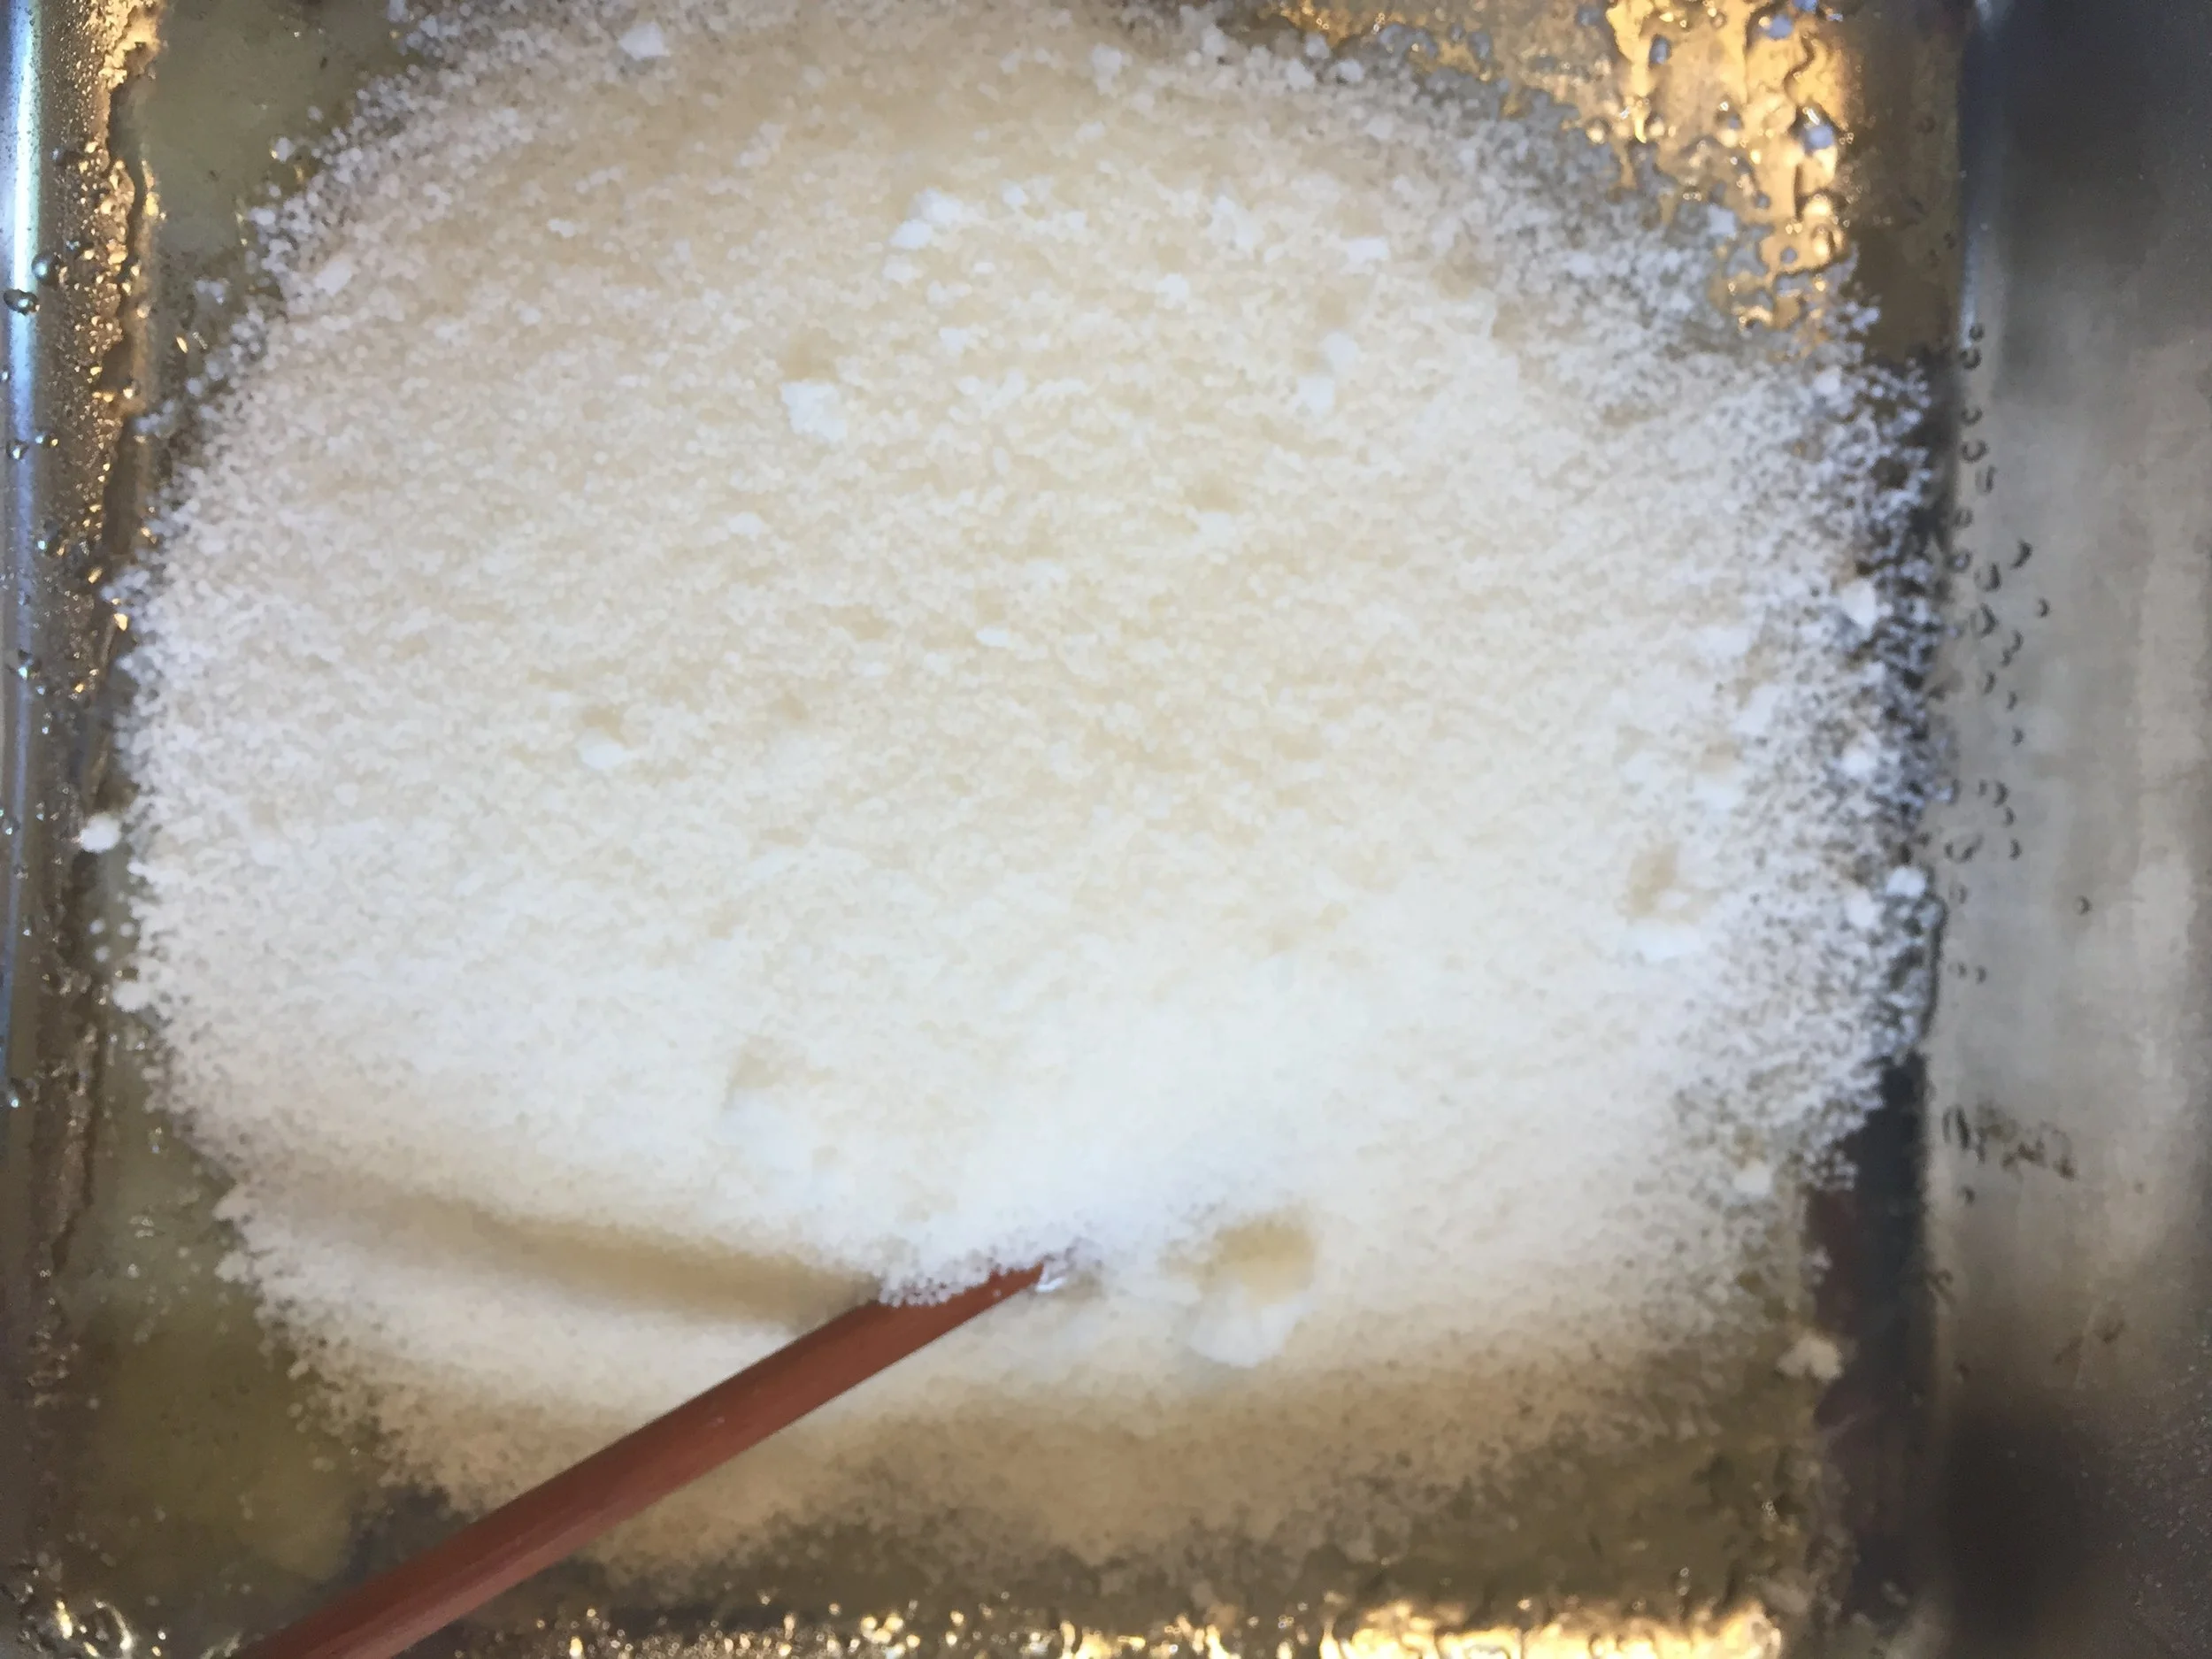
Damar melts at a higher temp. 225°F - You will want to put it in the pan to melt first, then once it has melted turn the heat to a lower temp. and add the wax. Wax melts at about 150°F. Stir them together to make sure you mix in all of the resin. It can take a little time to make sure they are well mixed.
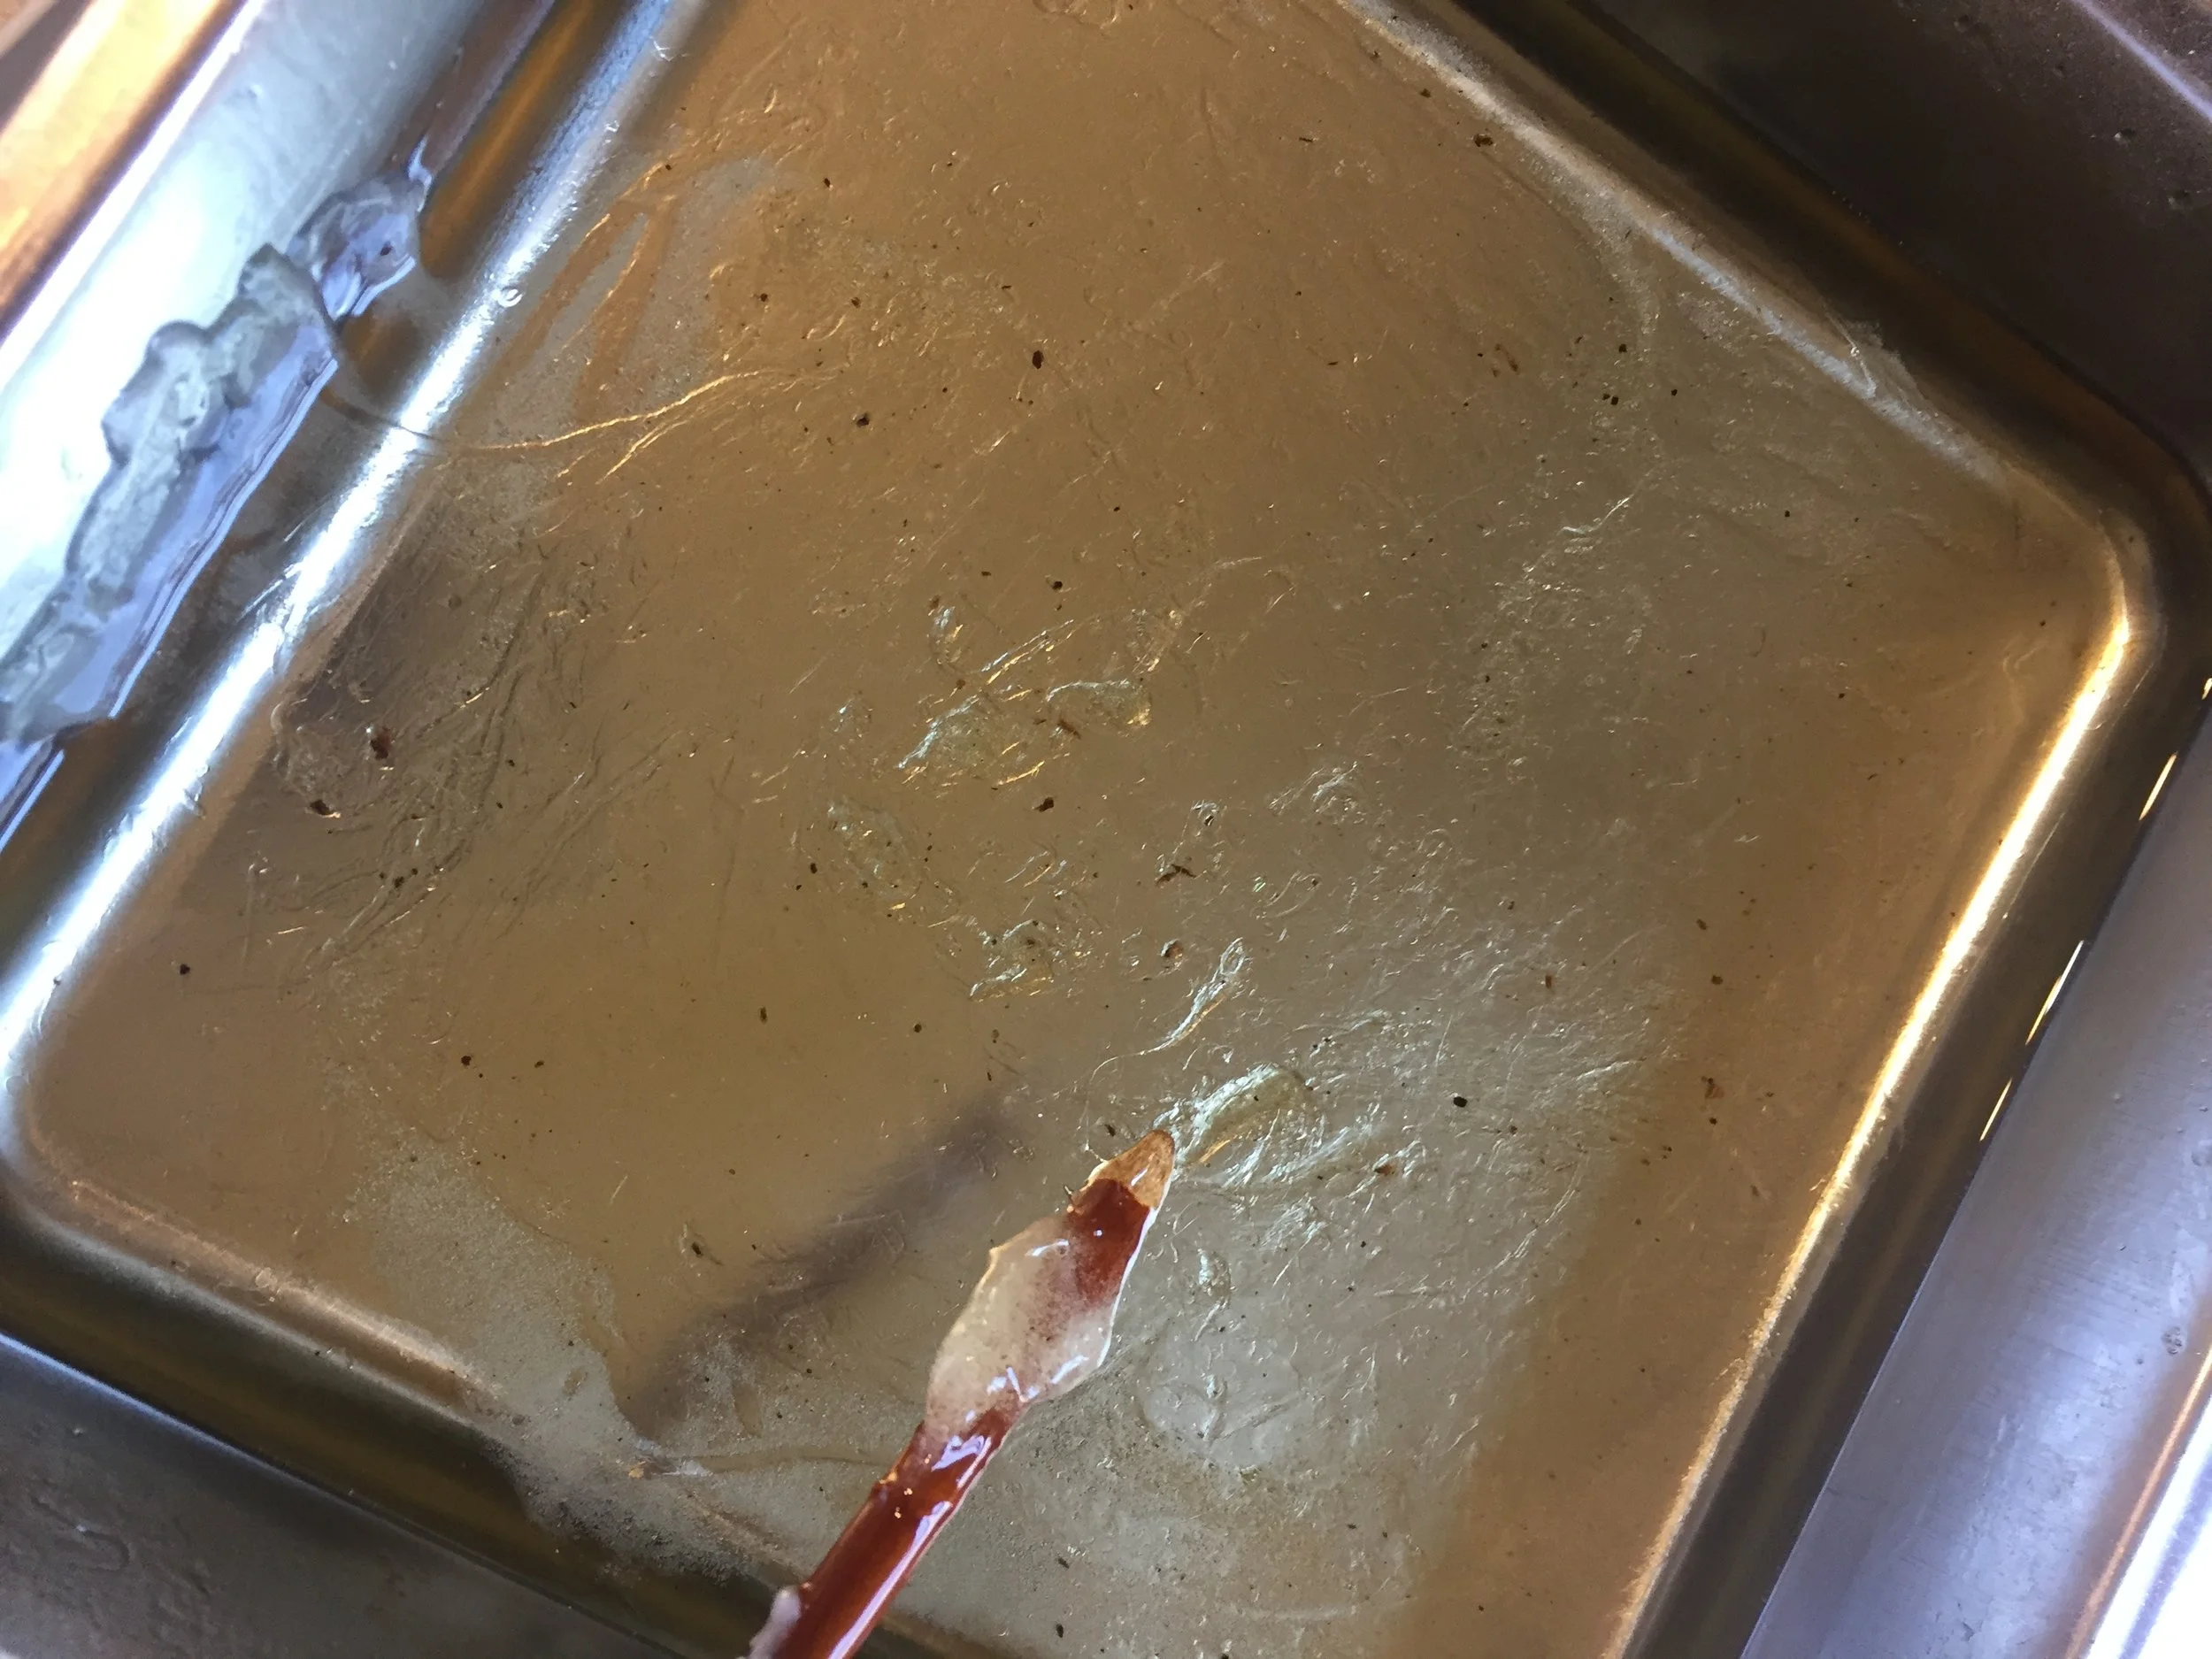
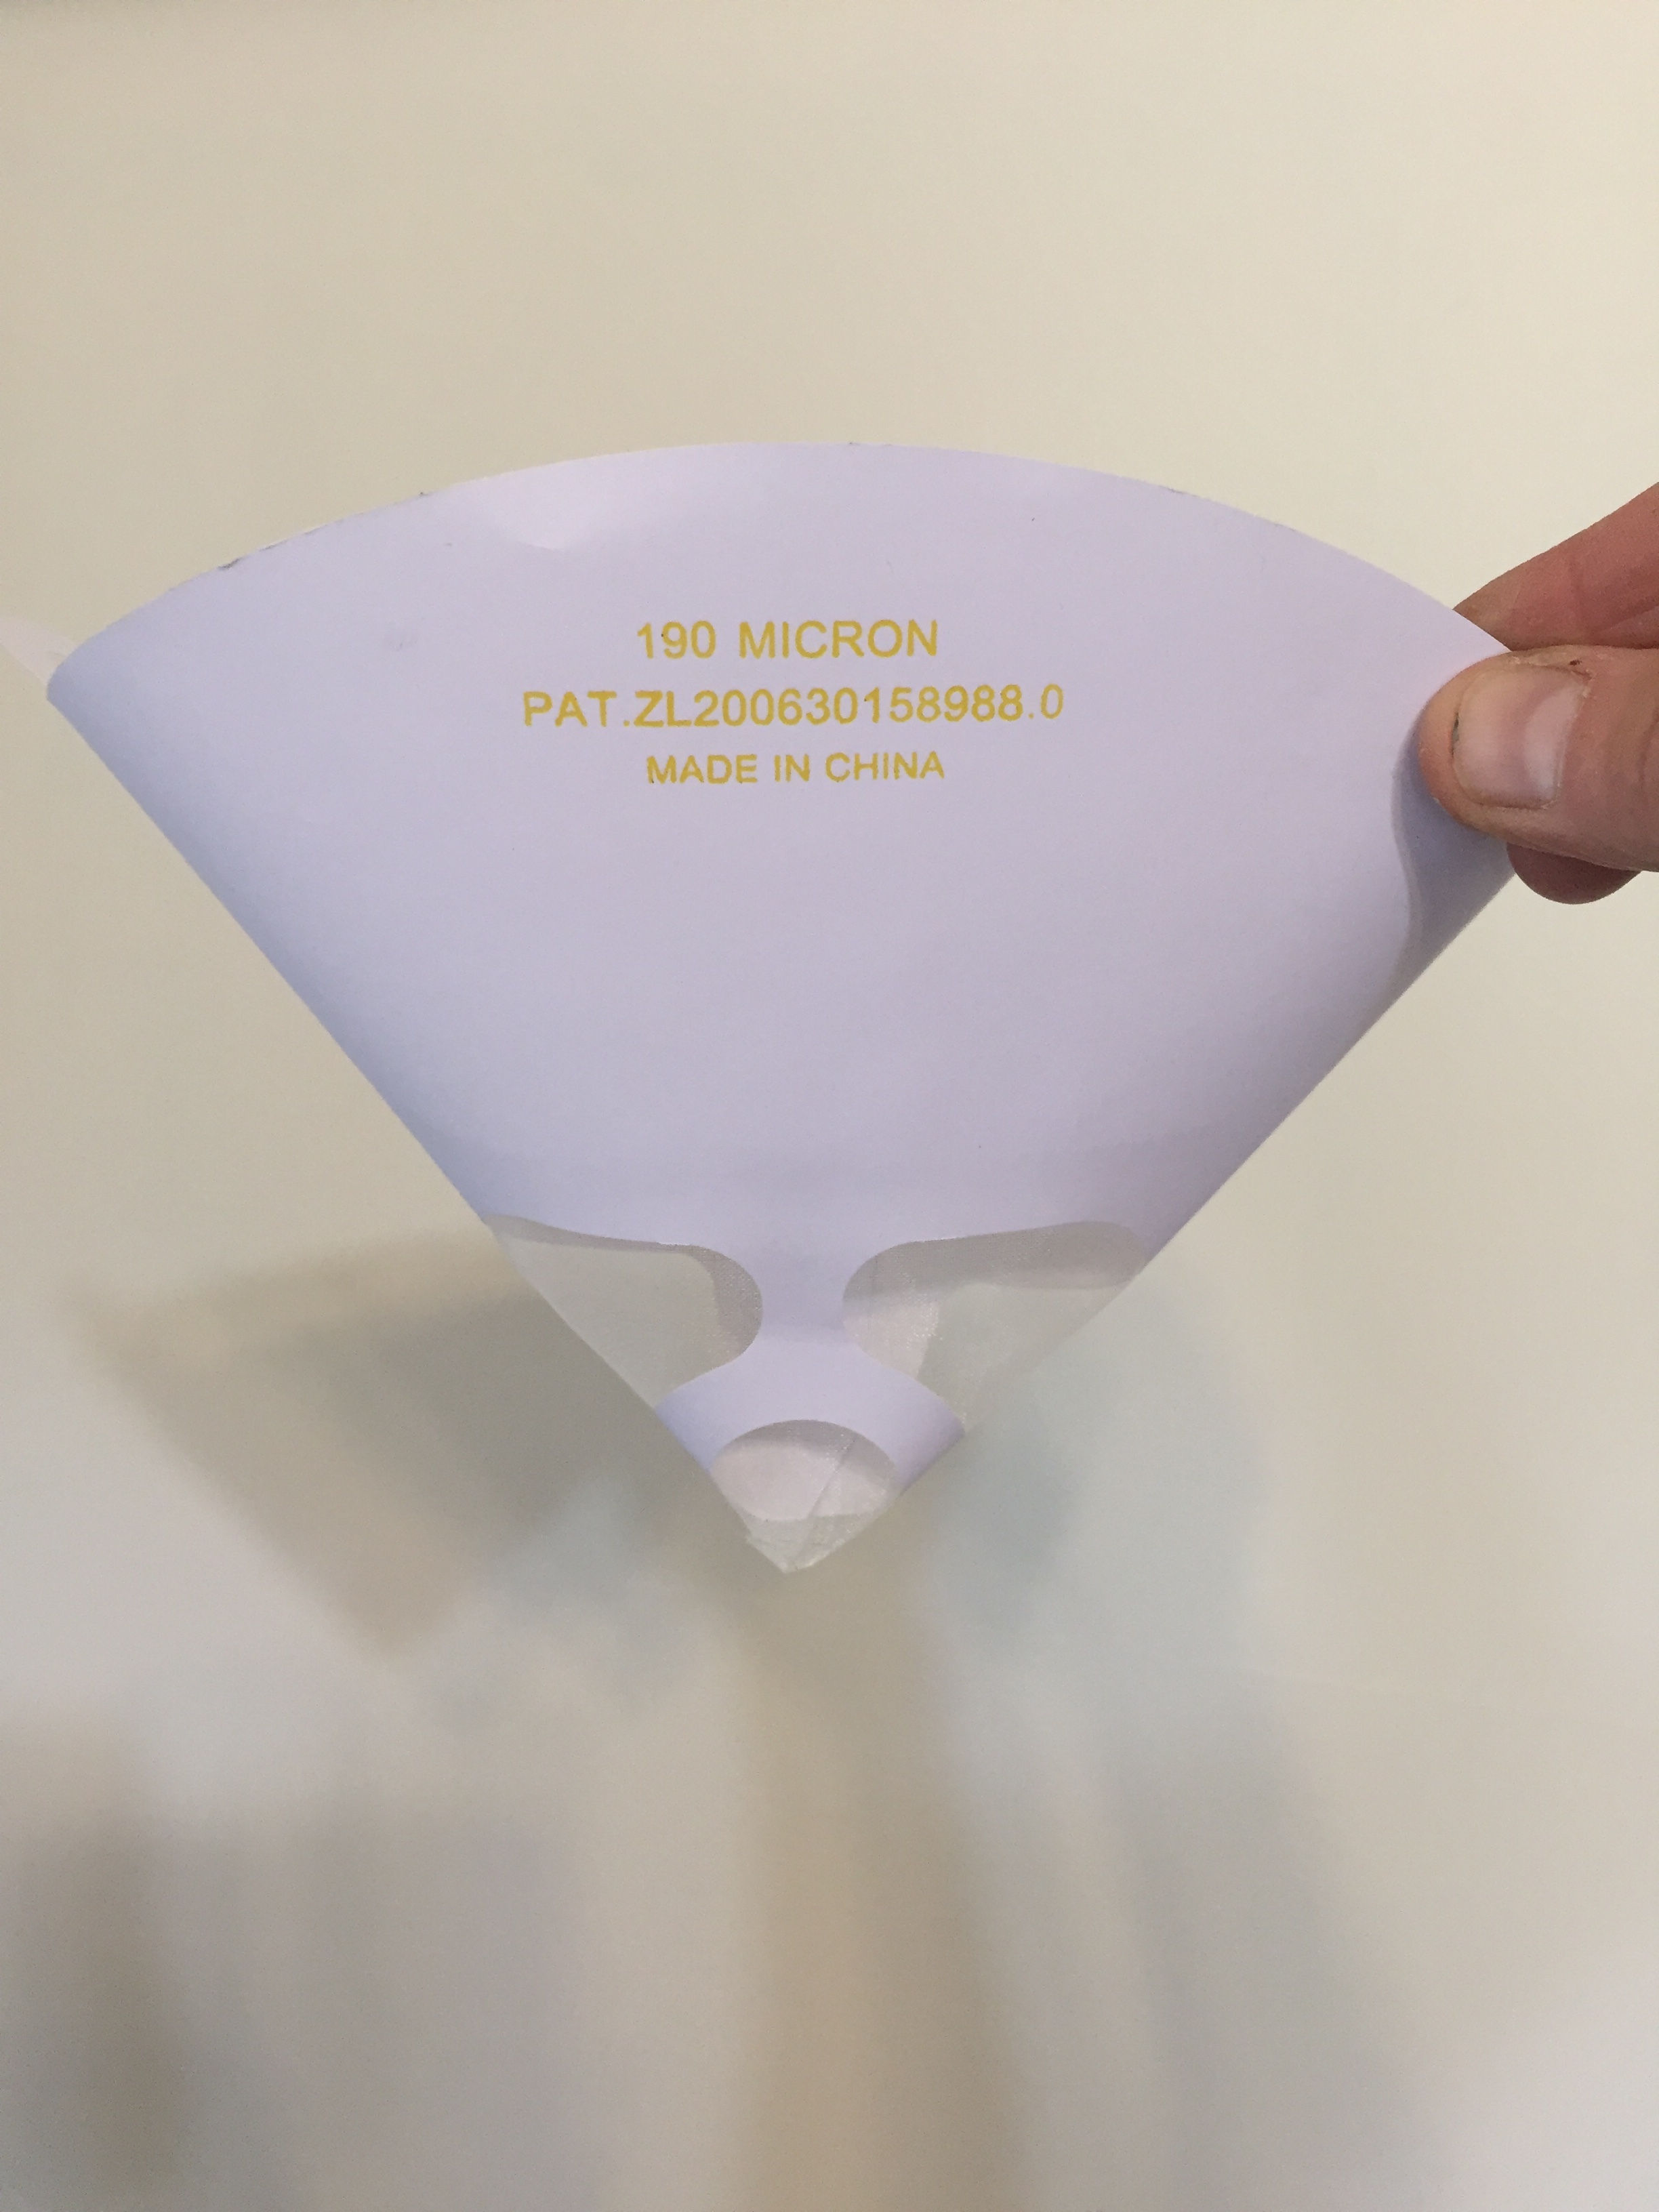
If there's a lot of junk left over in your resin you can use a paint filter to filter it out once the wax and resin have been mixed/melted together.
Adding Pigment to the Wax
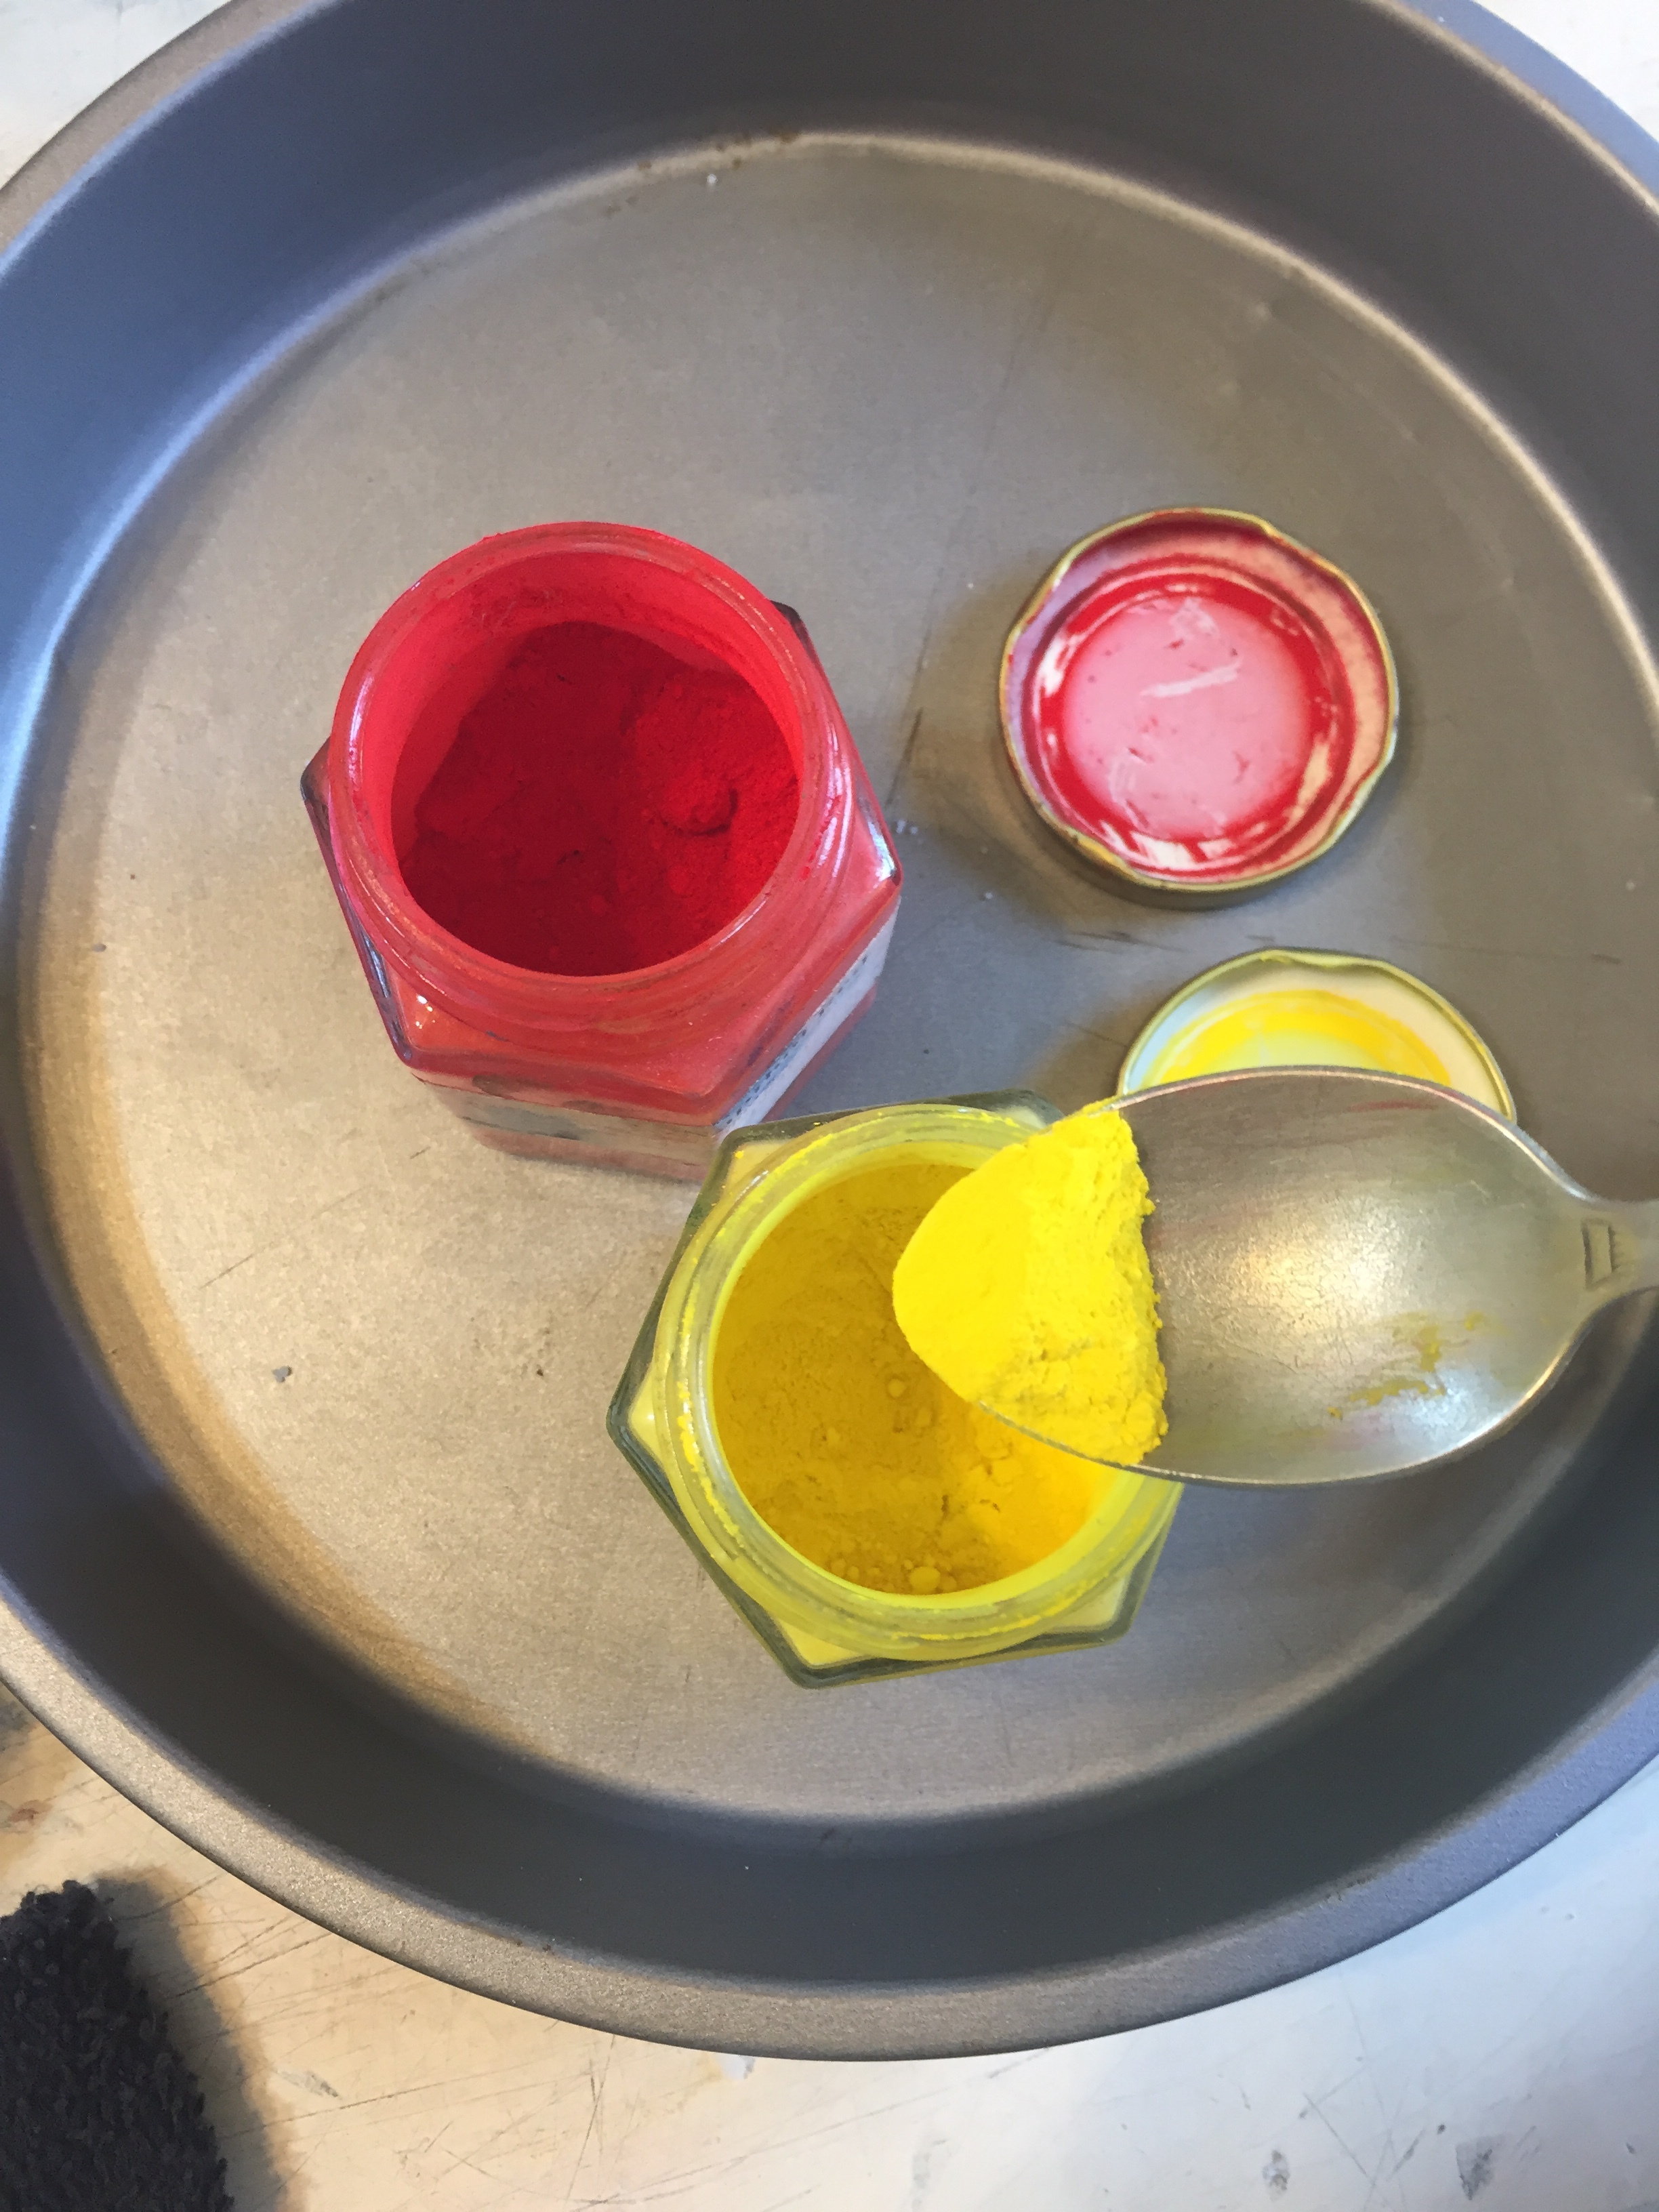
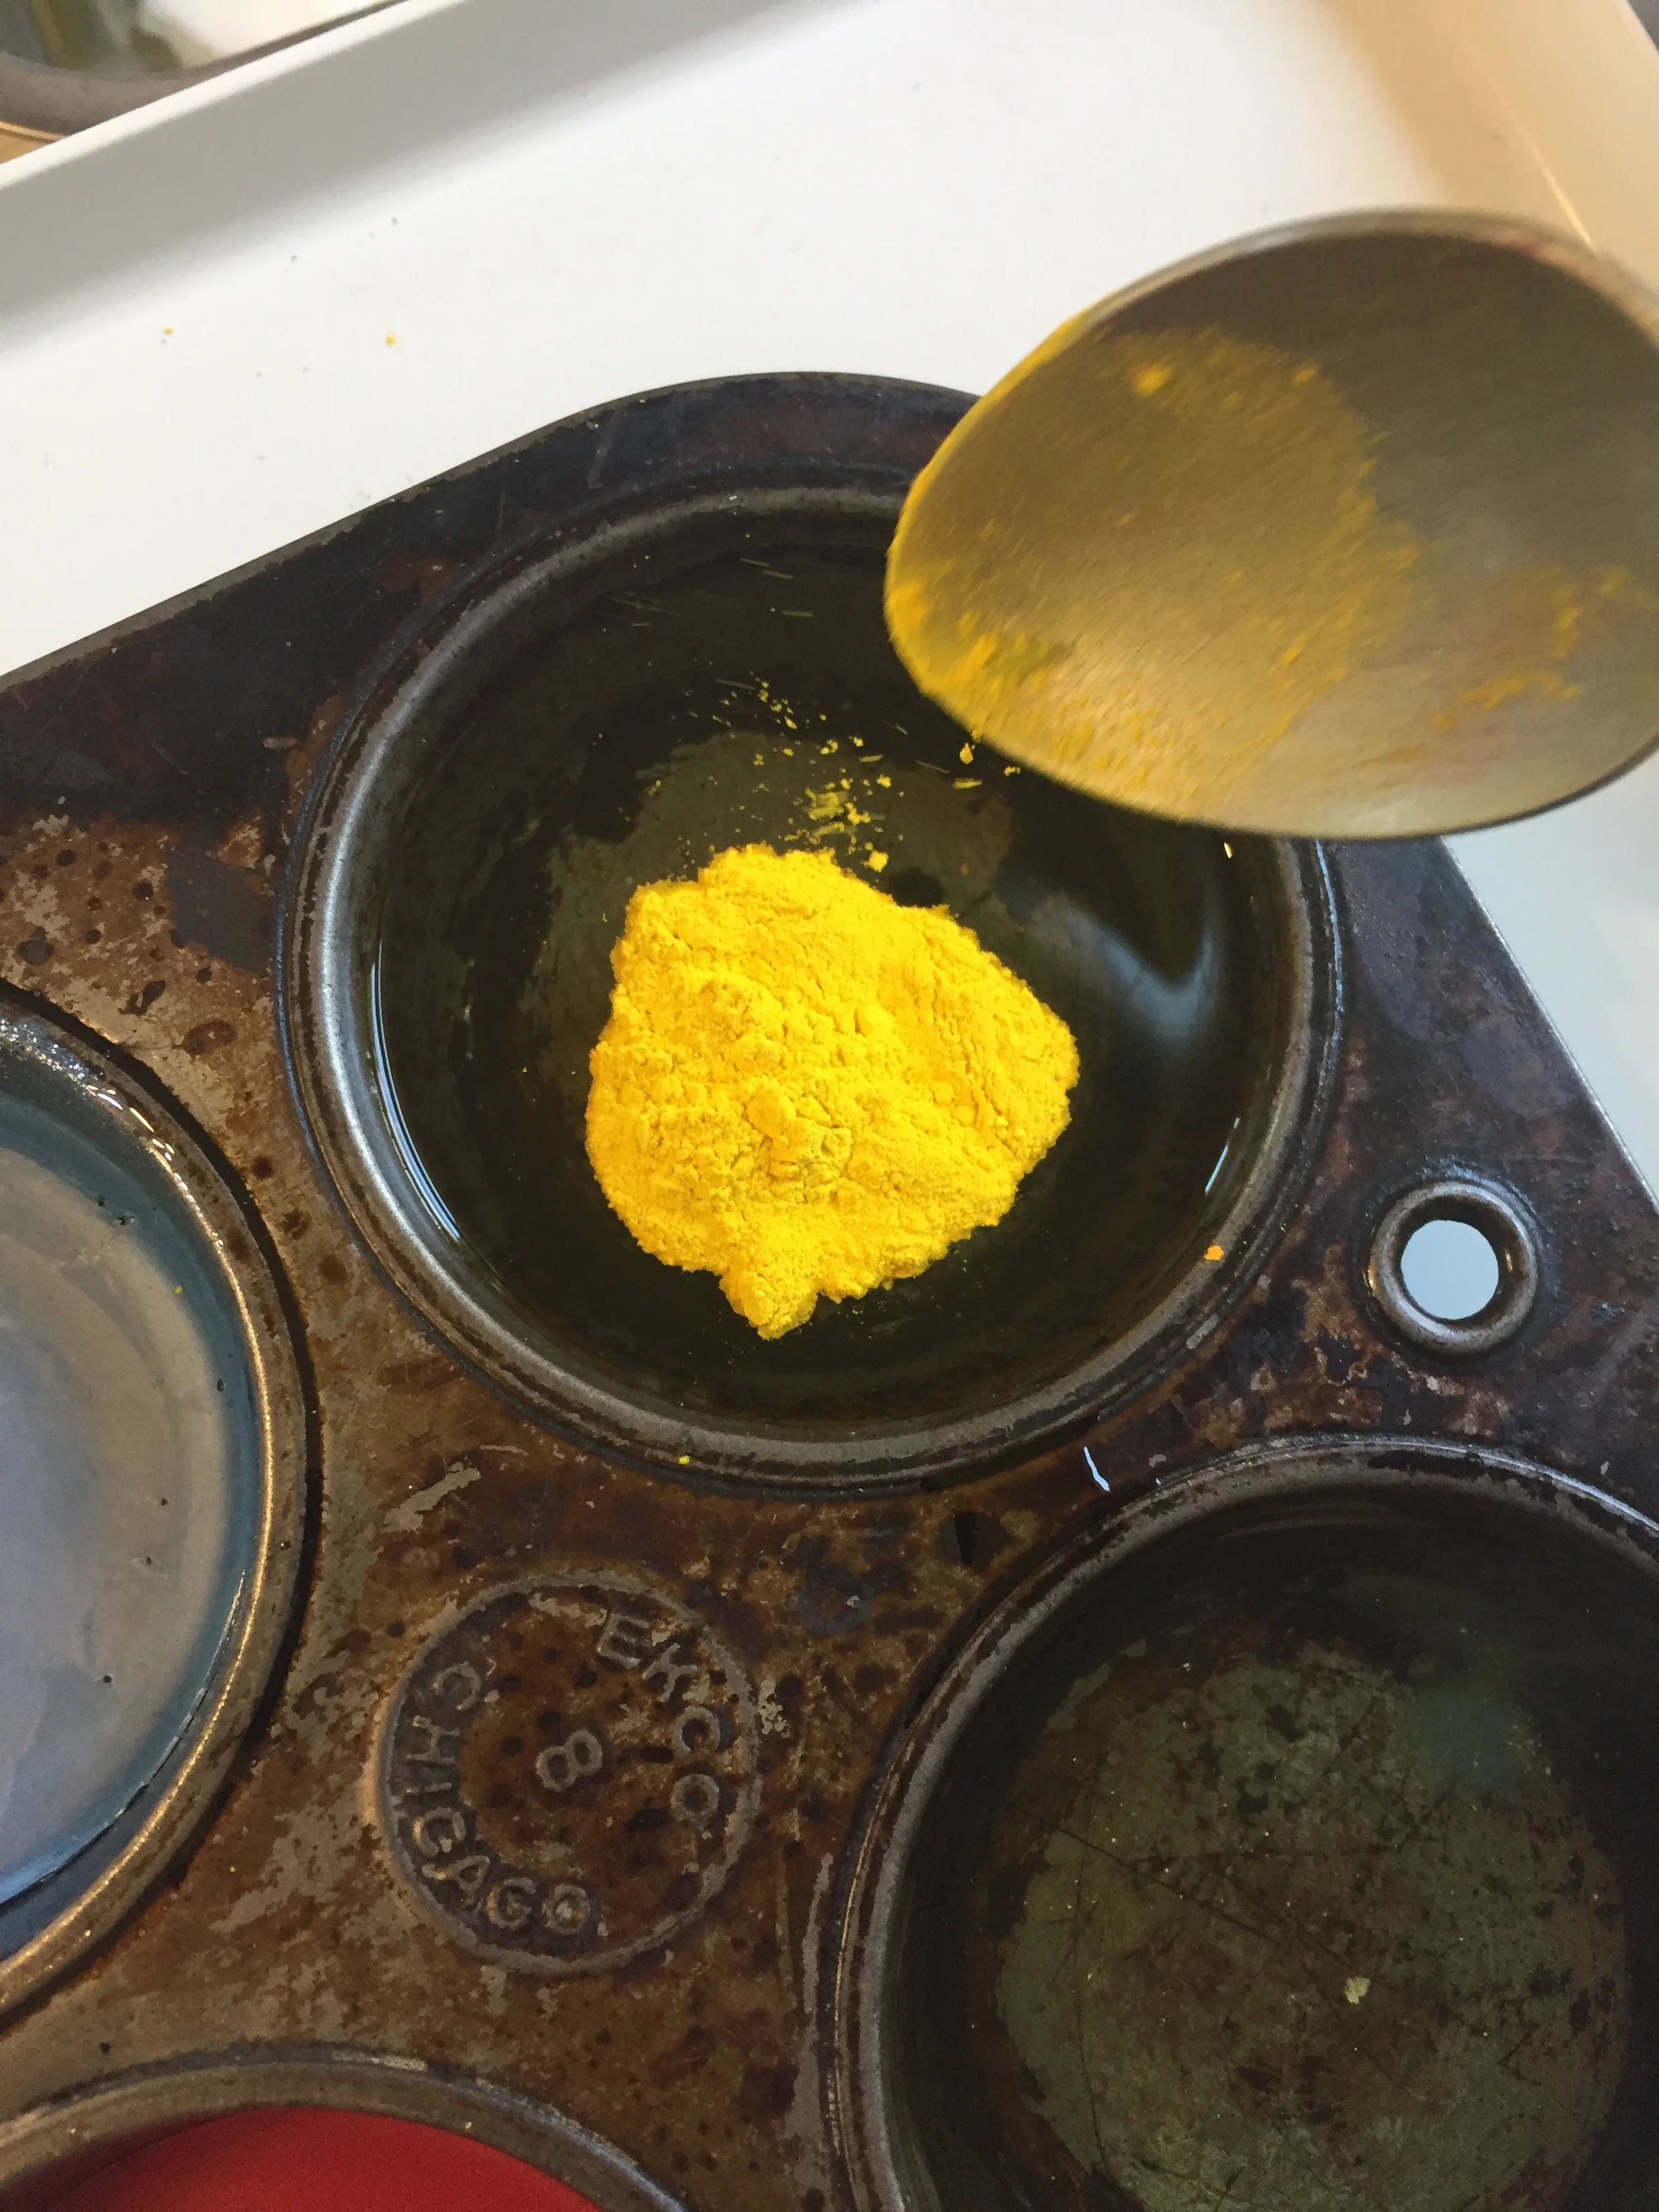
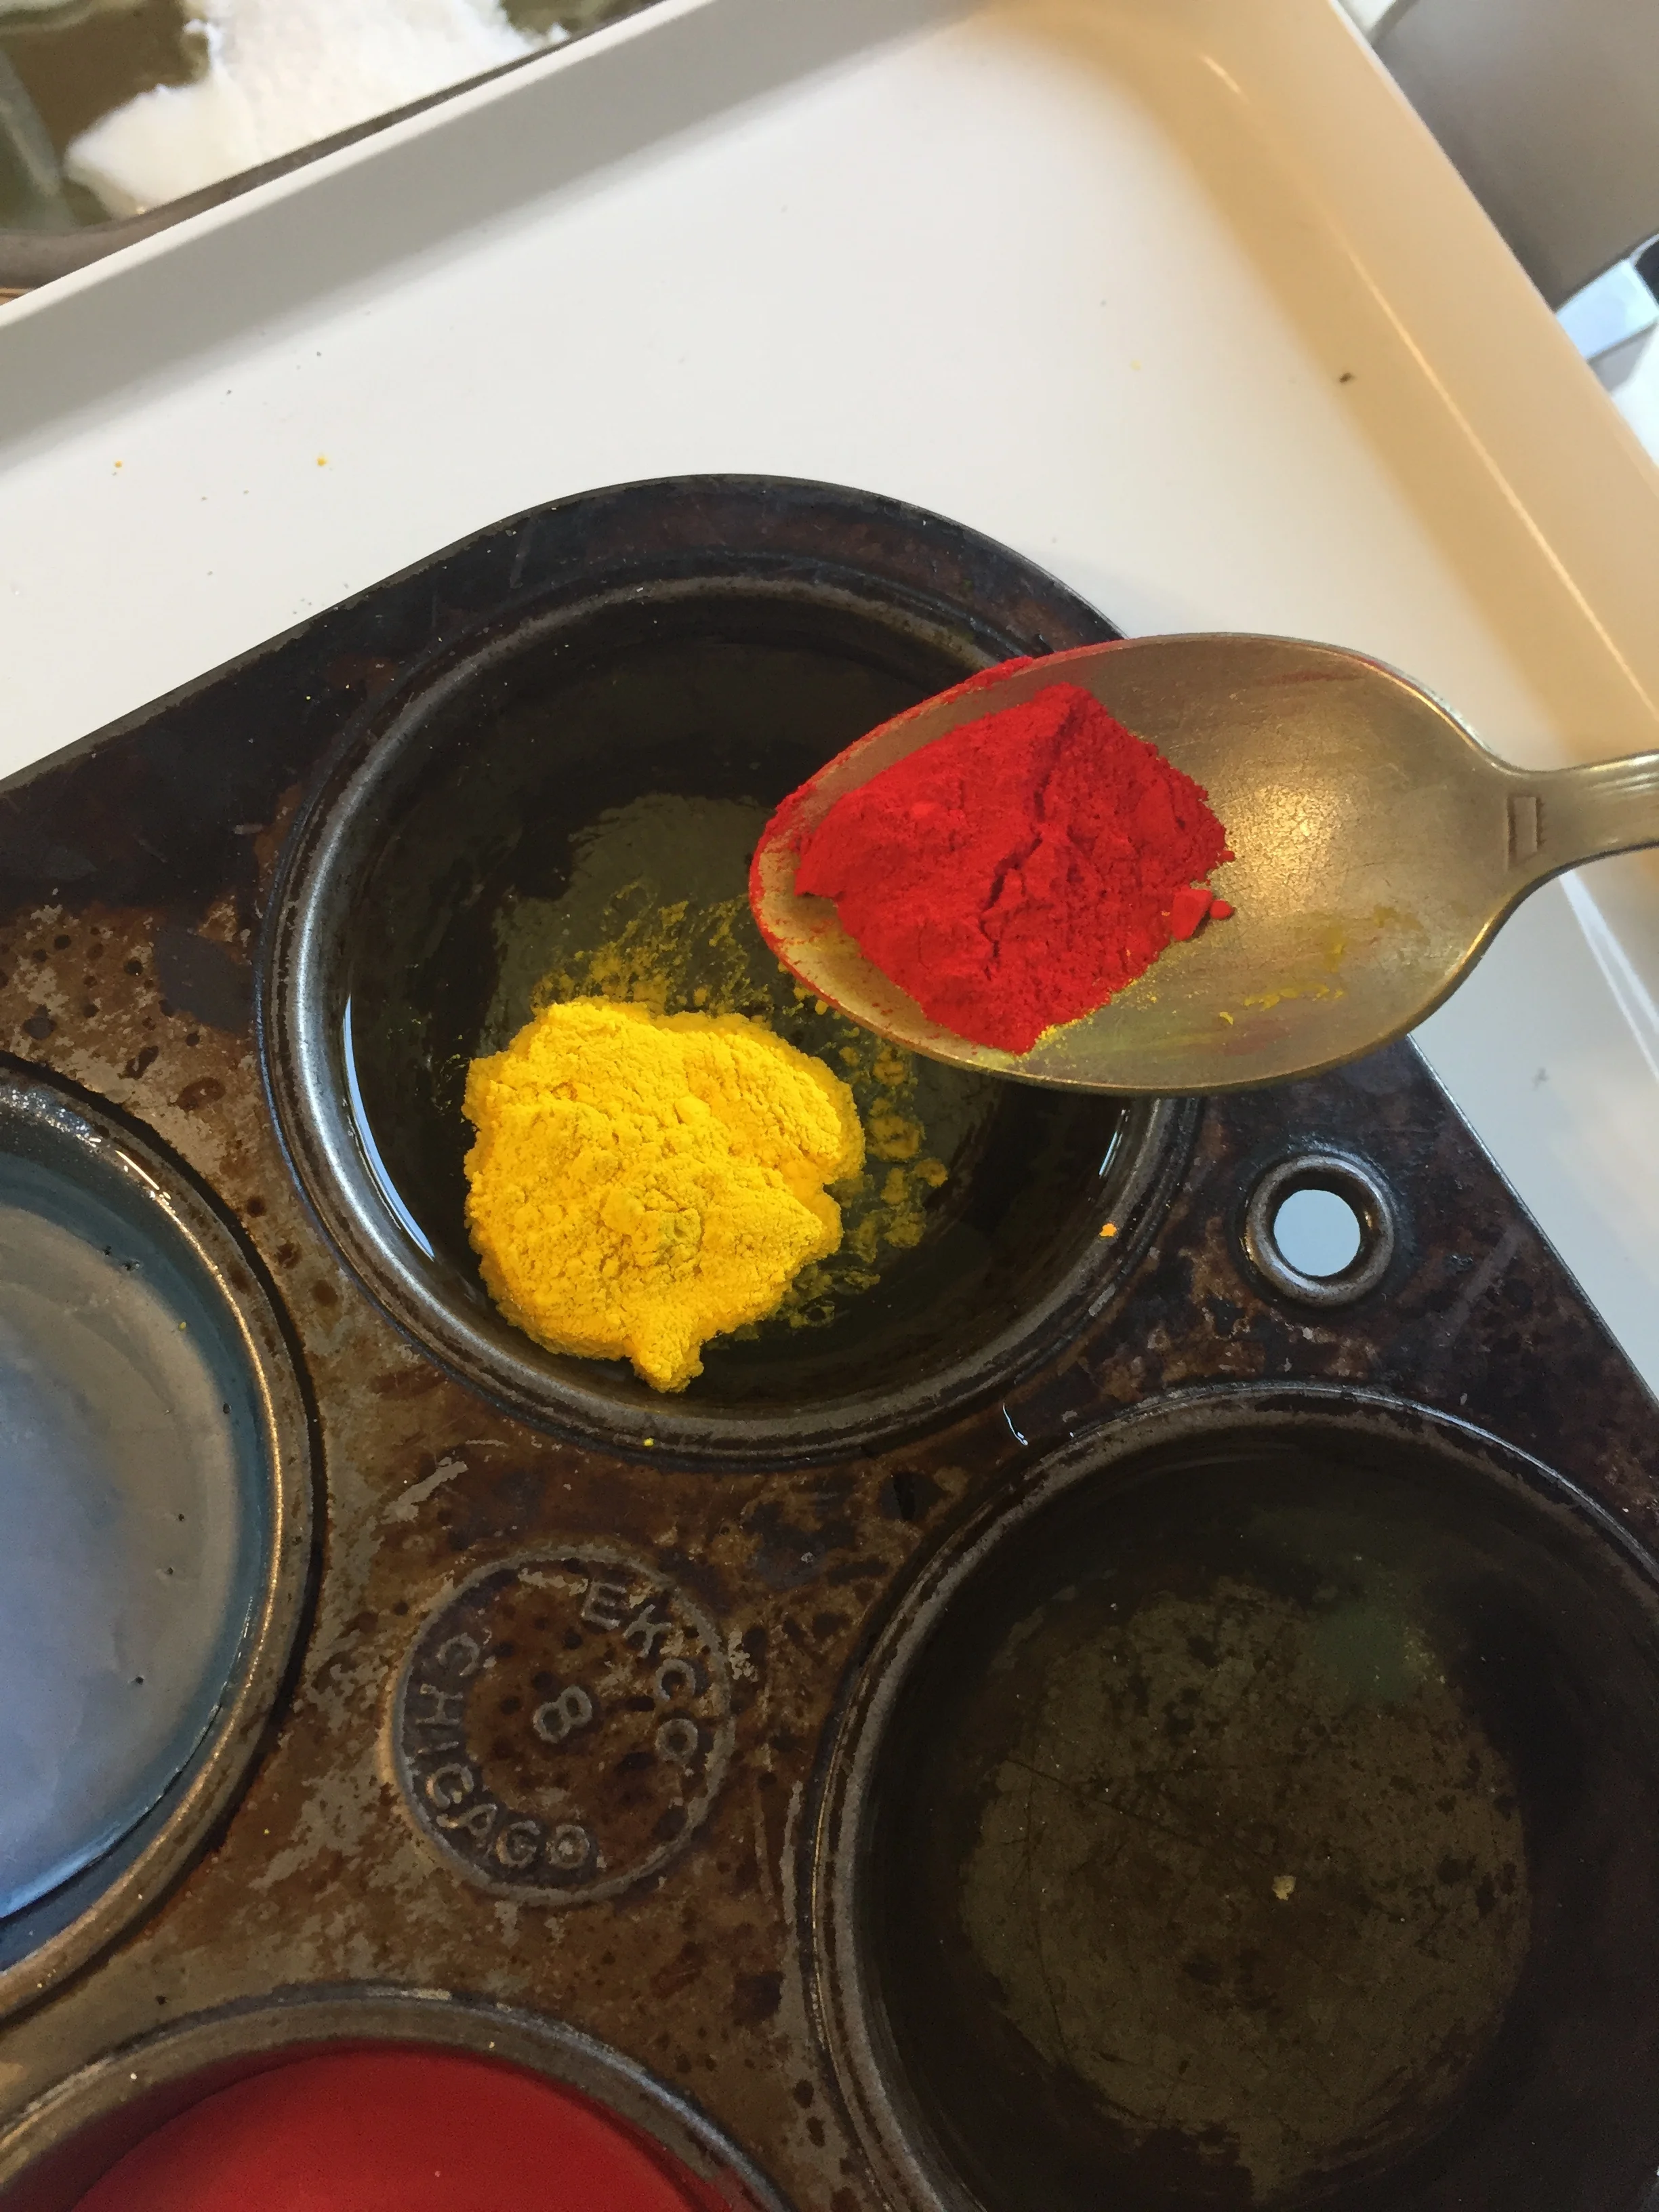

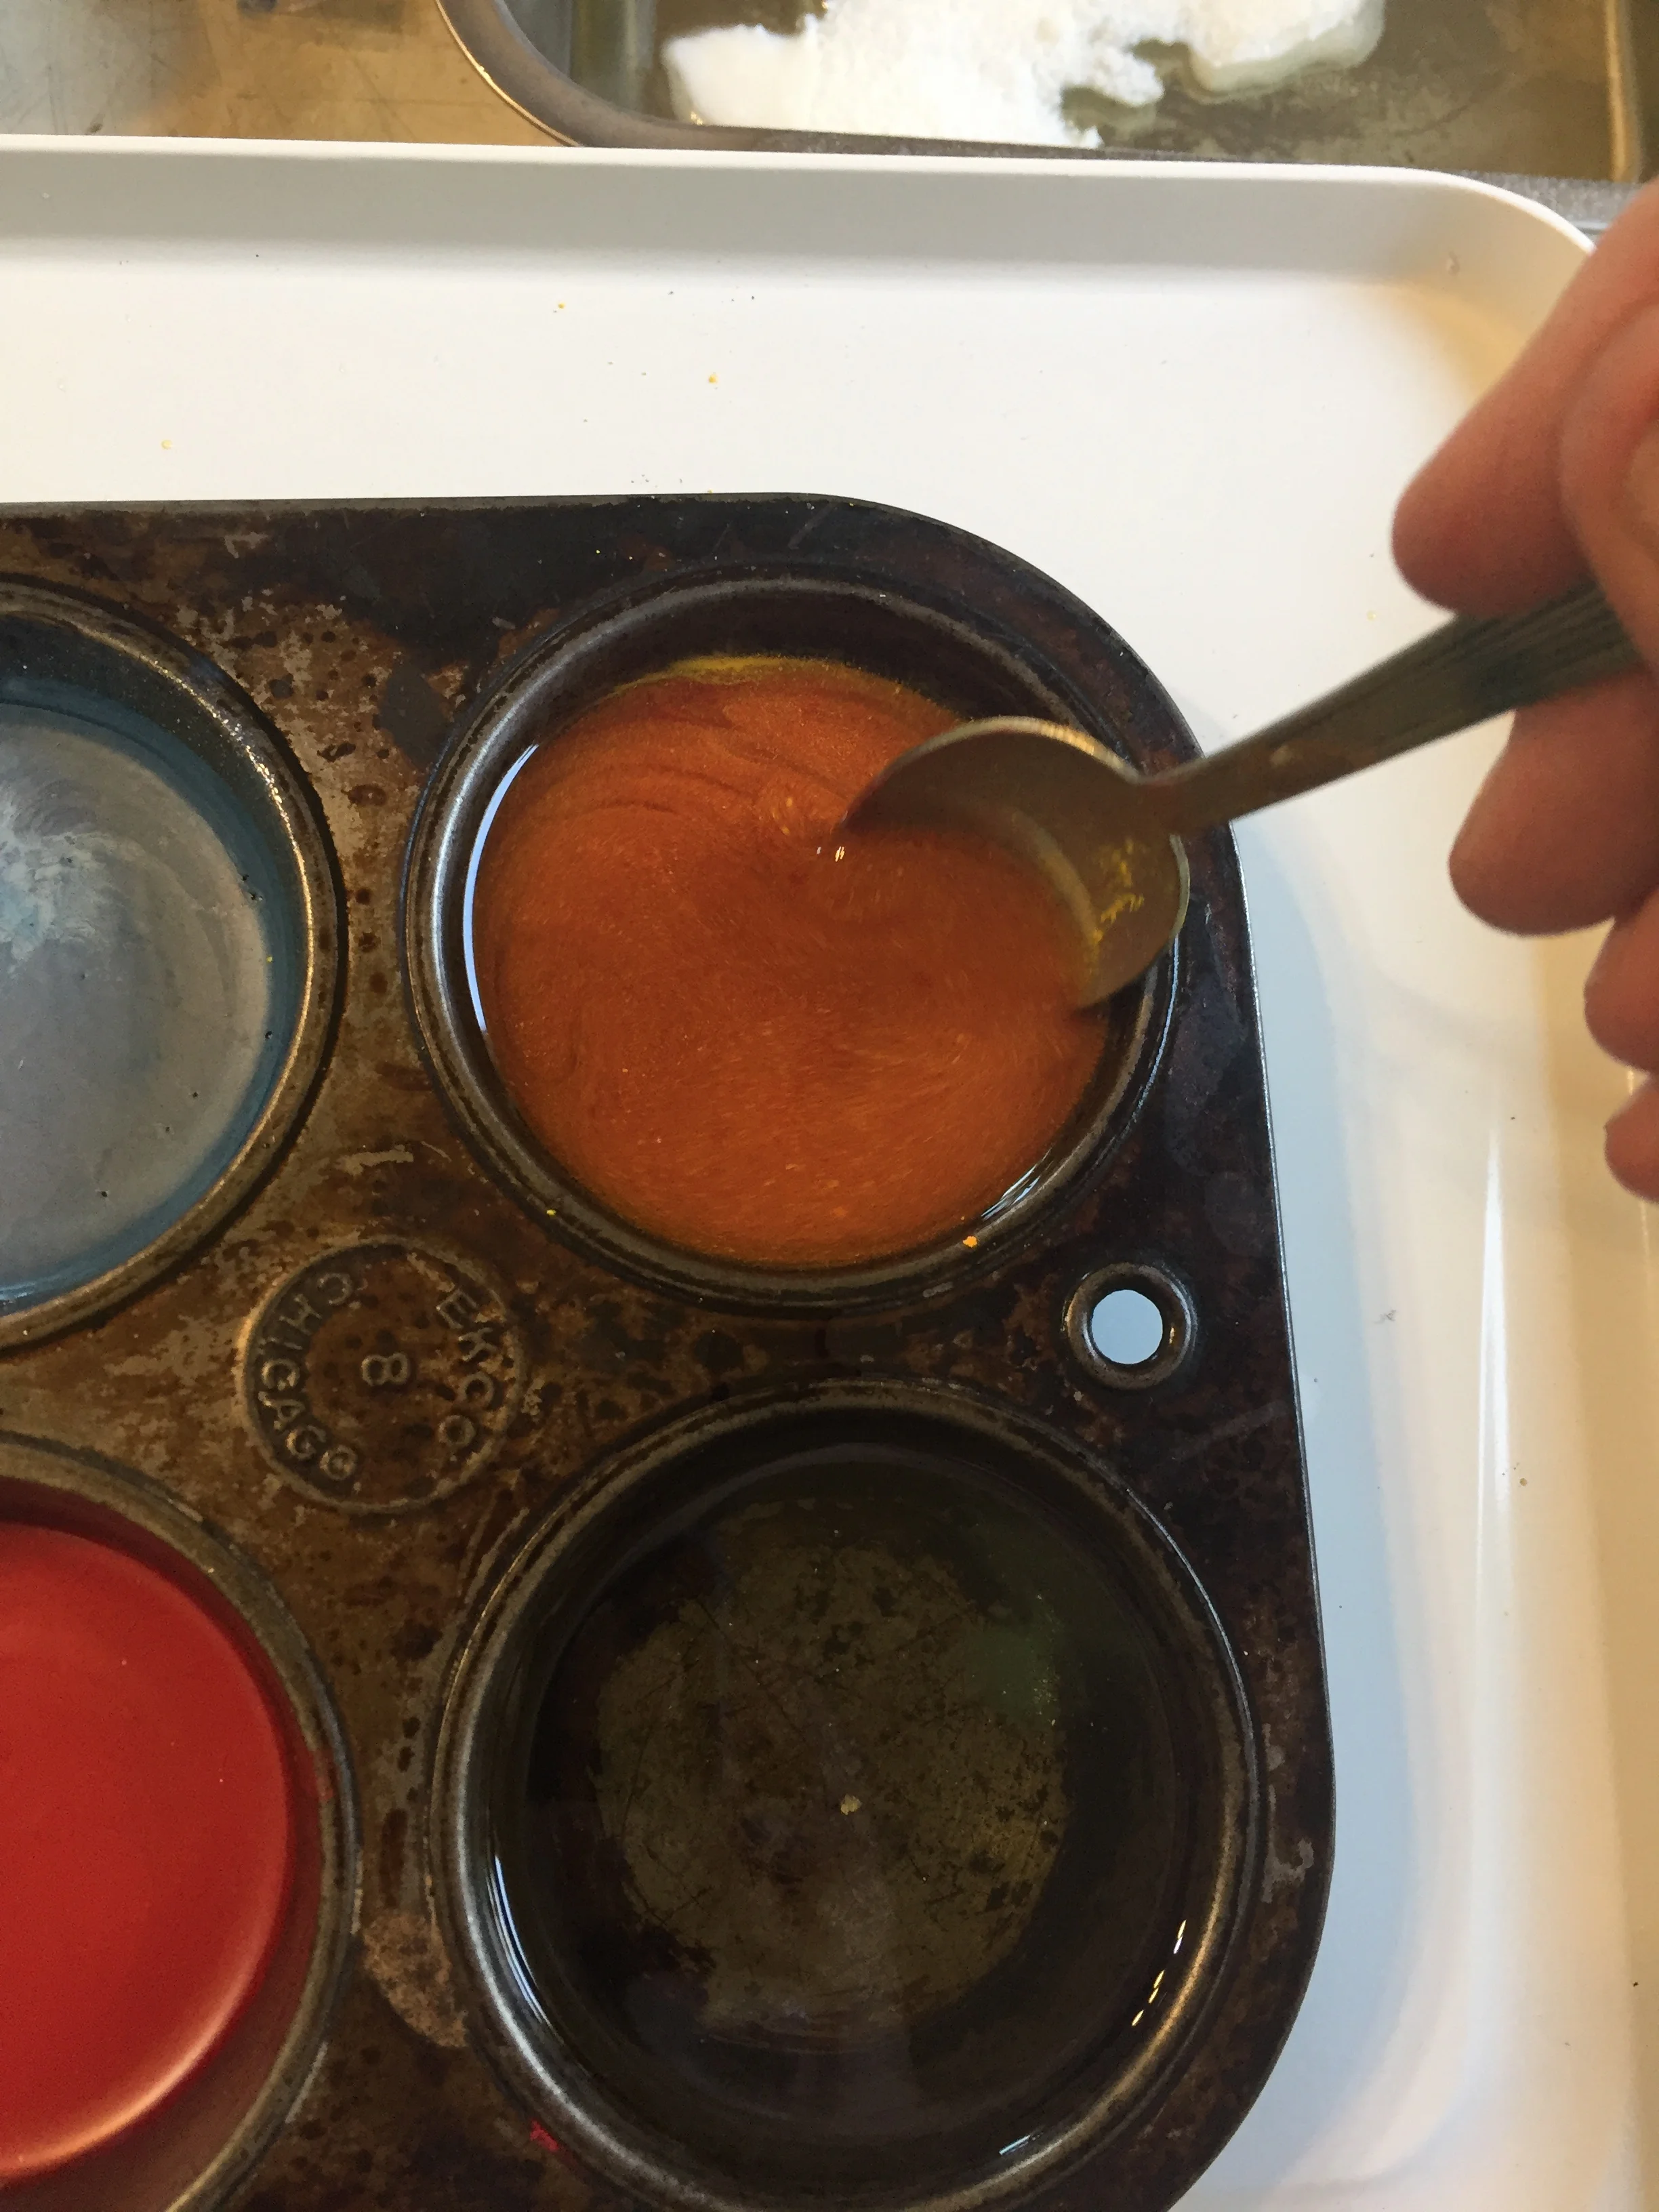
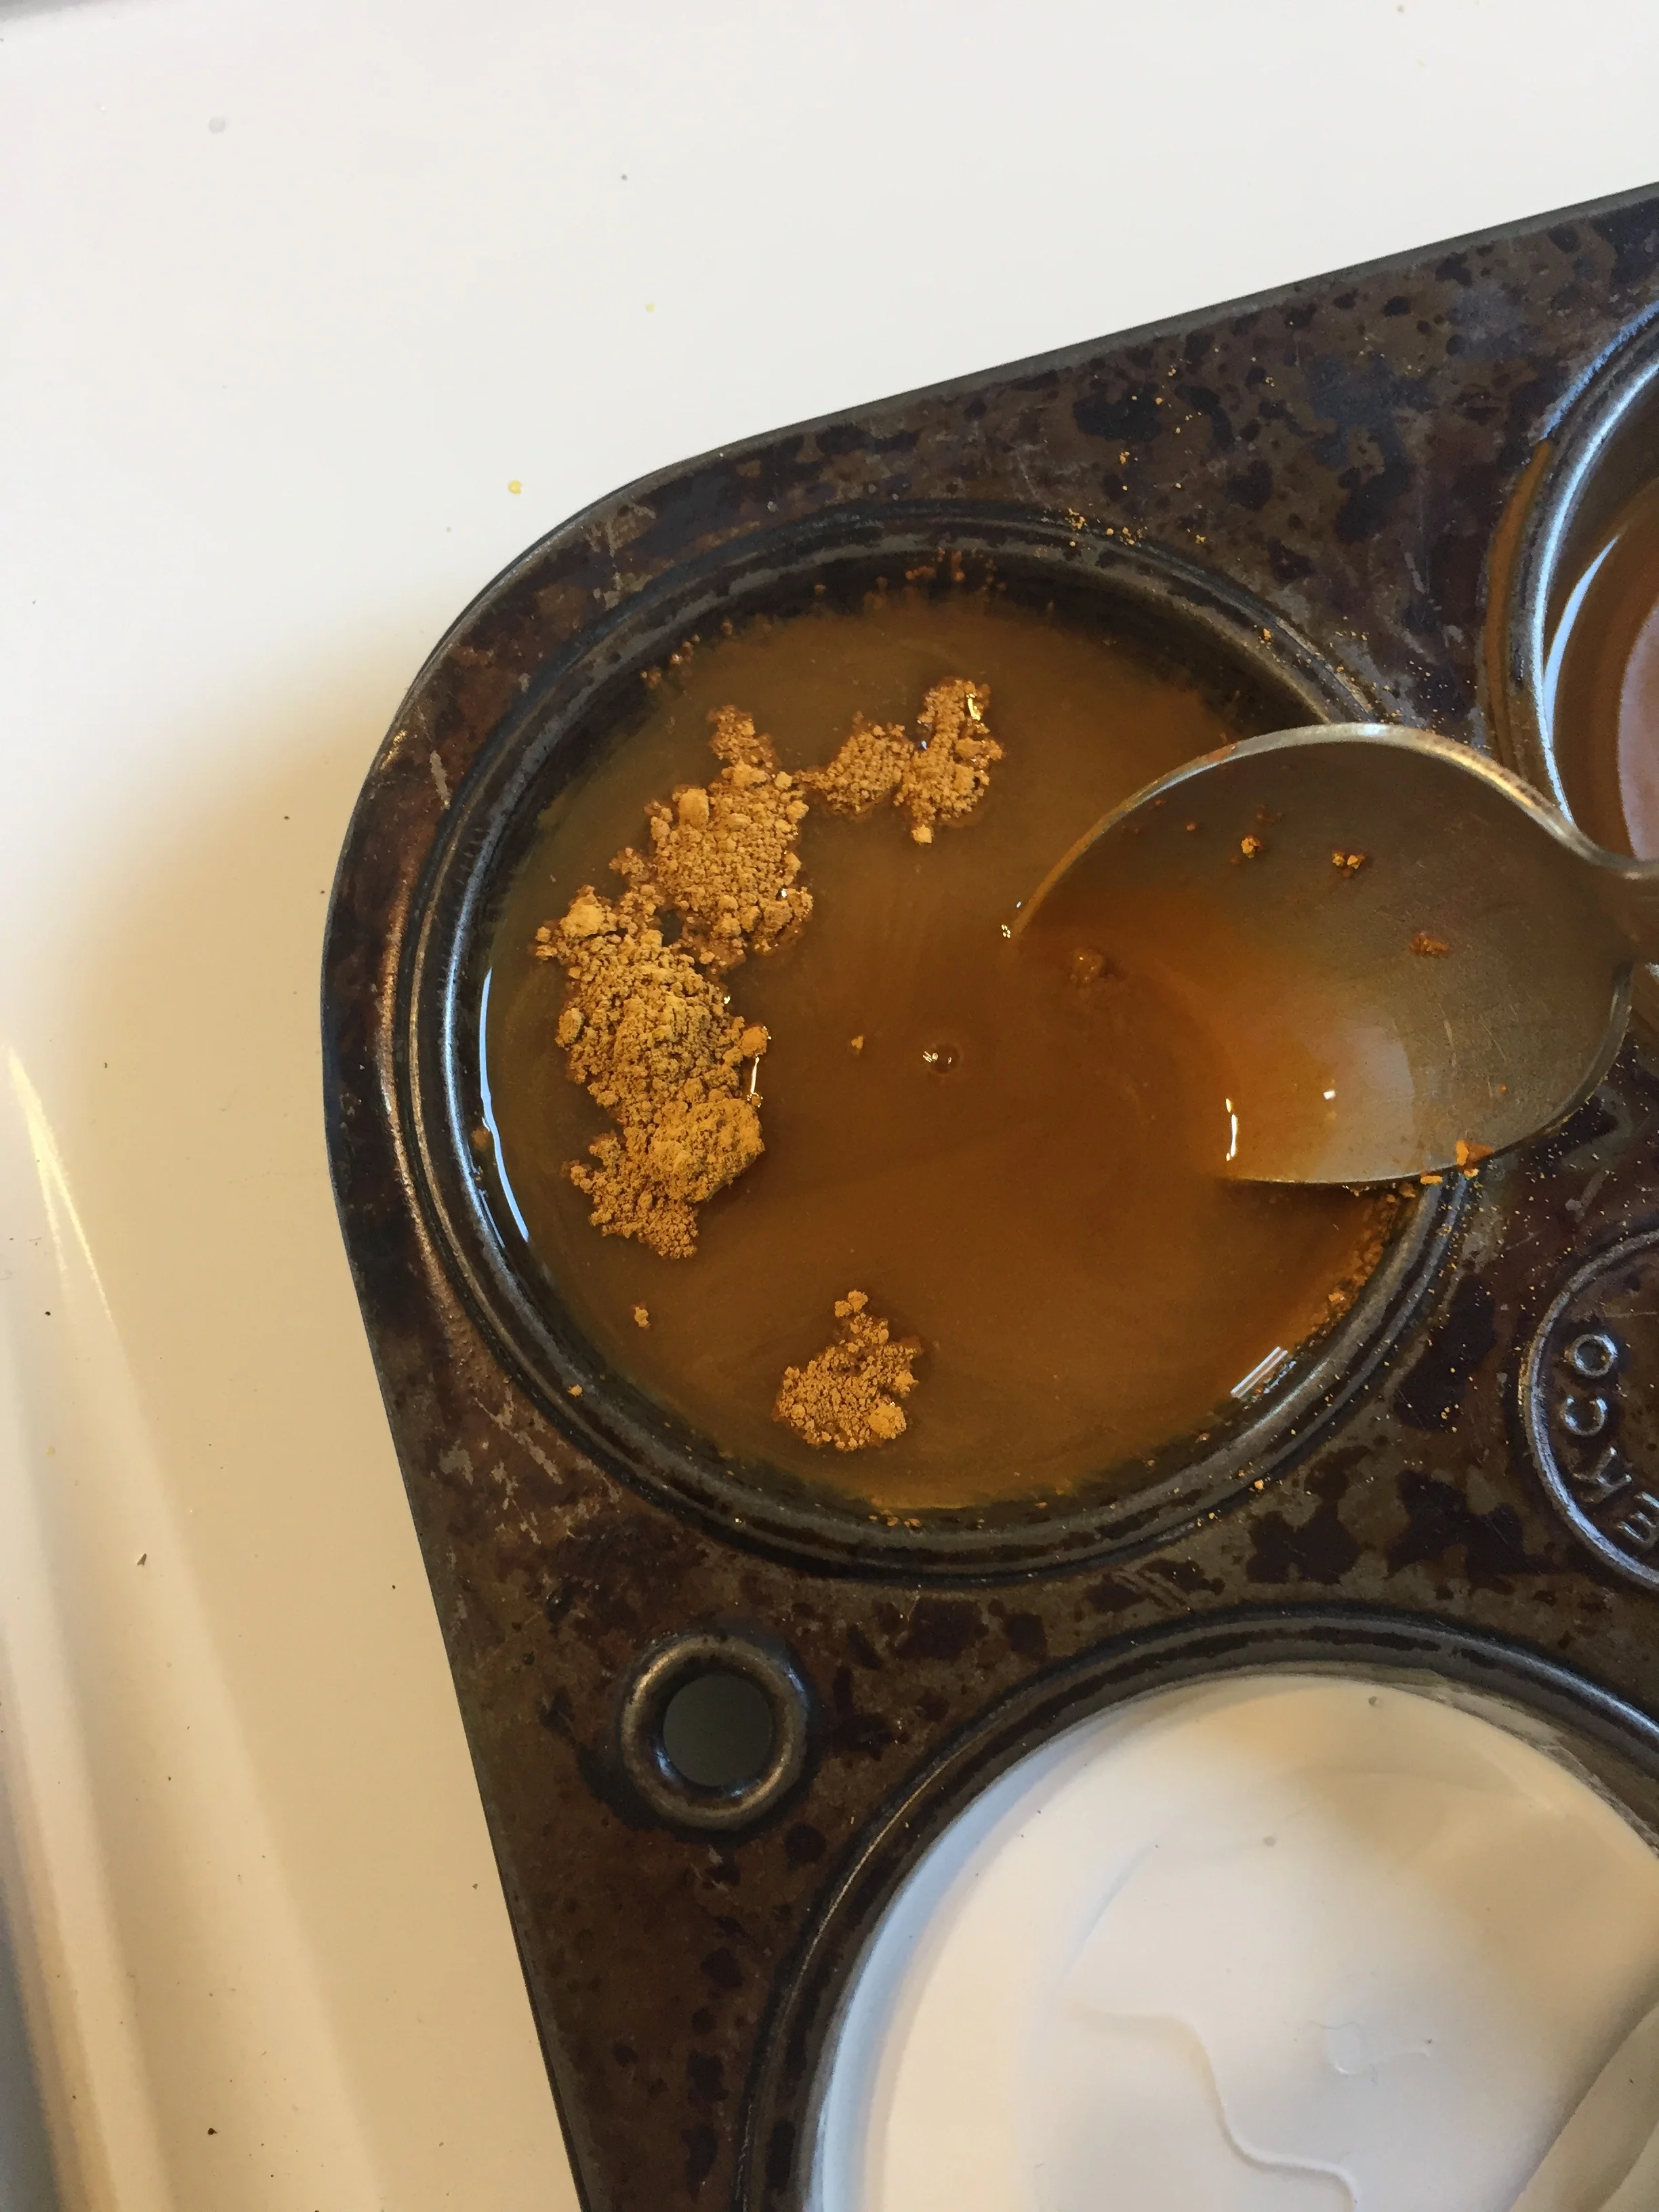
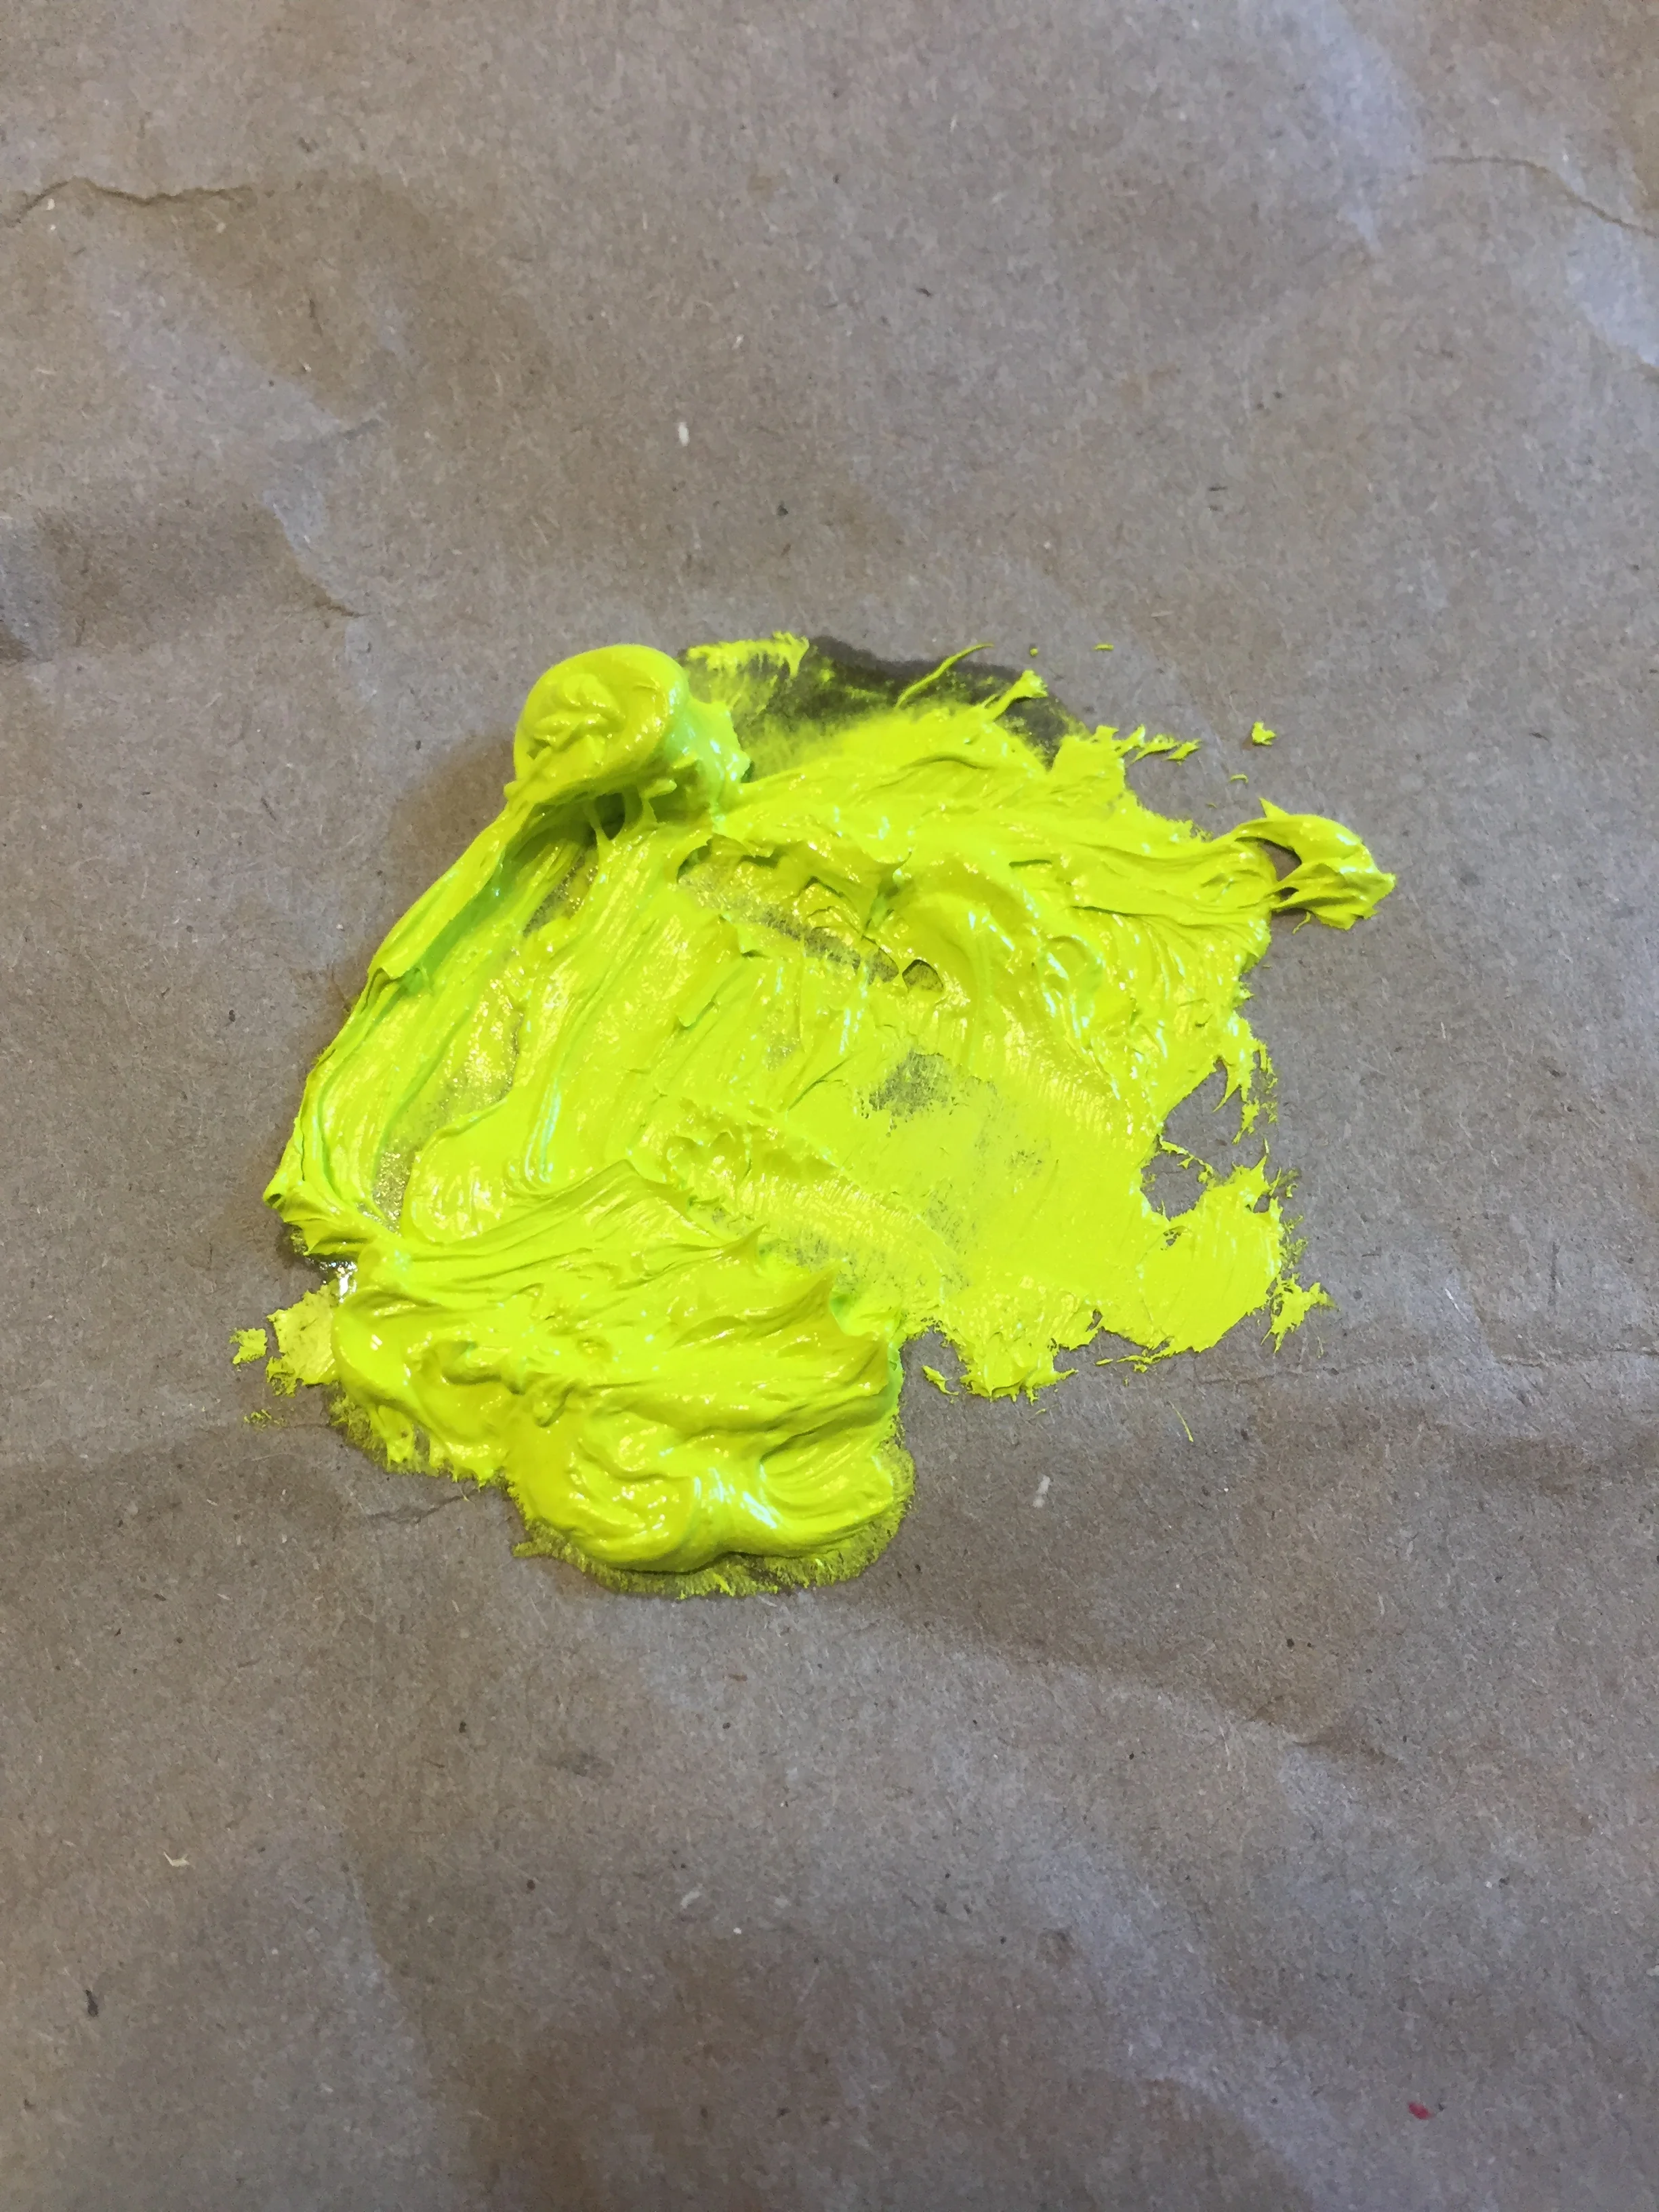

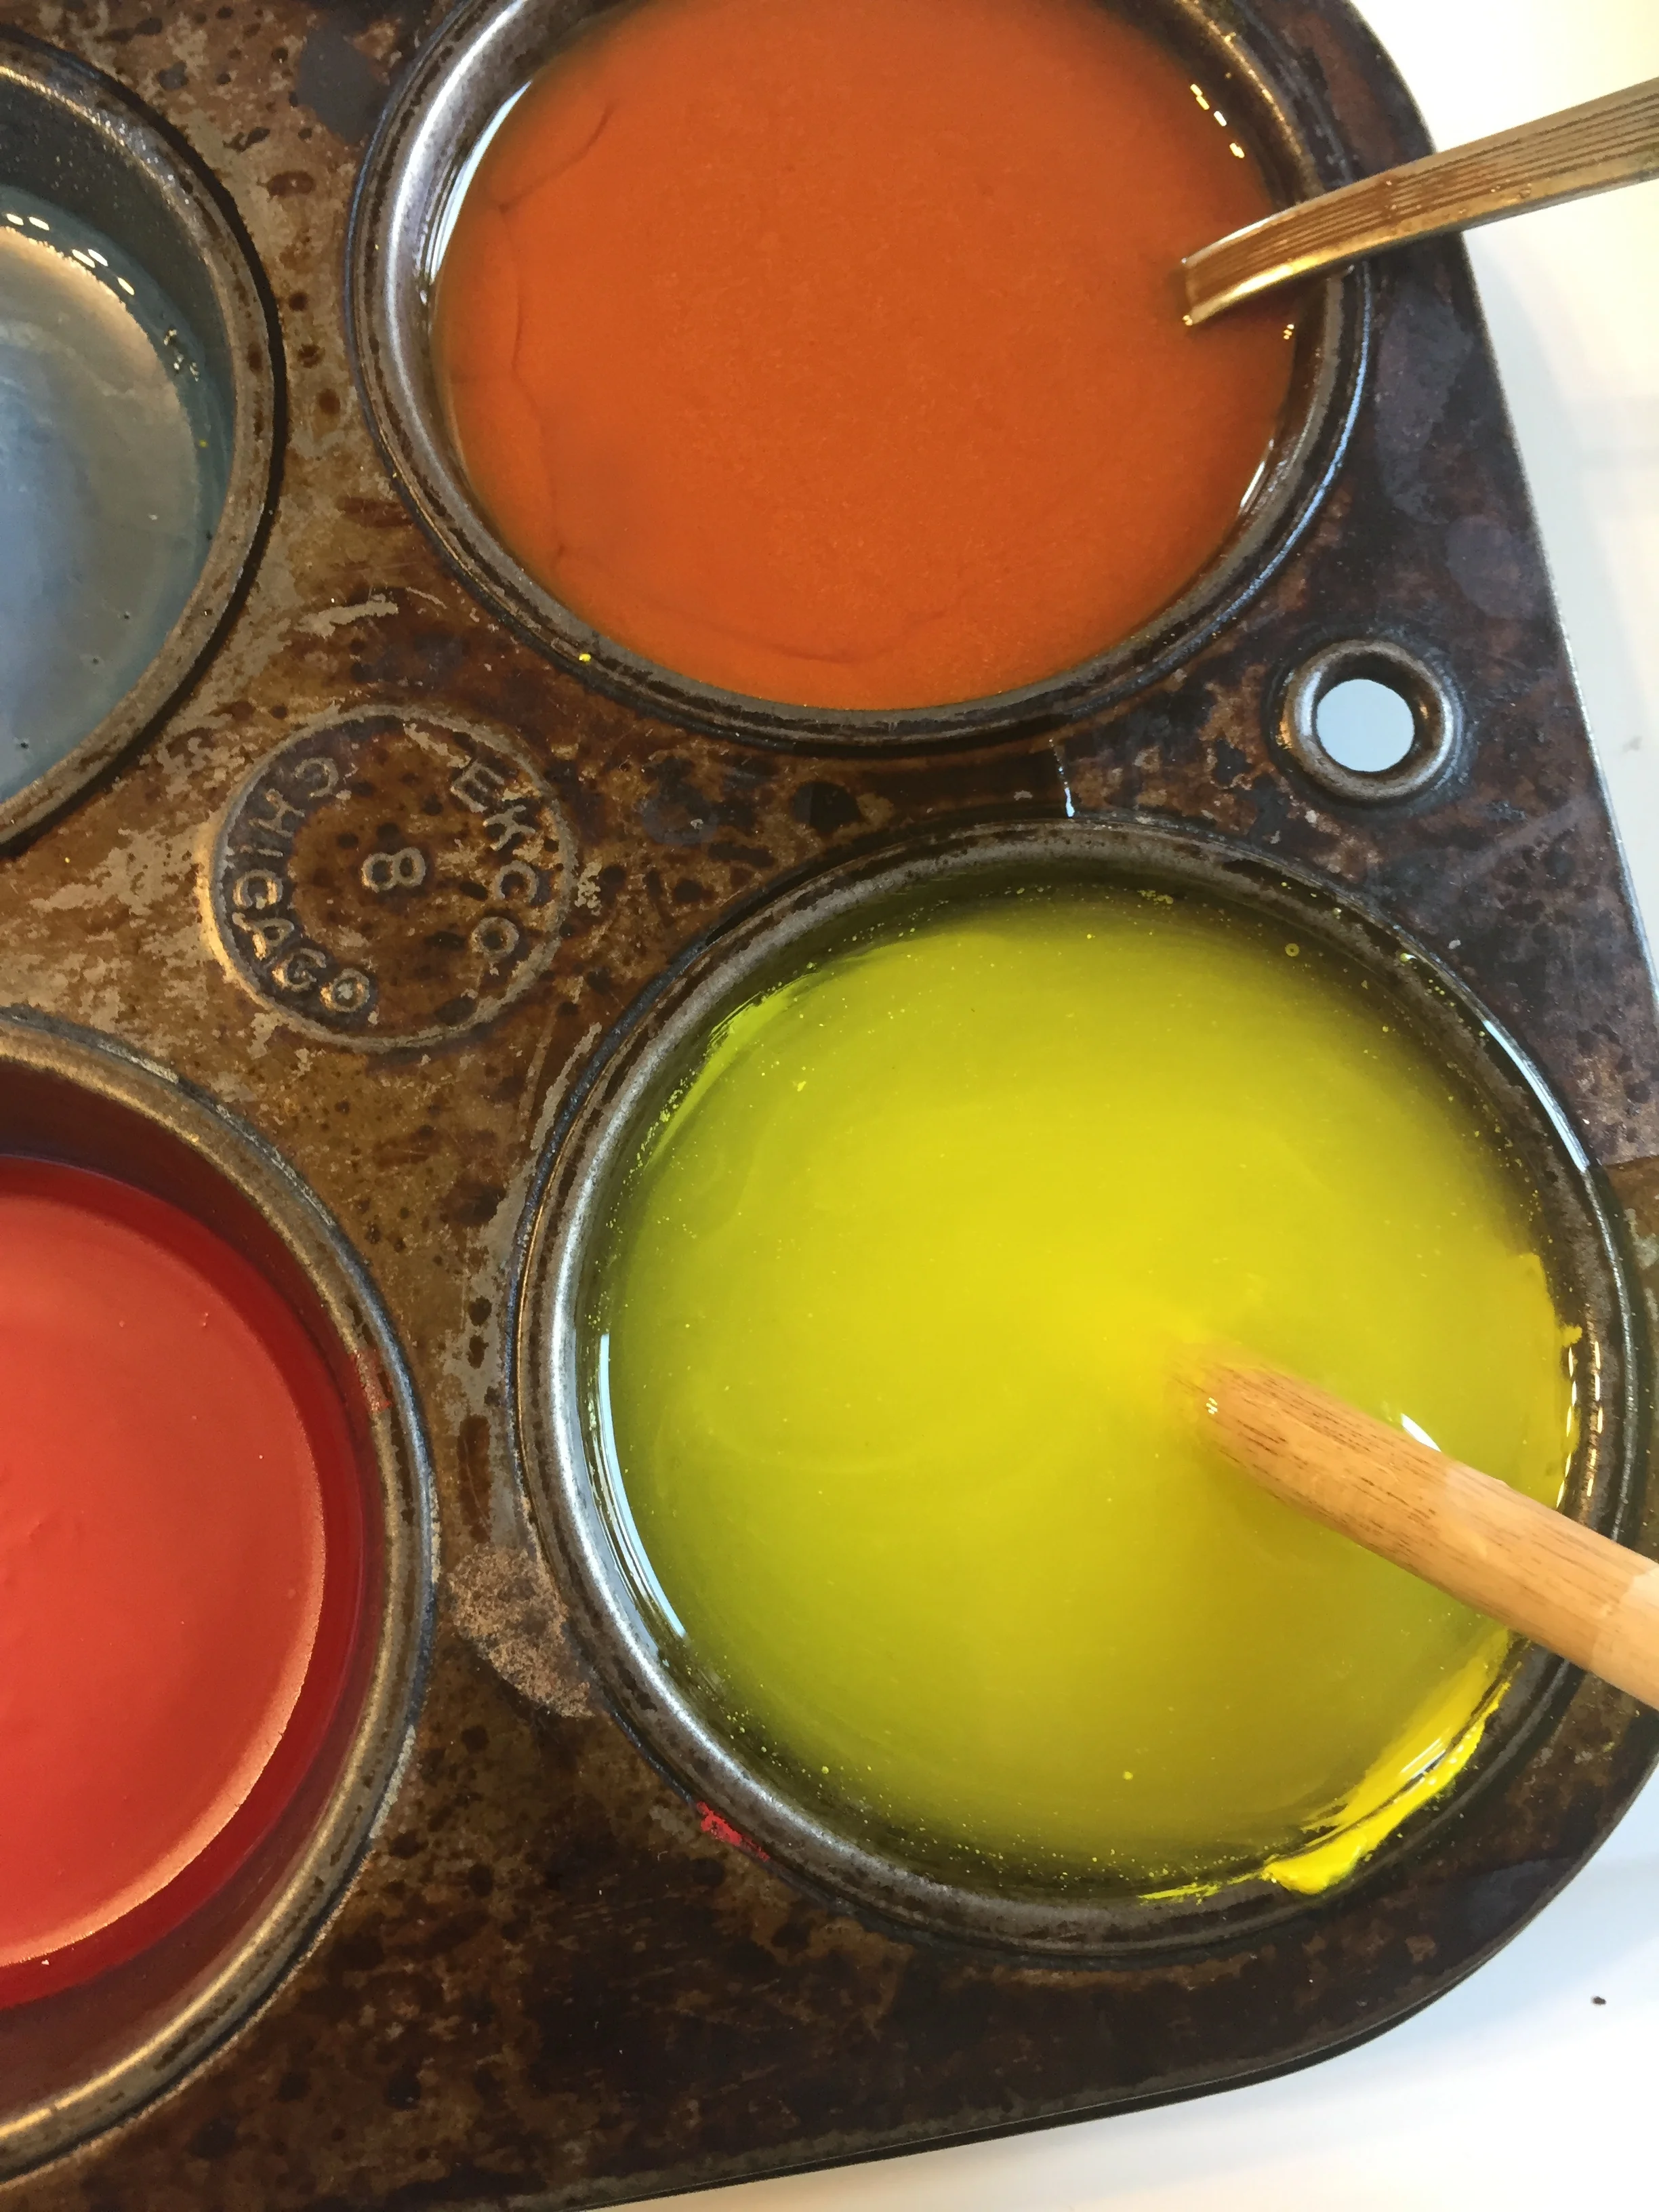
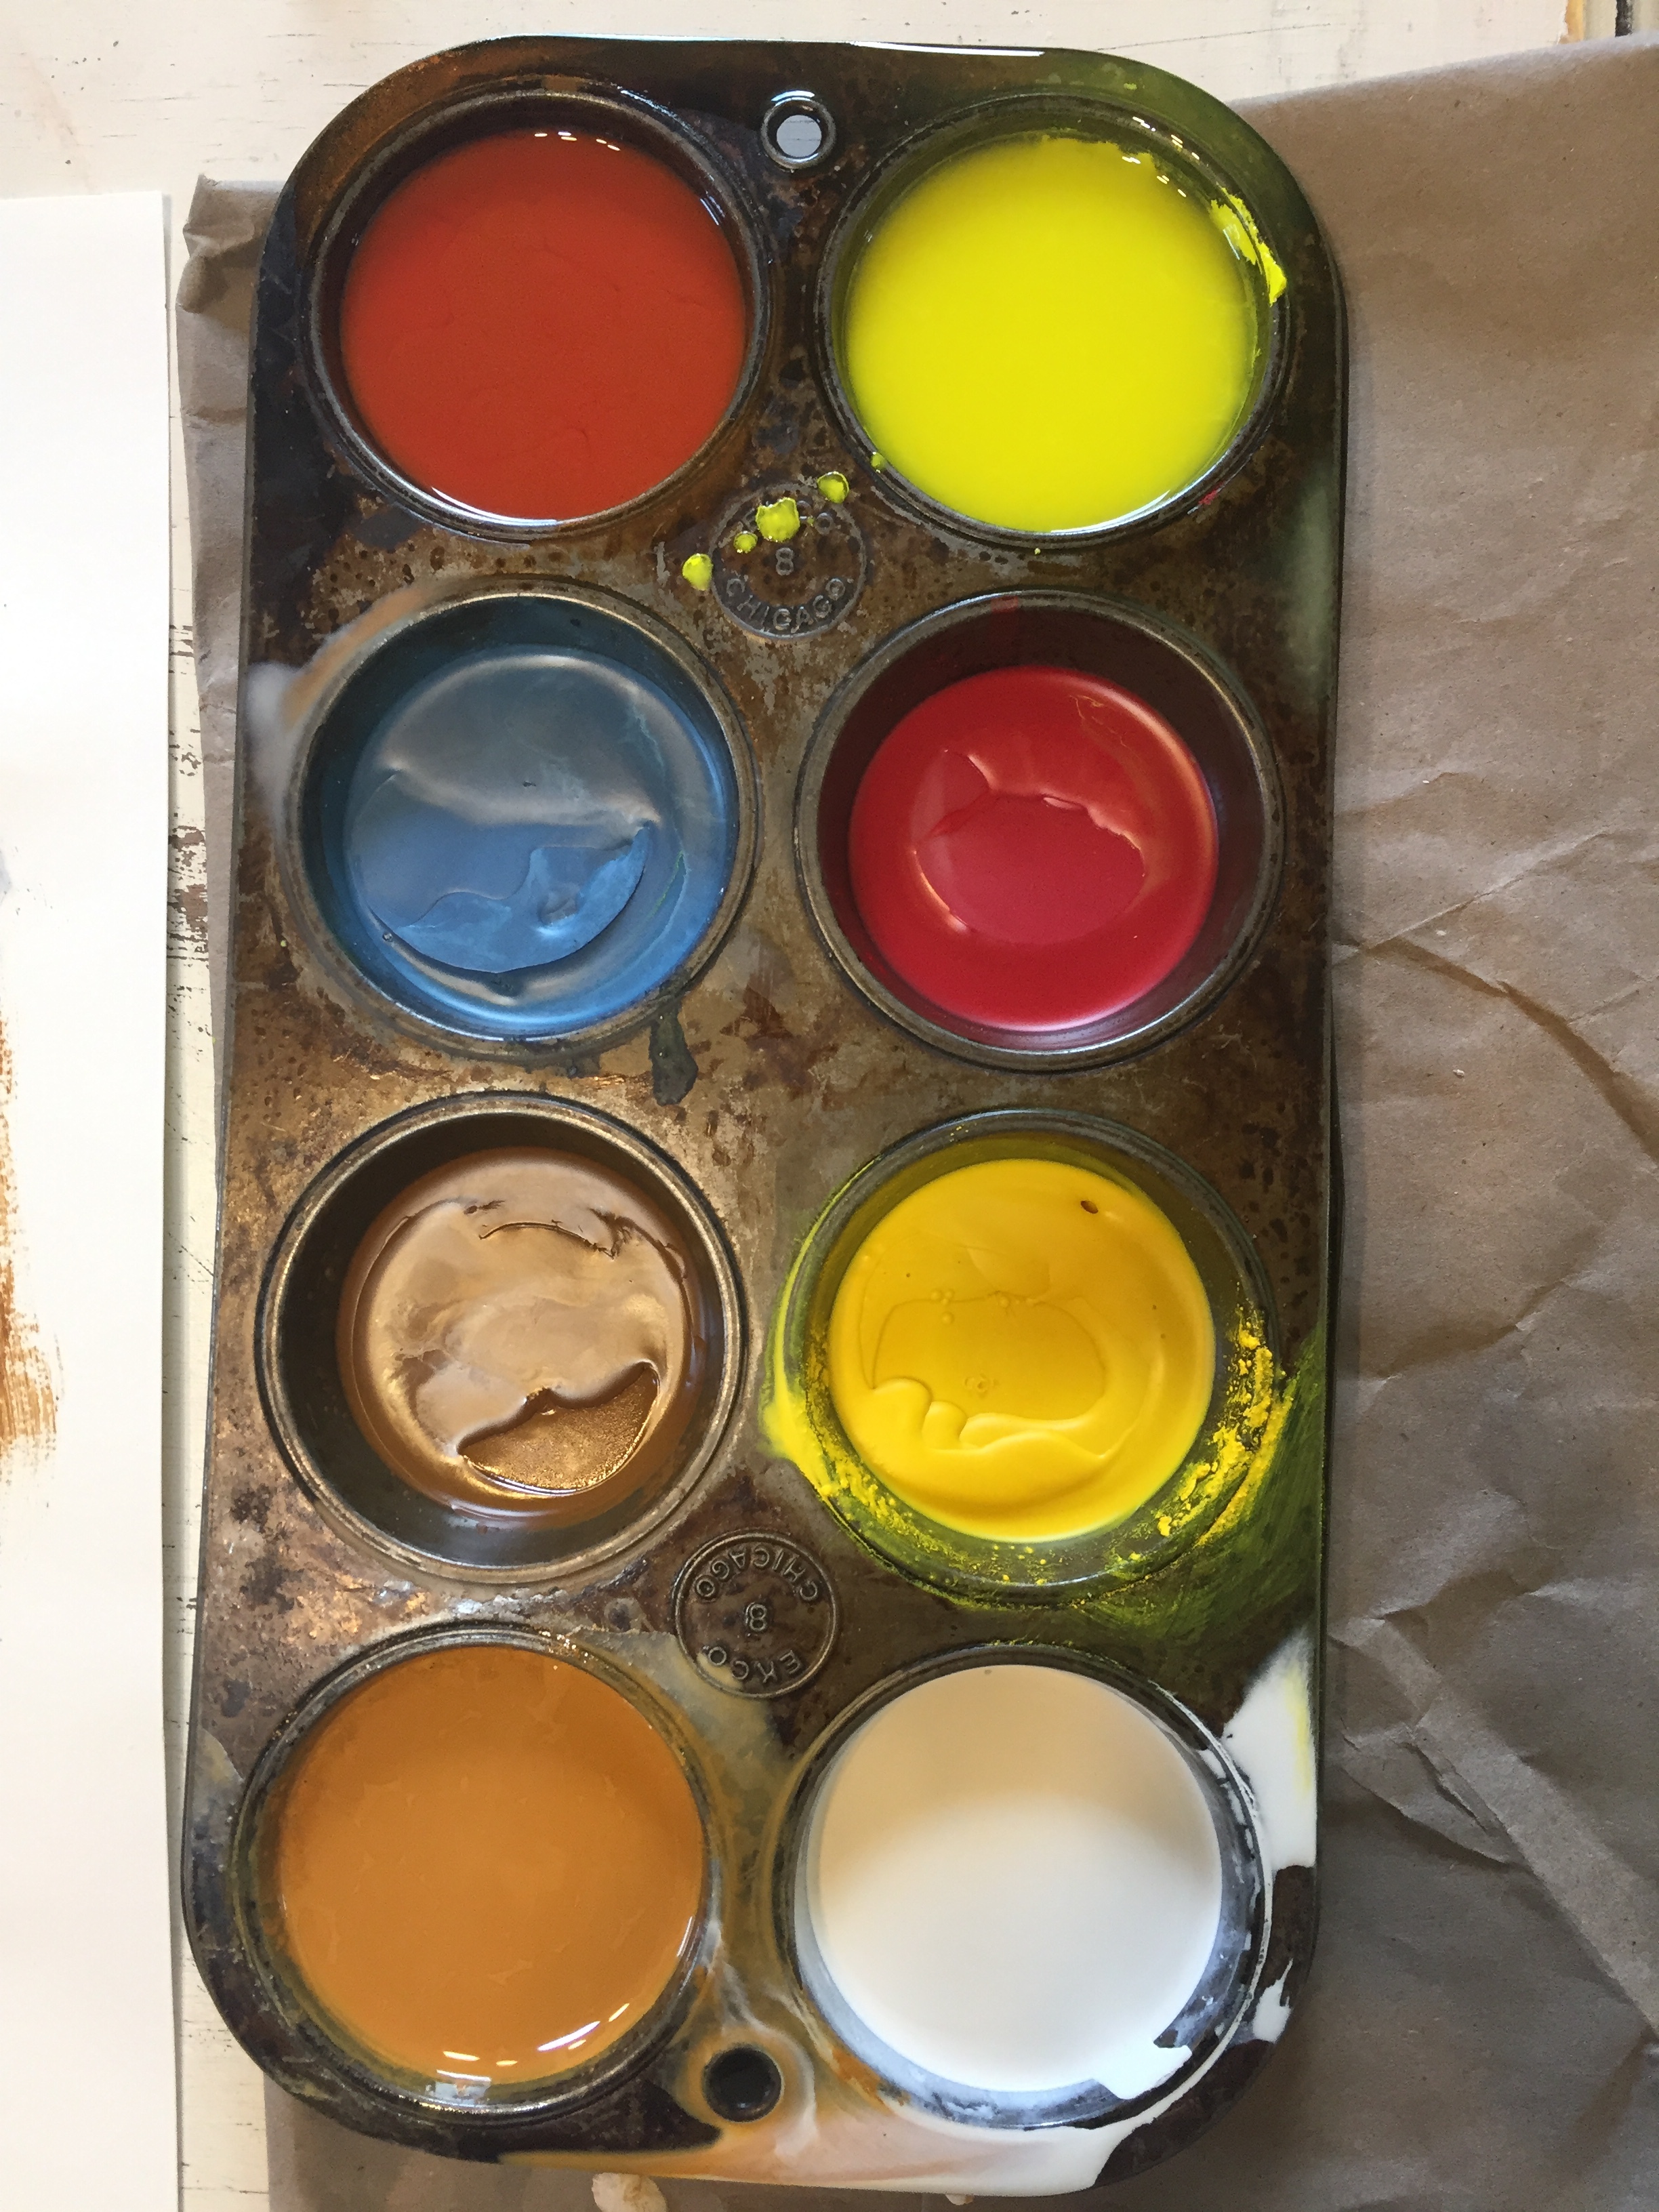

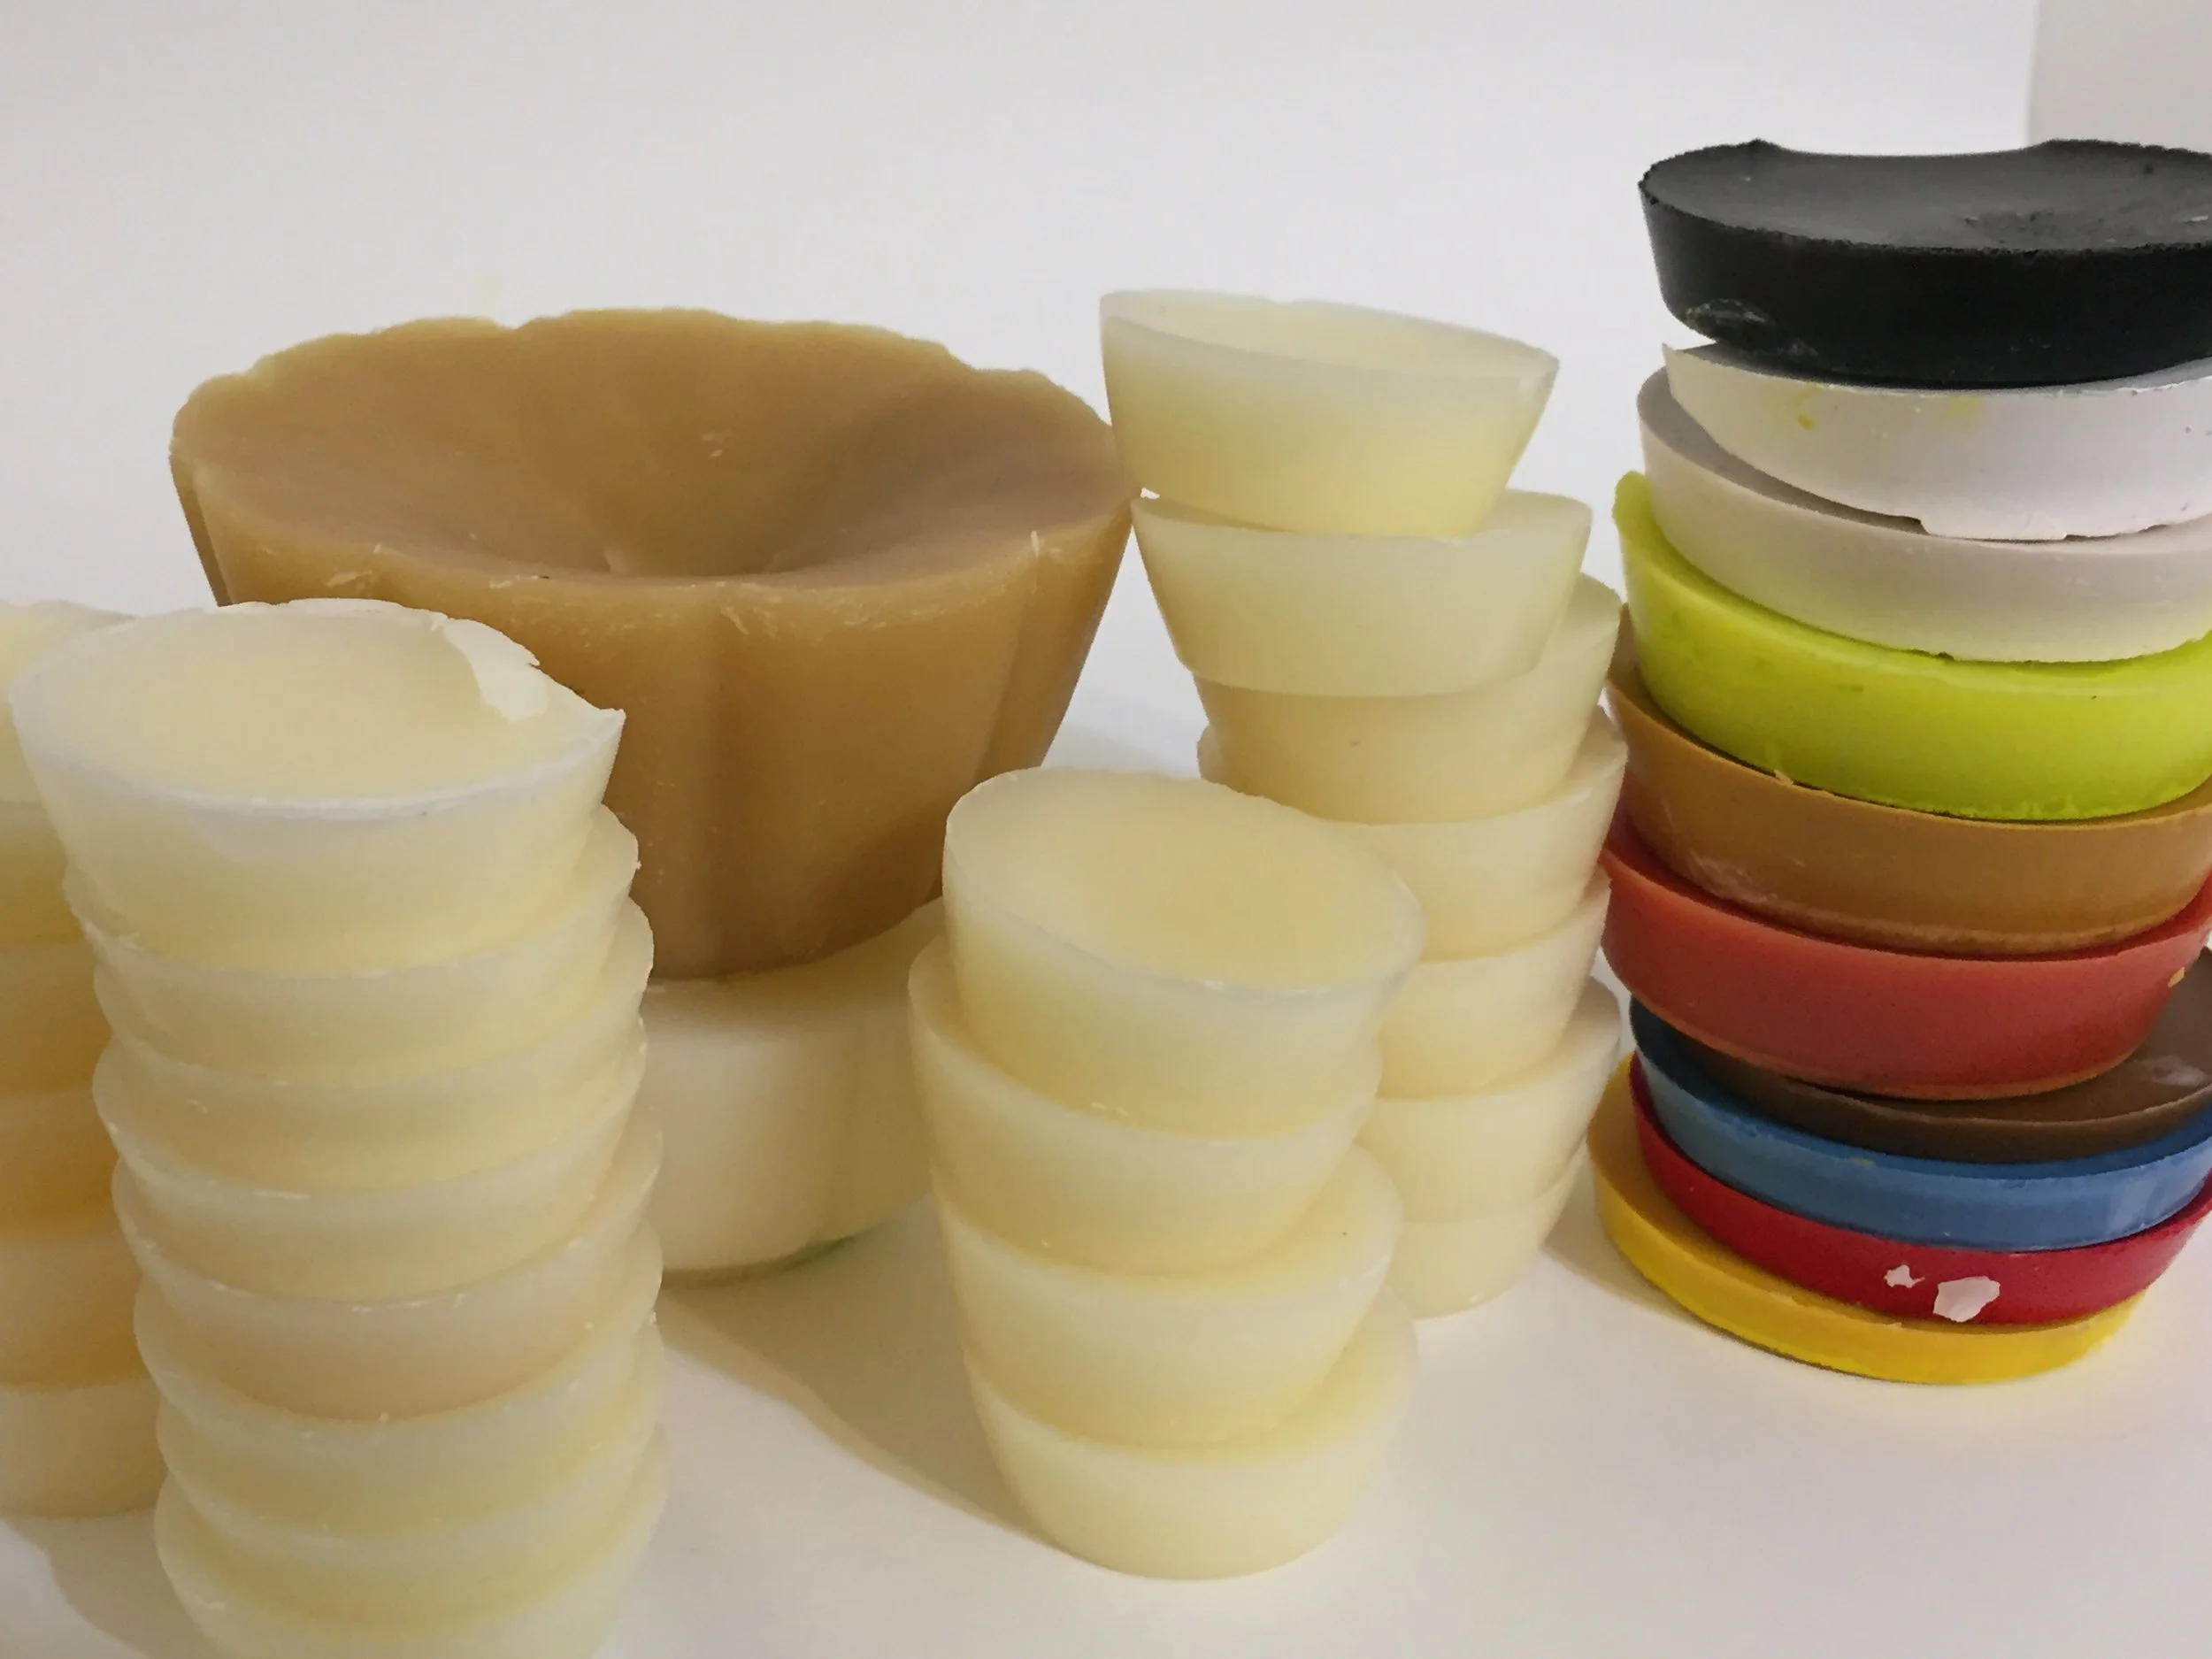
To tint your wax and turn it into paint you will need to melt it down. You can do this by placing the wax in metal cake pan or muffin tray. Once the wax has been melted you can add dry pigments or oil paint. Depending on how intense you want your pigment will determine how much pigment to use. I used about a tsp. of each color when I made a large muffin tin sized wax cake. If you are using oil paints you will want to put a little of the oil paint (about a tsp. or more) on a piece of cardboard and move it around with a palette knife to allow some of the oil to be pulled out of it. Once you have done this you can then add your oil paint to the melted wax. Be sure to stir in the pigments, mixing them until they are well mixed. Once you have your pigments mixed into your wax you can allow the wax to cool until solid. Once it is solid you can stick the tray in the freezer for about 30 minutes, remove it from the freezer and tap the tray upside down onto a hard surface to get the wax cakes out of the tin.
USE A RESPIRATOR ANY TIME YOU ARE USING DRY PIGMENTS!
You will want to keep some of the wax pure, without any pigments to add as a finish to certain pieces, as I do in the lesson below.
Phew. If all this is new to you it might feel like a lot to take in. It doesn't have to be so much prep. You can keep it pretty simple.
You will see how I start off with a simple exercise. I took two pieces I did earlier in the workshop and added a layer of beeswax to each. For some, this might be all you are interested in doing. Adding a layer of beeswax to a piece changes the quality of the piece, making it feel a little bit more dreamy. I have applied wax to many pieces over the years and had no issues with any of the pieces, even the acrylic pieces (you just don't want to mix together acrylics and wax). You can experiment along the way.
Encaustic wax is a wonderful,challenging, and at times a very frustrating medium, but is so much fun to learn. Like any new thing you want to be good at, it takes time and practice and a lot of messing up. Enjoy it all!
Adding Wax to Paintings/Collages
Tip: If you want to use a little bit of oil paint on top of your encaustic piece, say to pull out any textures, and/or add a little color to your piece, you will want to make sure to fuse it to the layer below, using your heat gun. You can also use a little bit of acetone (nail polish remover) and a paper towel to move around the oil, lifting any extra off as needed.
Tip: Do not use Acrylics with wax. Plastic and wax aren't friends and they don't want to be.
Another Tip: Keep the air flowing in your space when working with wax. Open a window, put on a fan. Keep the air fresh around you!
And another: Keep the temperature of your hot plate around 225°. If your wax starts to smoke you have it too hot.
Okay, ONE more: You can use children's crayons and other waxy things, just in small amounts. Too much and things might crack and fade over time. Most candles and crayons are made from paraffin wax that's loaded with all kinds of stuff. So just use caution when using these things in your work. A little is okay, a lot is not.
Password: 100works